Recruiting participants for moderated interview studies
Last updated: June 24, 2026
When recruiting participants for moderated interviews, add your team’s availability in Maze and share it with potential participants. This way, you don’t need to use a separate third-party tool for scheduling.

Before you start
Maze only uploads session recordings automatically if using Maze Conferencing. If using other conferencing tools, remember to enable recording at the beginning of each session. Learn more about automatic recording
Who can use this feature
Interview Studies are available in the Enterprise plan.
Only team members can work together on interview studies. External collaborators can’t be invited to view sessions and insights in interview studies. Learn more about roles and permissions
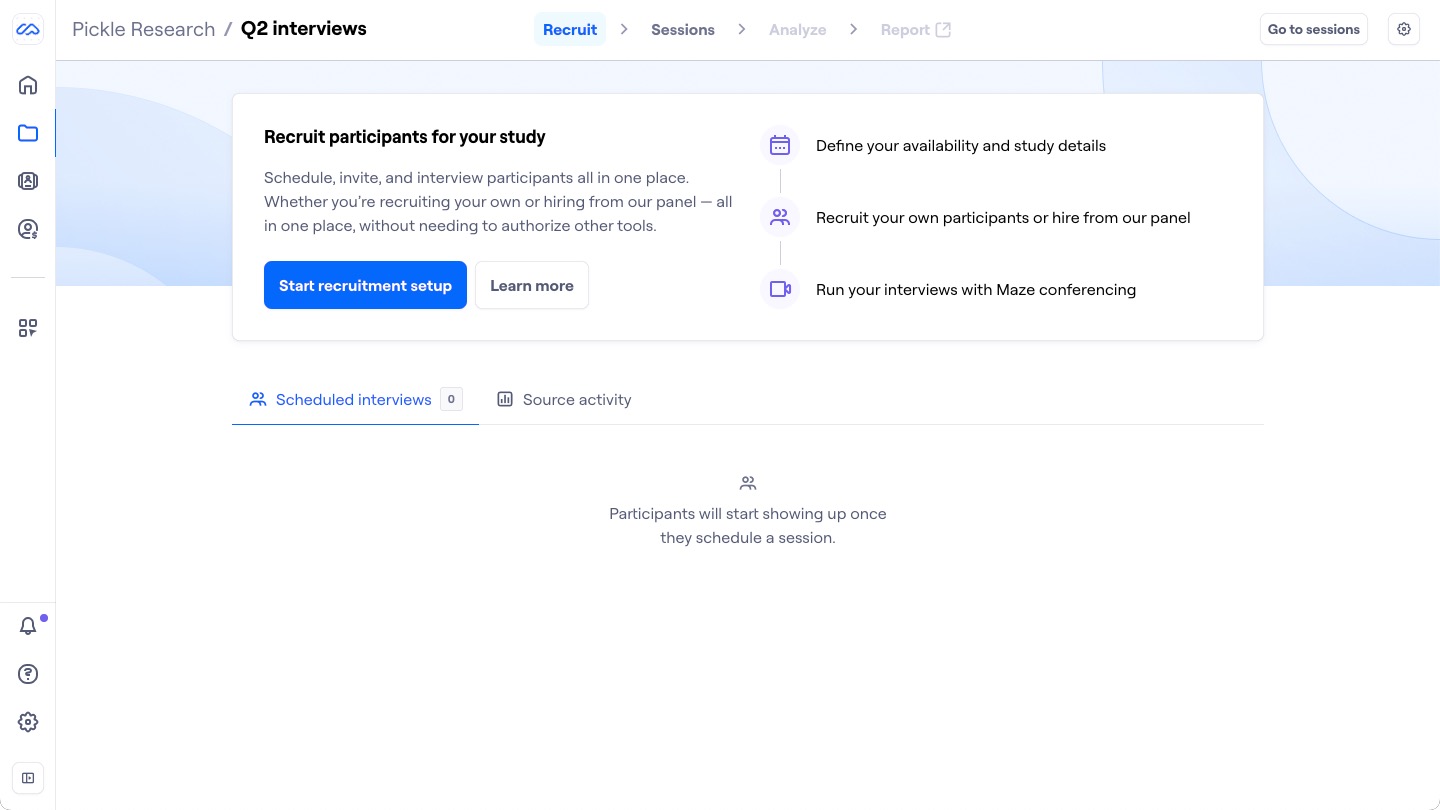
Start recruitment setup
To get started, open an interview study and click Start recruitment setup. You’ll be taken to the recruitment settings.
Note that this step is optional. If you already have recordings that you wish to upload and analyze, click Go to sessions.
When setting up the recruitment link, you have the option to sync your calendar to enable automatic scheduling. To do so, select your calendar provider and follow the steps to authorize Maze. The calendar integration is supported by Cronofy. Learn more about connecting your calendar
To schedule interviews without connecting your calendar, click Skip for now. Learn more about scheduling without a calendar

Without a connected calendar, when participants book an interview, all attendees will receive an email with an ICS file to add to their calendar manually and keep track of the event.
In these cases, only Maze Conferencing will be available. Other conferencing tools aren’t supported unless you connect a calendar.
Maze won’t know your calendar events. Remember to block your available times in the recruitment settings, and manually keep them updated if anything changes.
Recruitment settings
Go through each tab to define the settings for your recruitment link:
Once you’re done, click Save changes.
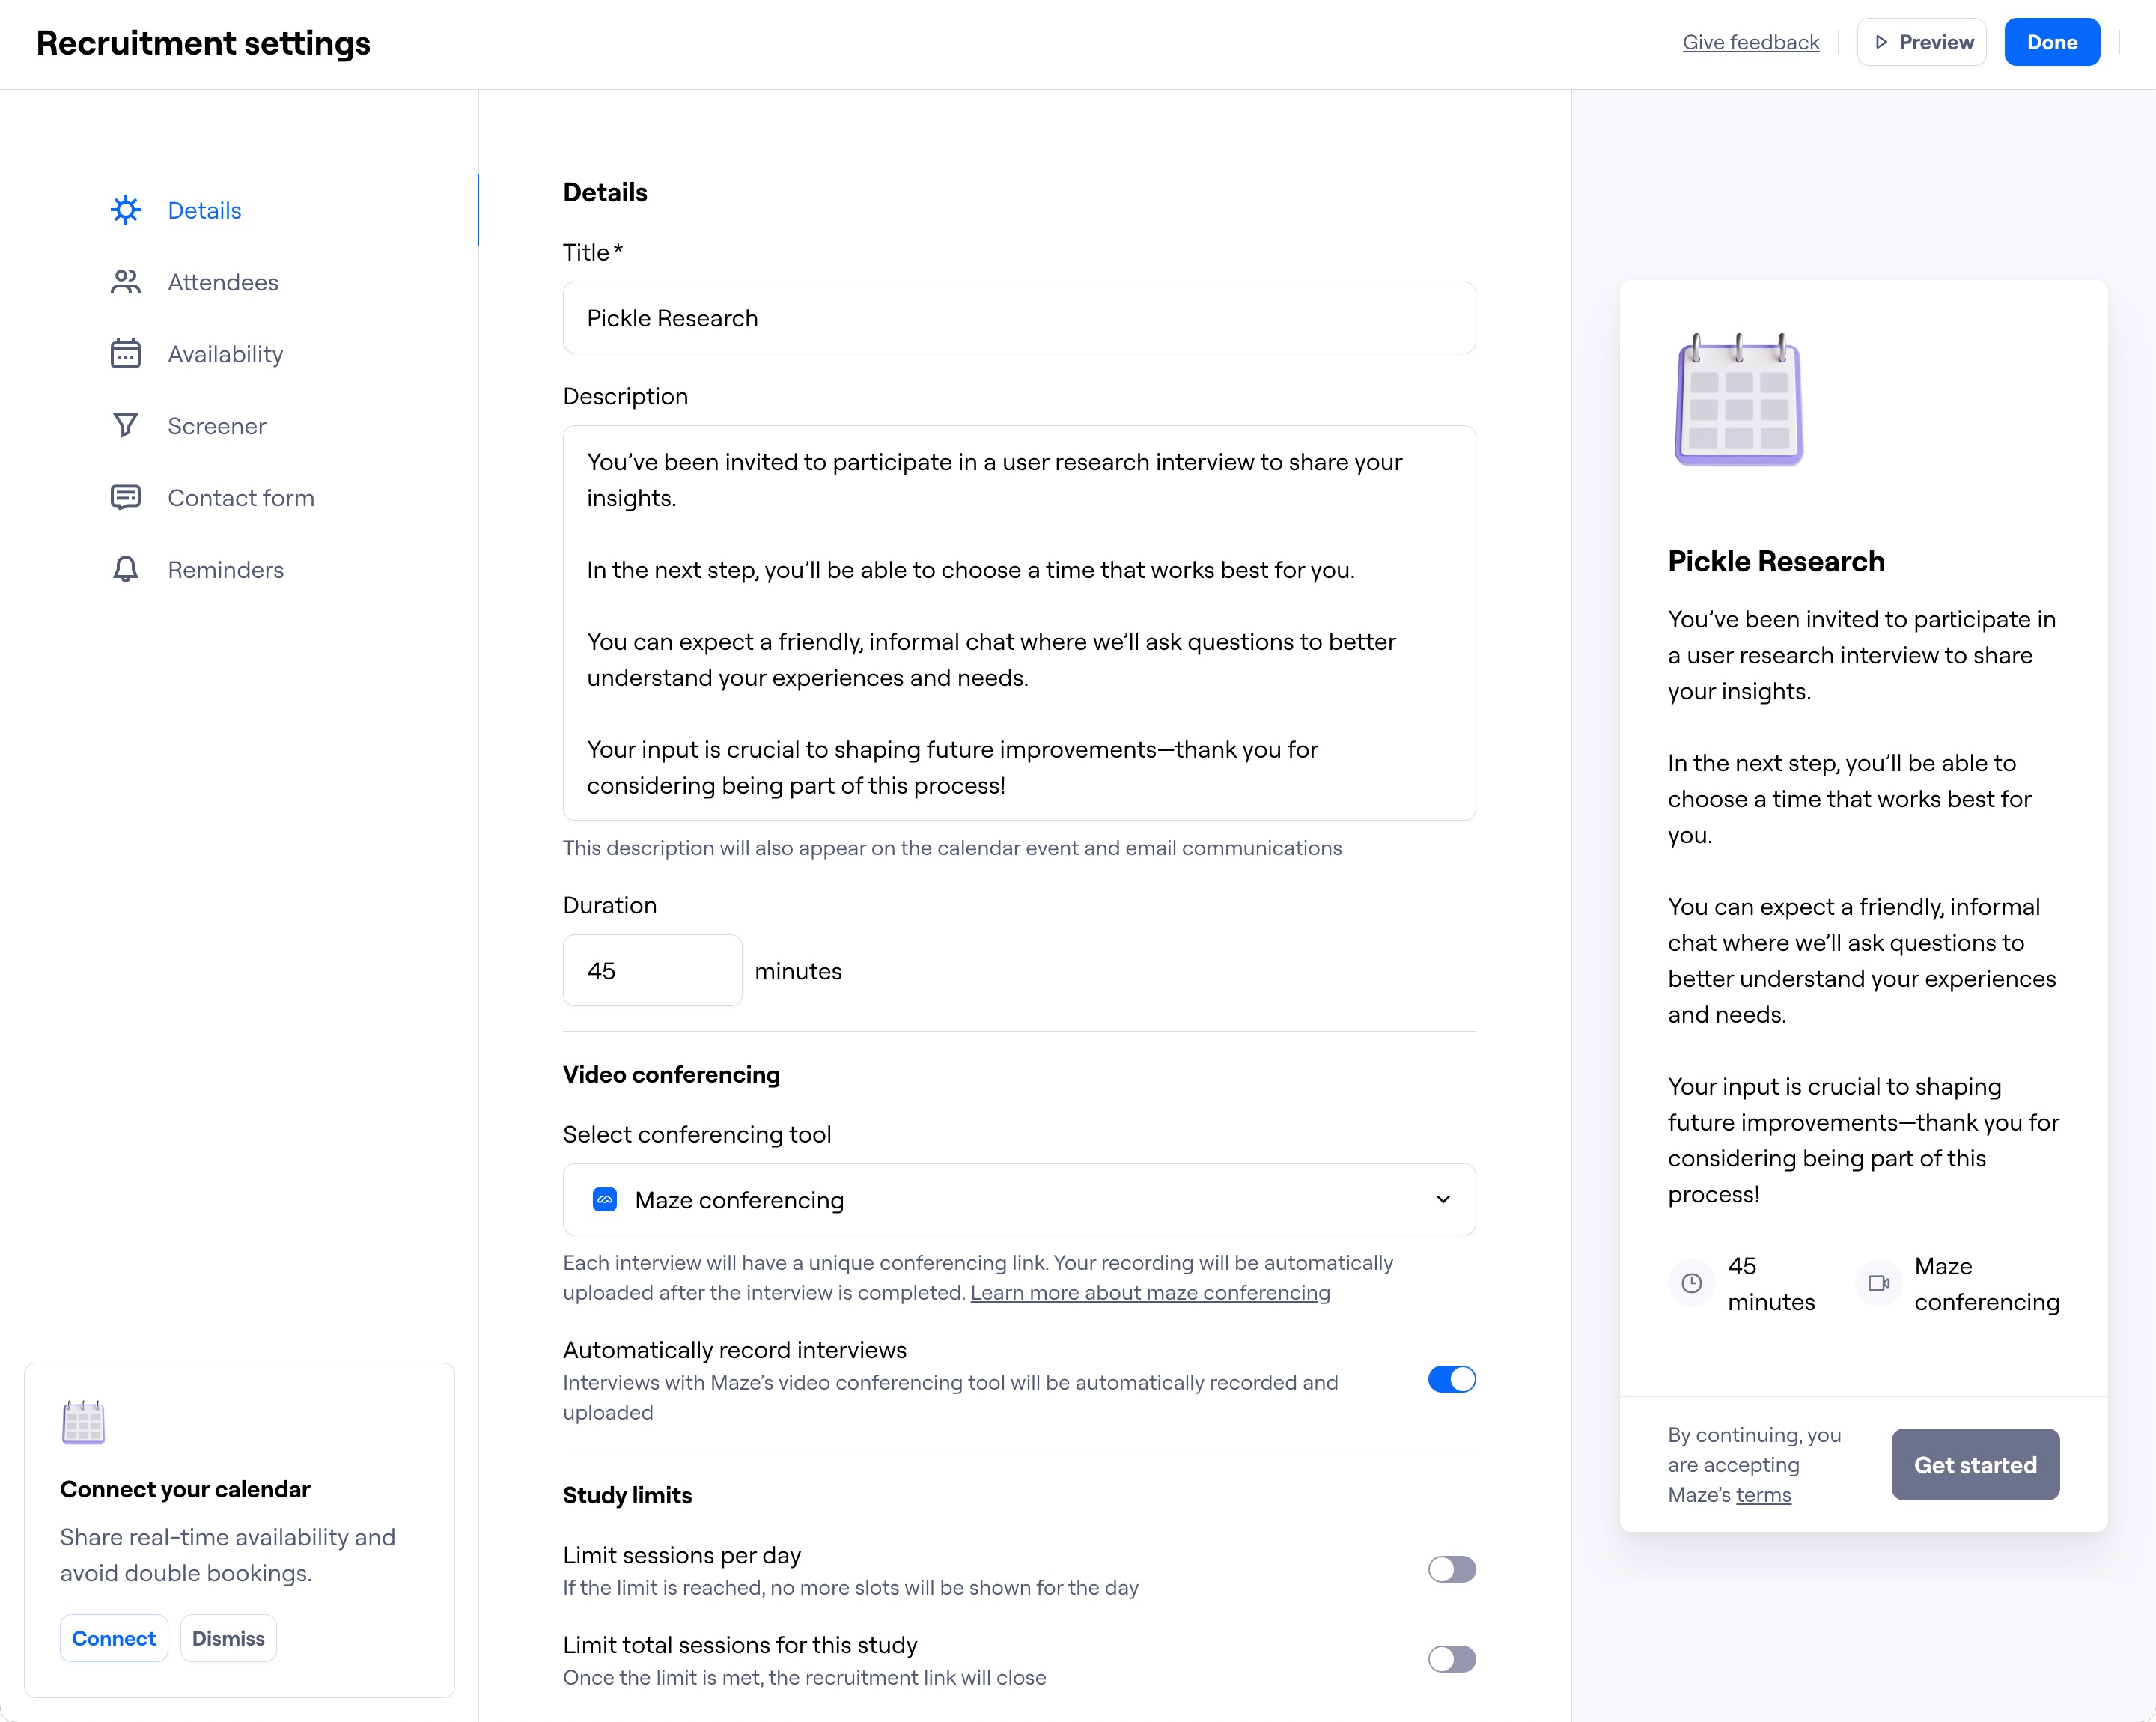
Details
Fill out the basics about the study.
Details
Study title: The publicly-available title for the study
Study description: The description that participants see when opening the recruitment link, in the emails, and in the calendar invite
Duration of each session
It’s possible to add basic formatting to text fields. Learn more about text formatting
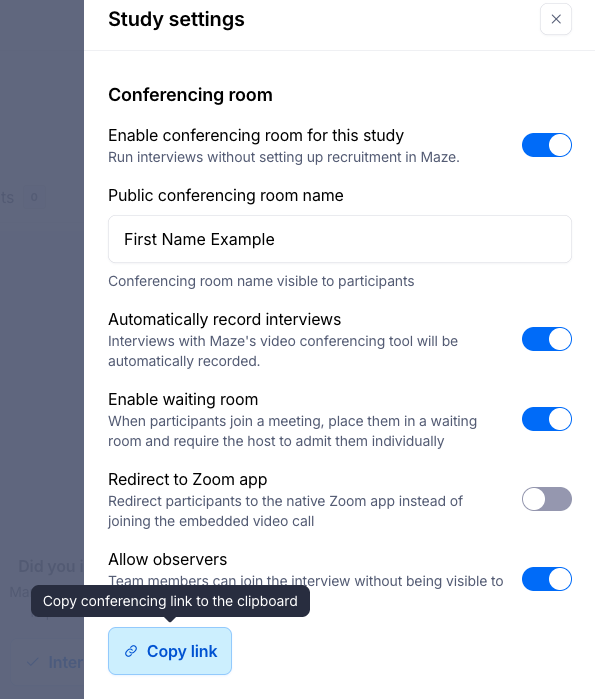
Video conferencing tool
When you select a conferencing tool, the email invite will include a conferencing link automatically.
If Maze conferencing is selected, interview recordings are enabled by default. It’s possible to toggle off automatic recordings.
Study limits
Session limit per day: If the limit is reached, no more time slots will be shown for the day
Total session limit for the study: This option closes the recruitment link once you reach the total limit of sessions
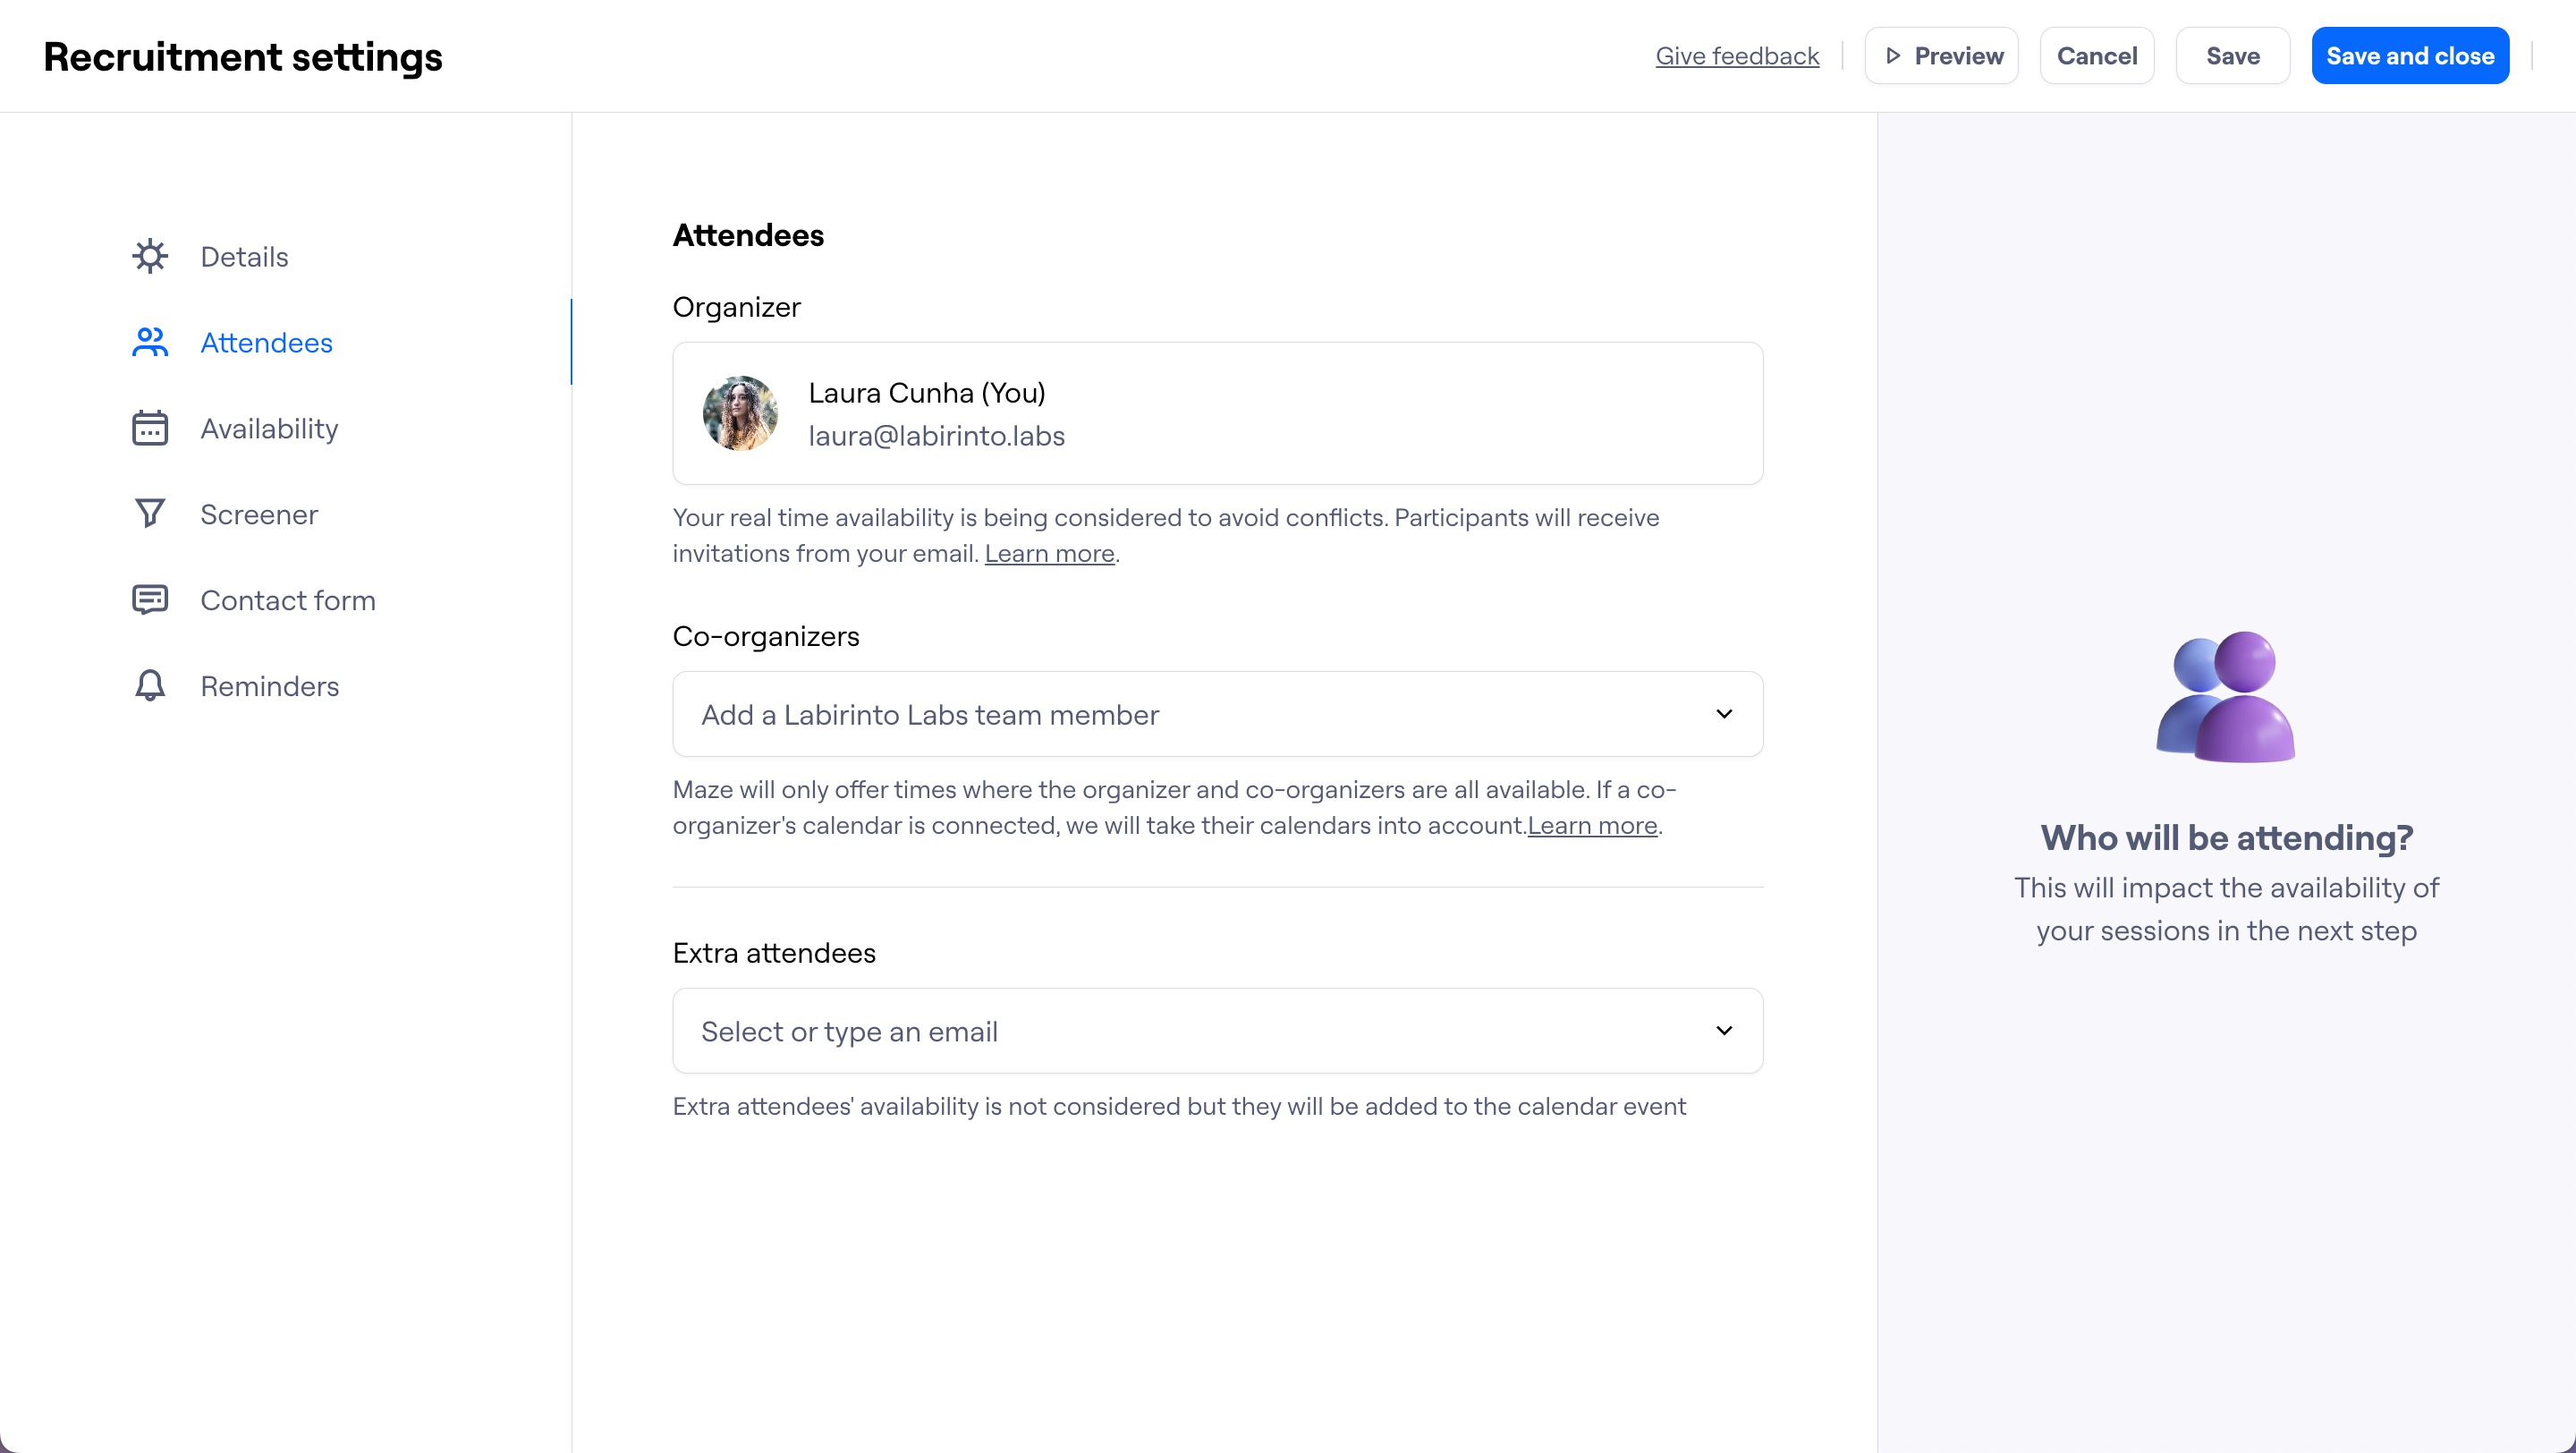
Attendees
Define the people on your side who’ll be invited to attend the study sessions:
Organizer
Co-organizers
Extra attendees
Learn more about the different types of attendees and their implications on scheduling
Availability
Recruitment availability
Specific time slots: Define specific dates and times when participants can book. This option is ideal for smaller studies with limited availability, and for scheduling without connecting calendars.
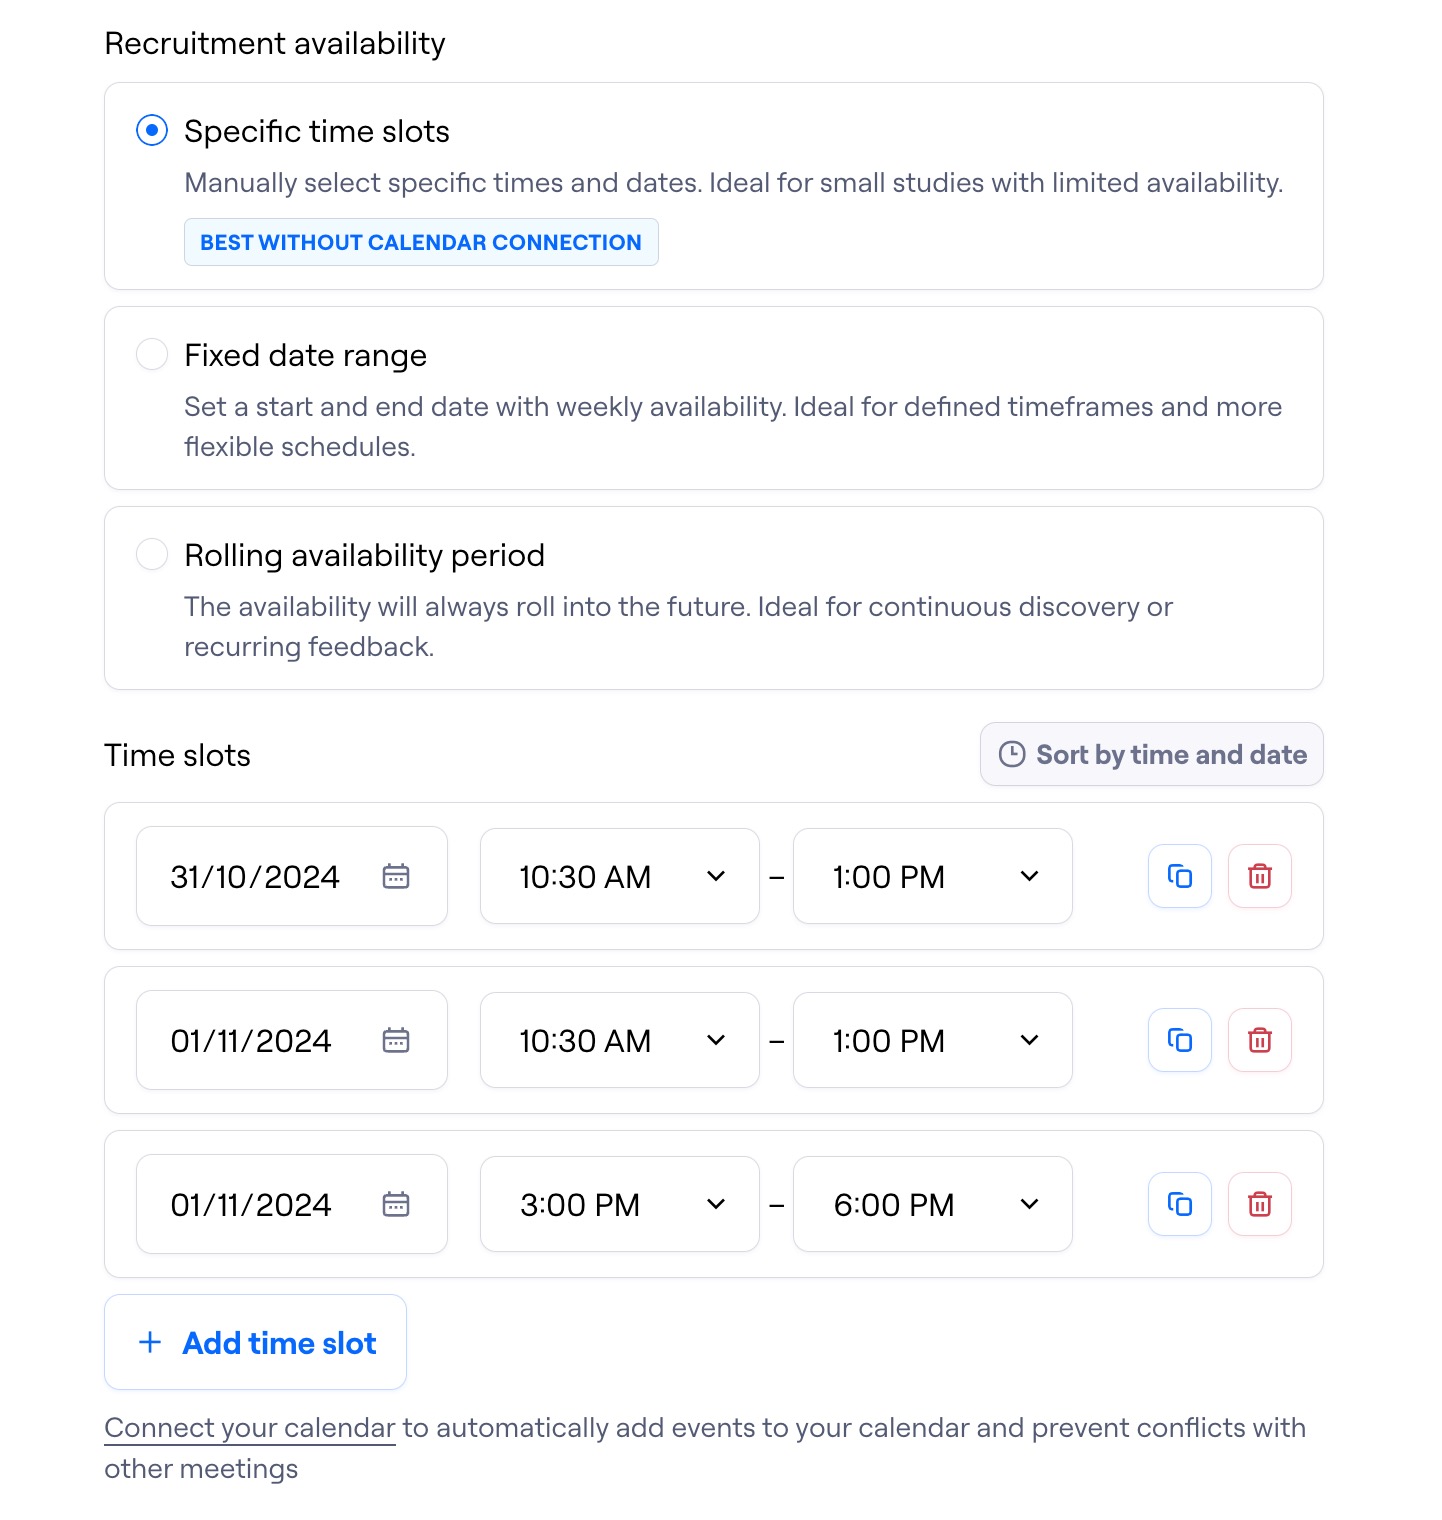
Fixed date range: Set your weekly availability between a specific start and end date. This option is ideal for studies with a fixed timeframe.
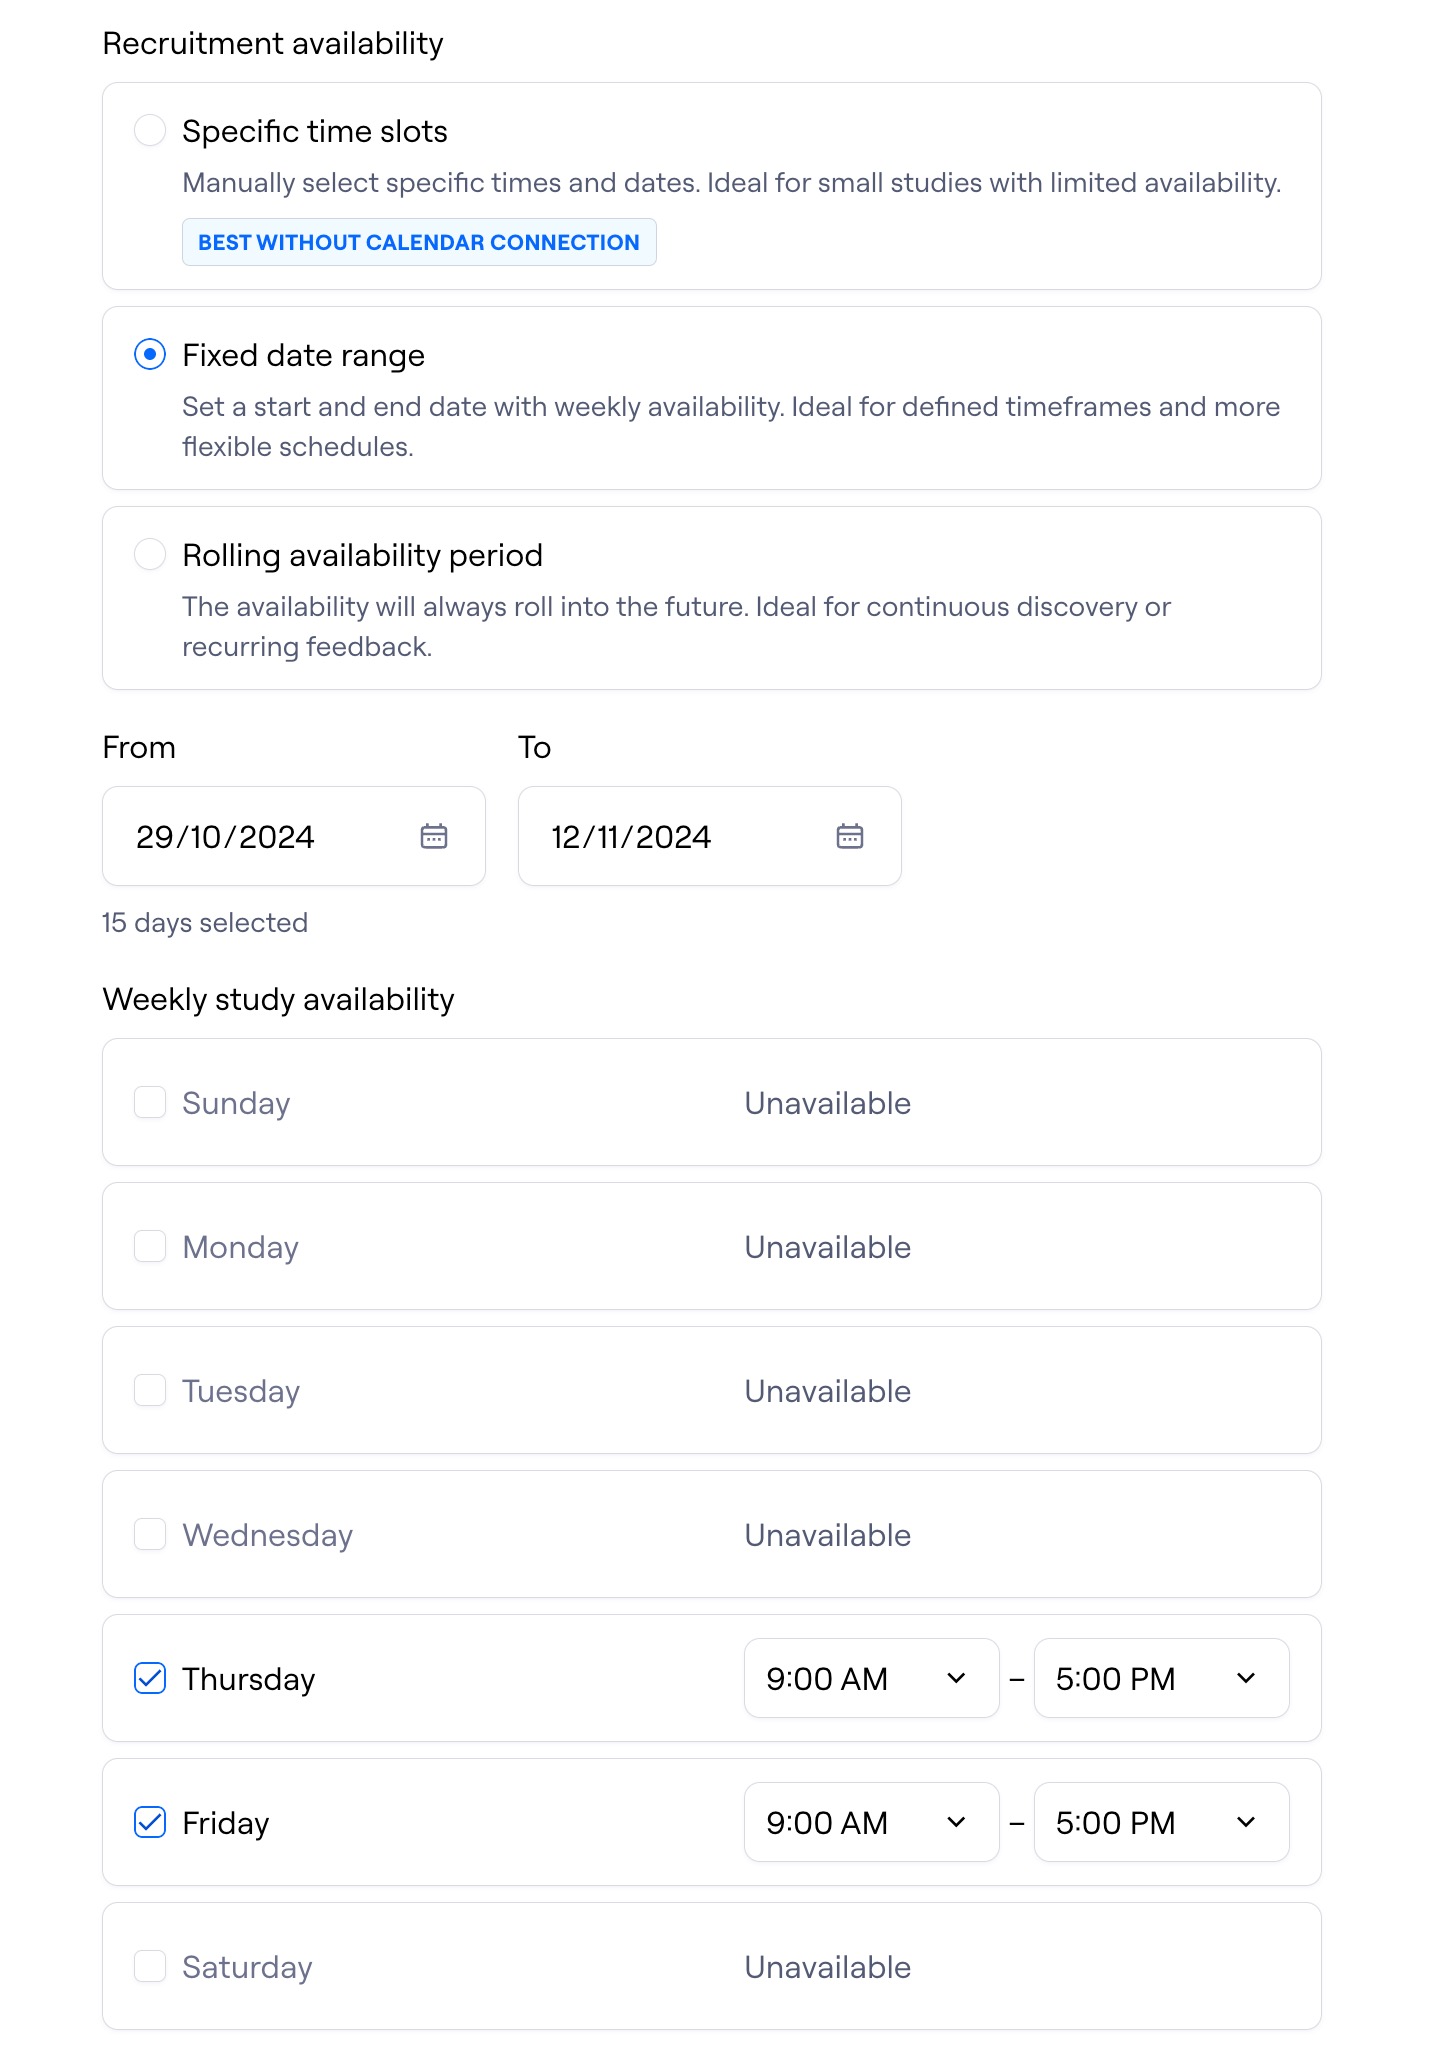
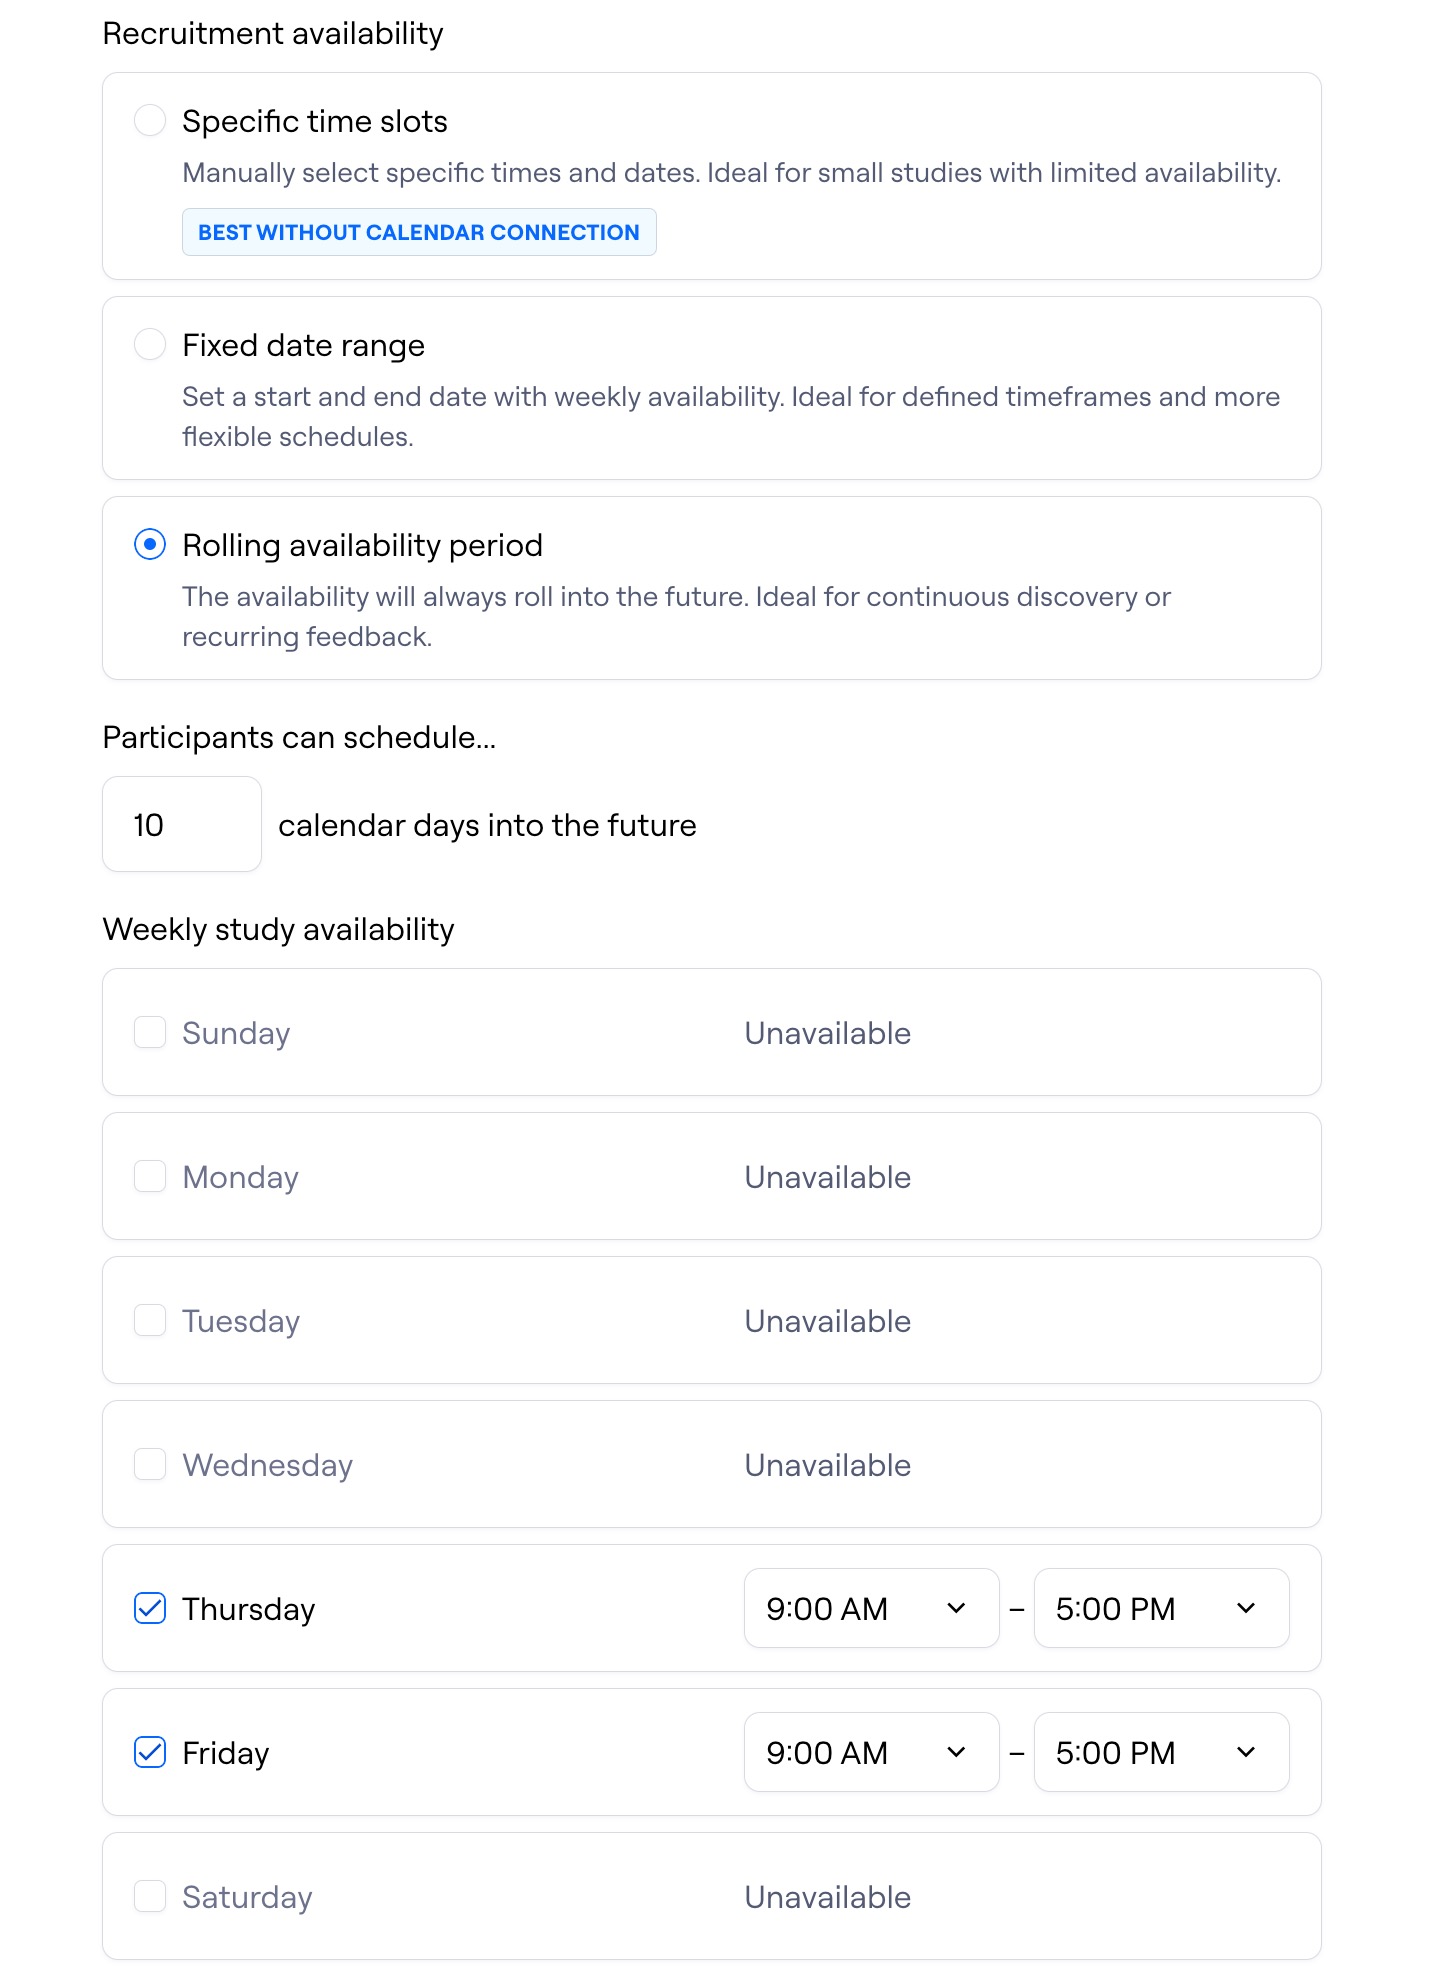
Rolling availability period: Set your weekly availability rolling a defined number of calendar days into the future.
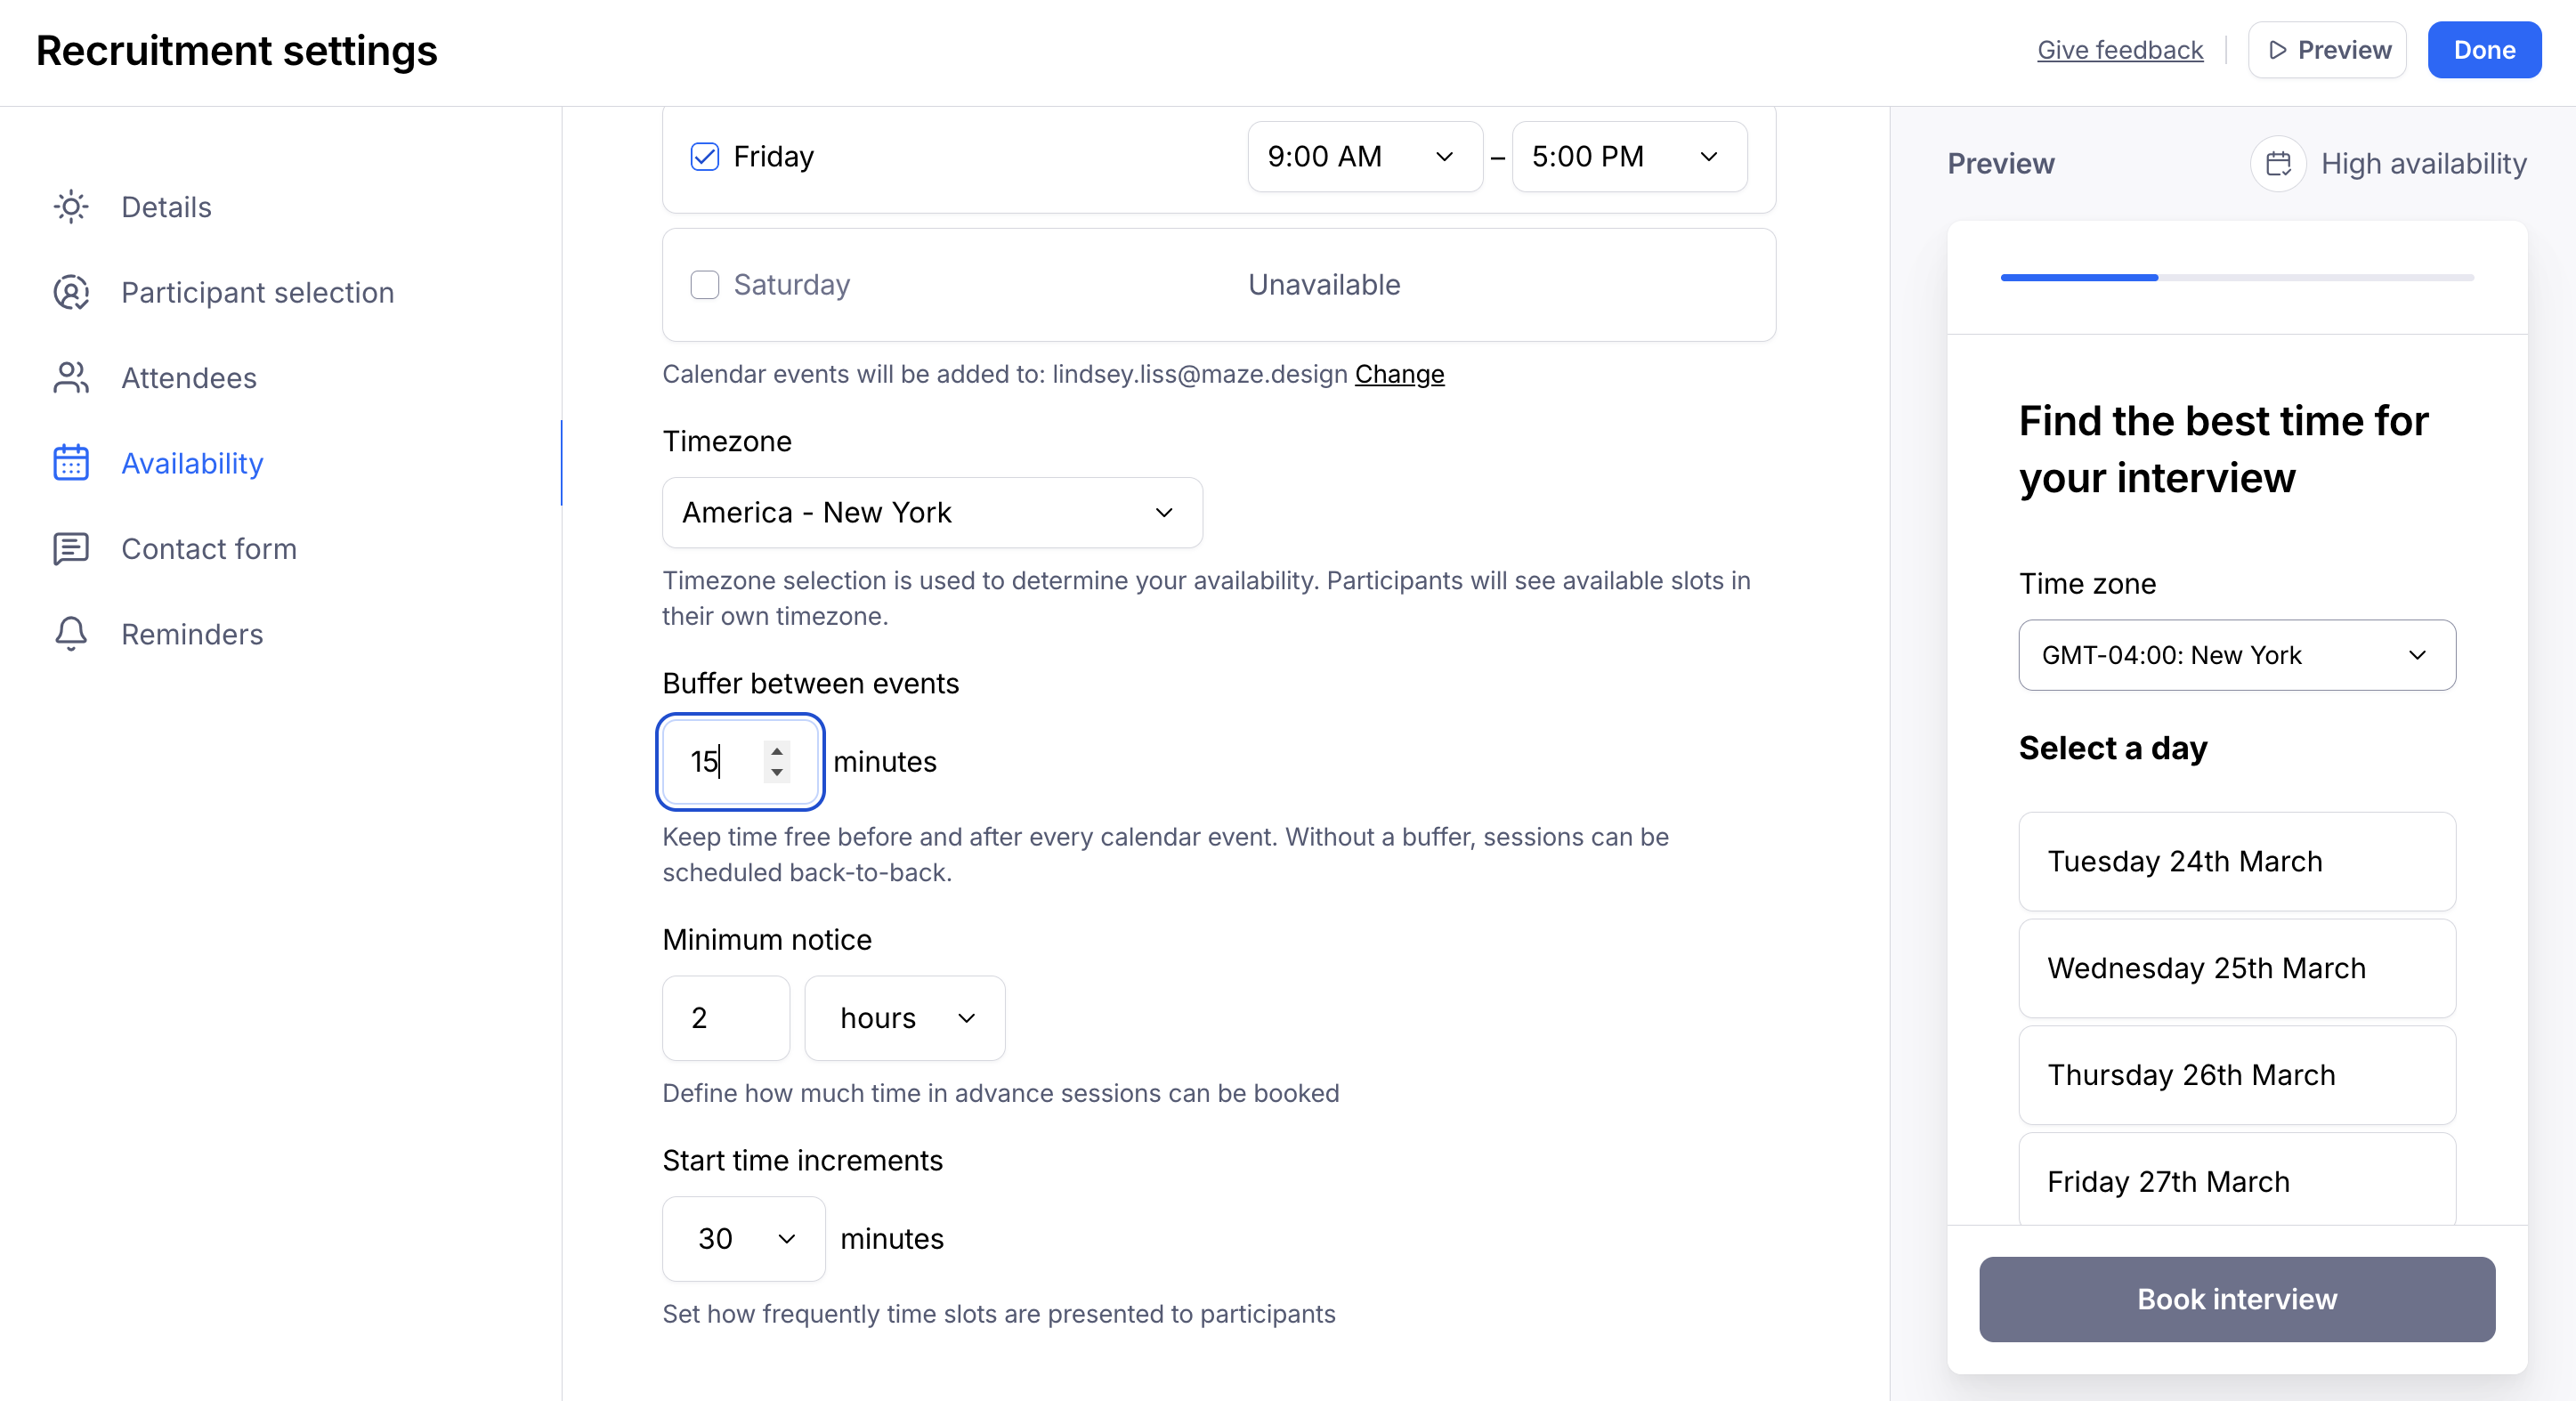
Additional settings
Timezone: Timezone selection is used to determine your availability. Participants will see available slots in their own timezone.
Buffer time before and/or after each session: Avoid back-to-back sessions by adding some time before and/or after each session
Minimum notice: How much time in advance a session can be scheduled
Start time increments: How frequently time slots are presented to participants
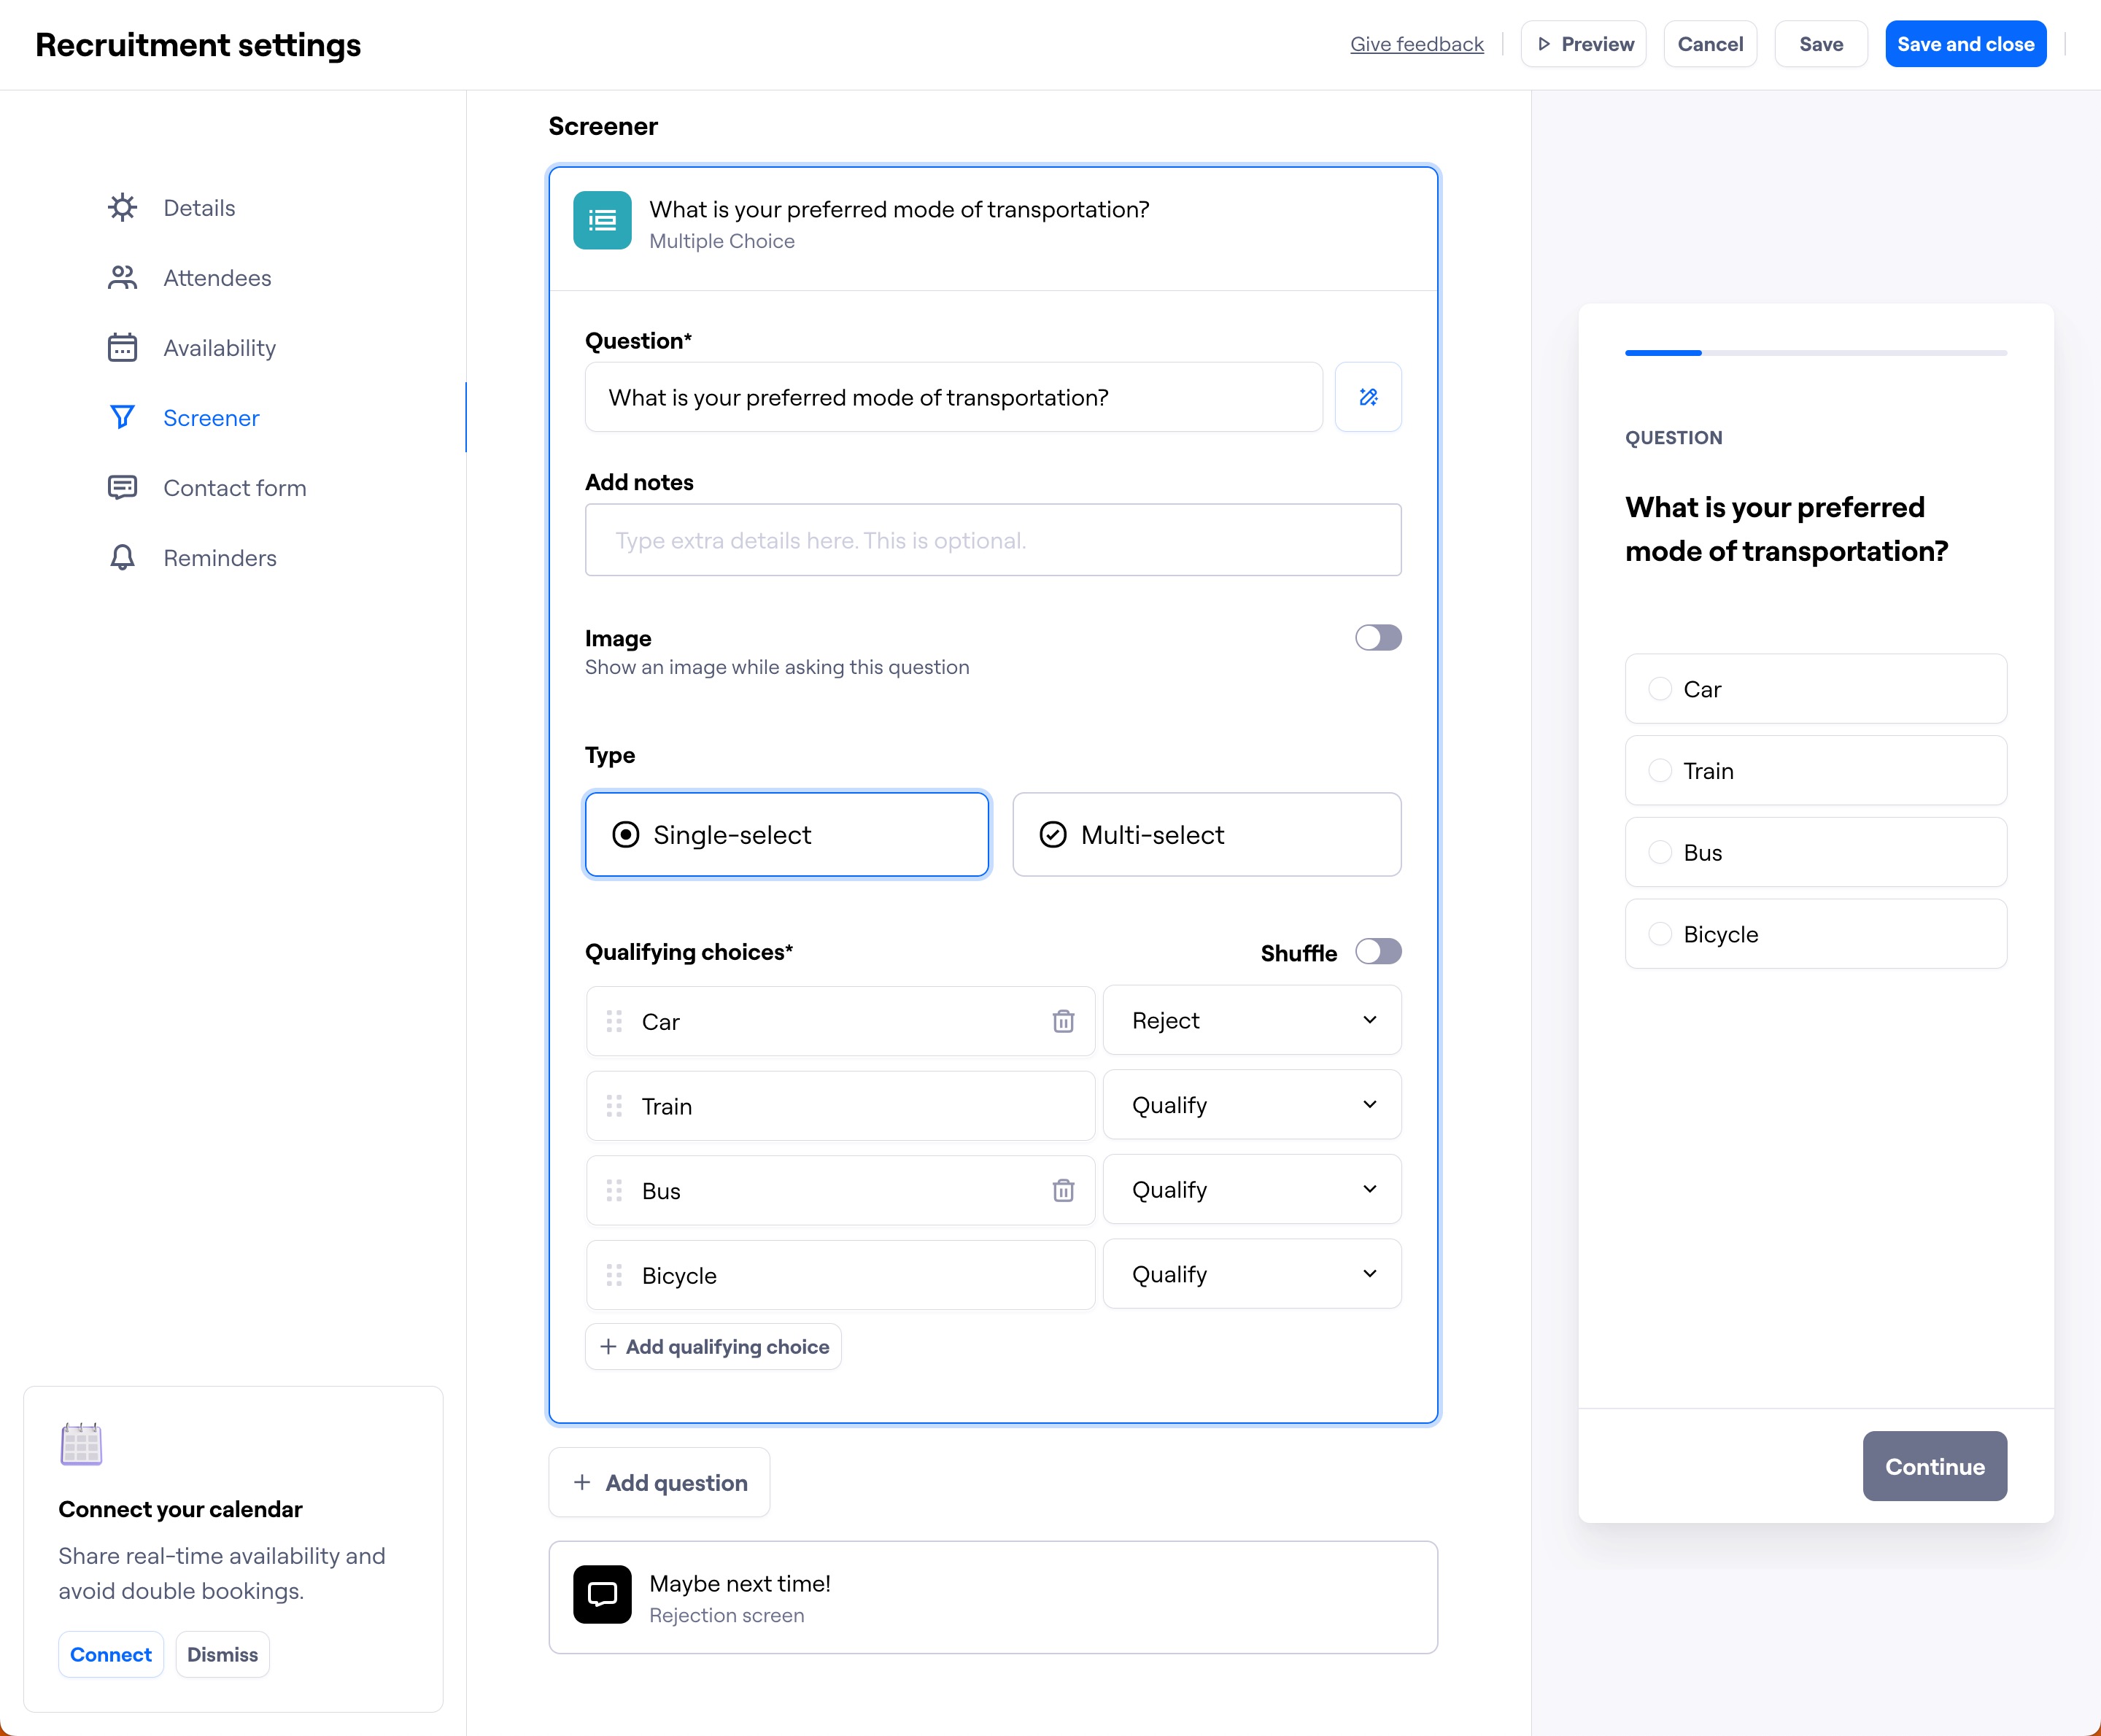
Screener
The Screener allows you to qualify or screen out potential participants. This helps you to only spend time with participants who accurately represent the characteristics, interests, behaviors, and knowledge of your target user group.
Adding screening questions is optional when recruiting your own participants. A minimum of 2 screener questions is required when hiring participants from the moderated panel.
To add screening at the start of your recruitment link:
In the recruitment settings, click + Add first question.
Enter up to 10 multiple-choice questions. Each can be single-select or multi-select.
Important: When recruiting through our panel, participants won't see the content in the 'Add notes' section or attached images. Keep this in mind when formulating your screeners. Participants recruited outside our panel will see the added notes and images.
Learn more about setting up screening logic
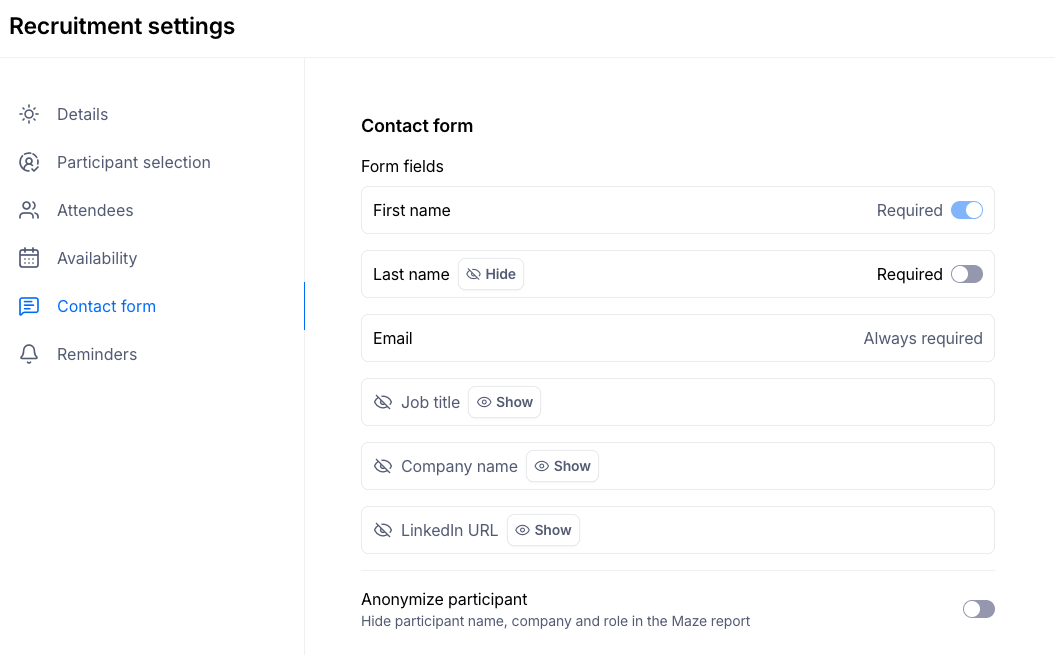
Contact form
You can customize which fields appear and whether they are required.
Email is always required. Maze needs the participant's email address to send meeting invitations, so this field cannot be removed or made optional.
First name and Last name can each be set to Required or Optional. When a field is set to optional, you also have the option to hide it entirely — removing it from the scheduling interface.
Note: At least one name field must remain visible. You cannot hide both first name and last name at the same time, as Maze needs at least one name to identify and address the participant.
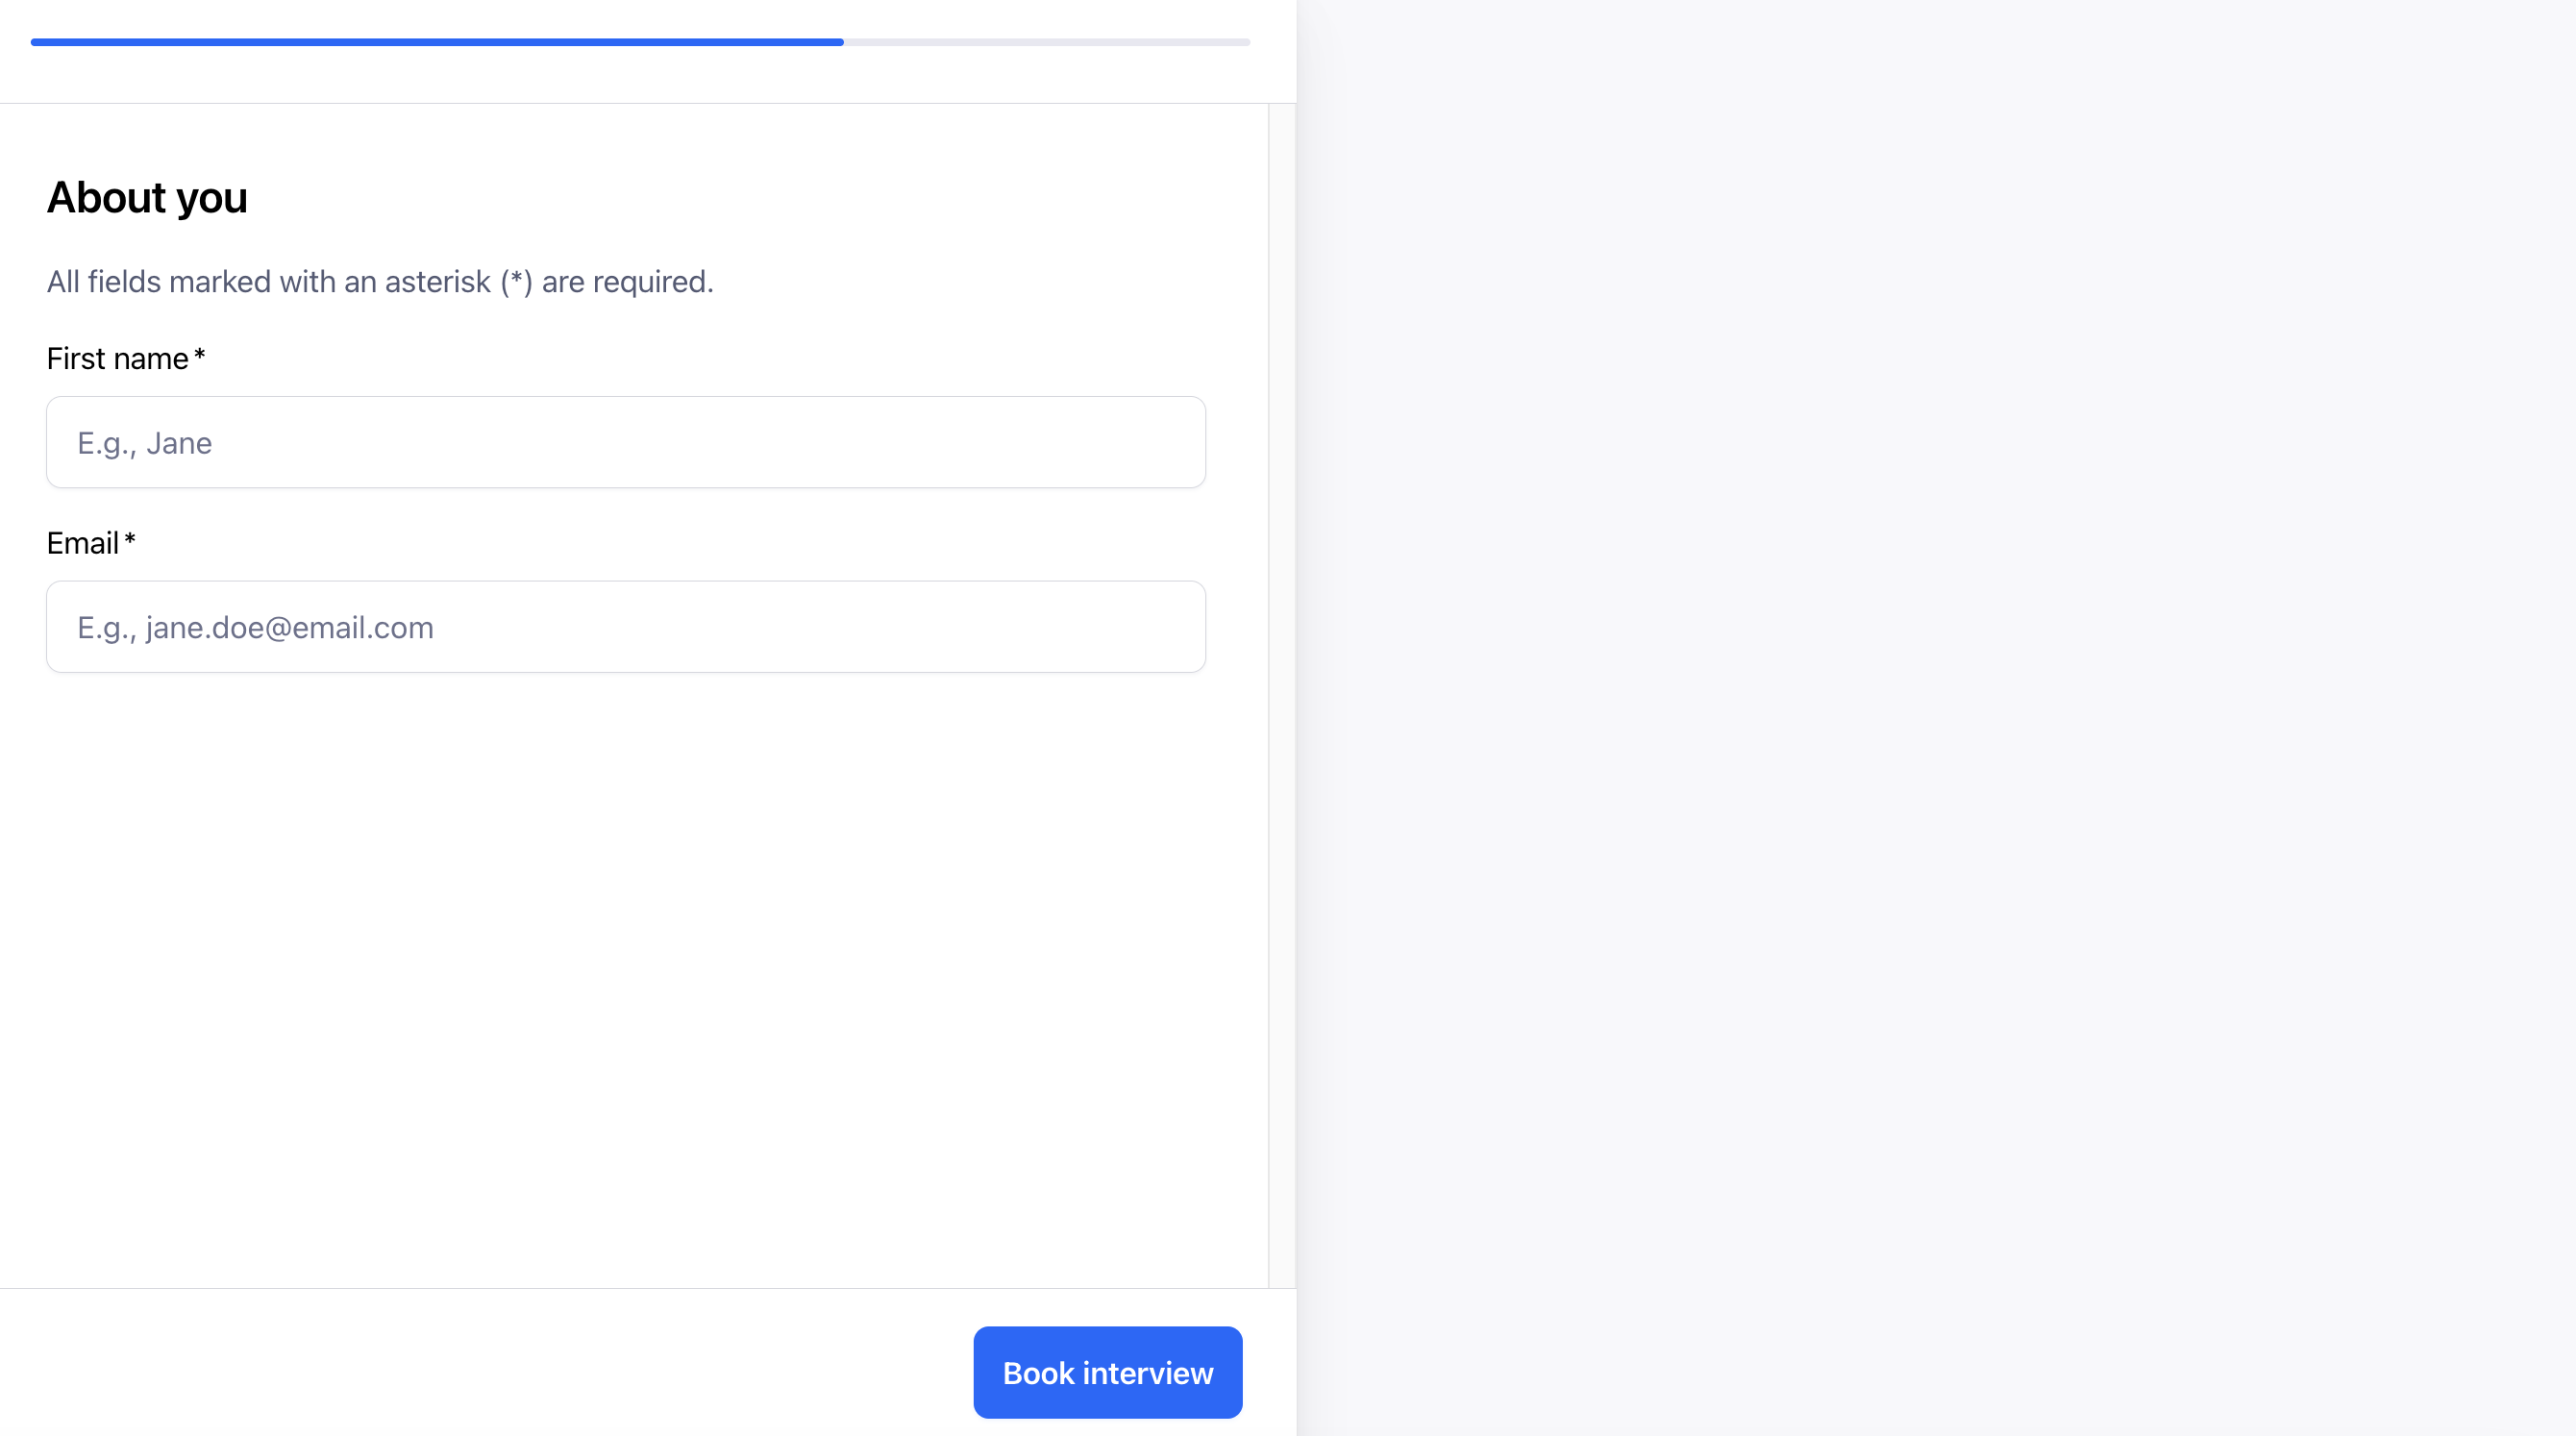
During the scheduling flow, the participant will be asked to provide whichever name field(s) you've kept visible. During the interview, their name will appear exactly as they entered it.
These settings apply to manually recruited participants only, not panel participants.
The fields below can be made optional or hidden altogether:
Job title
Company name
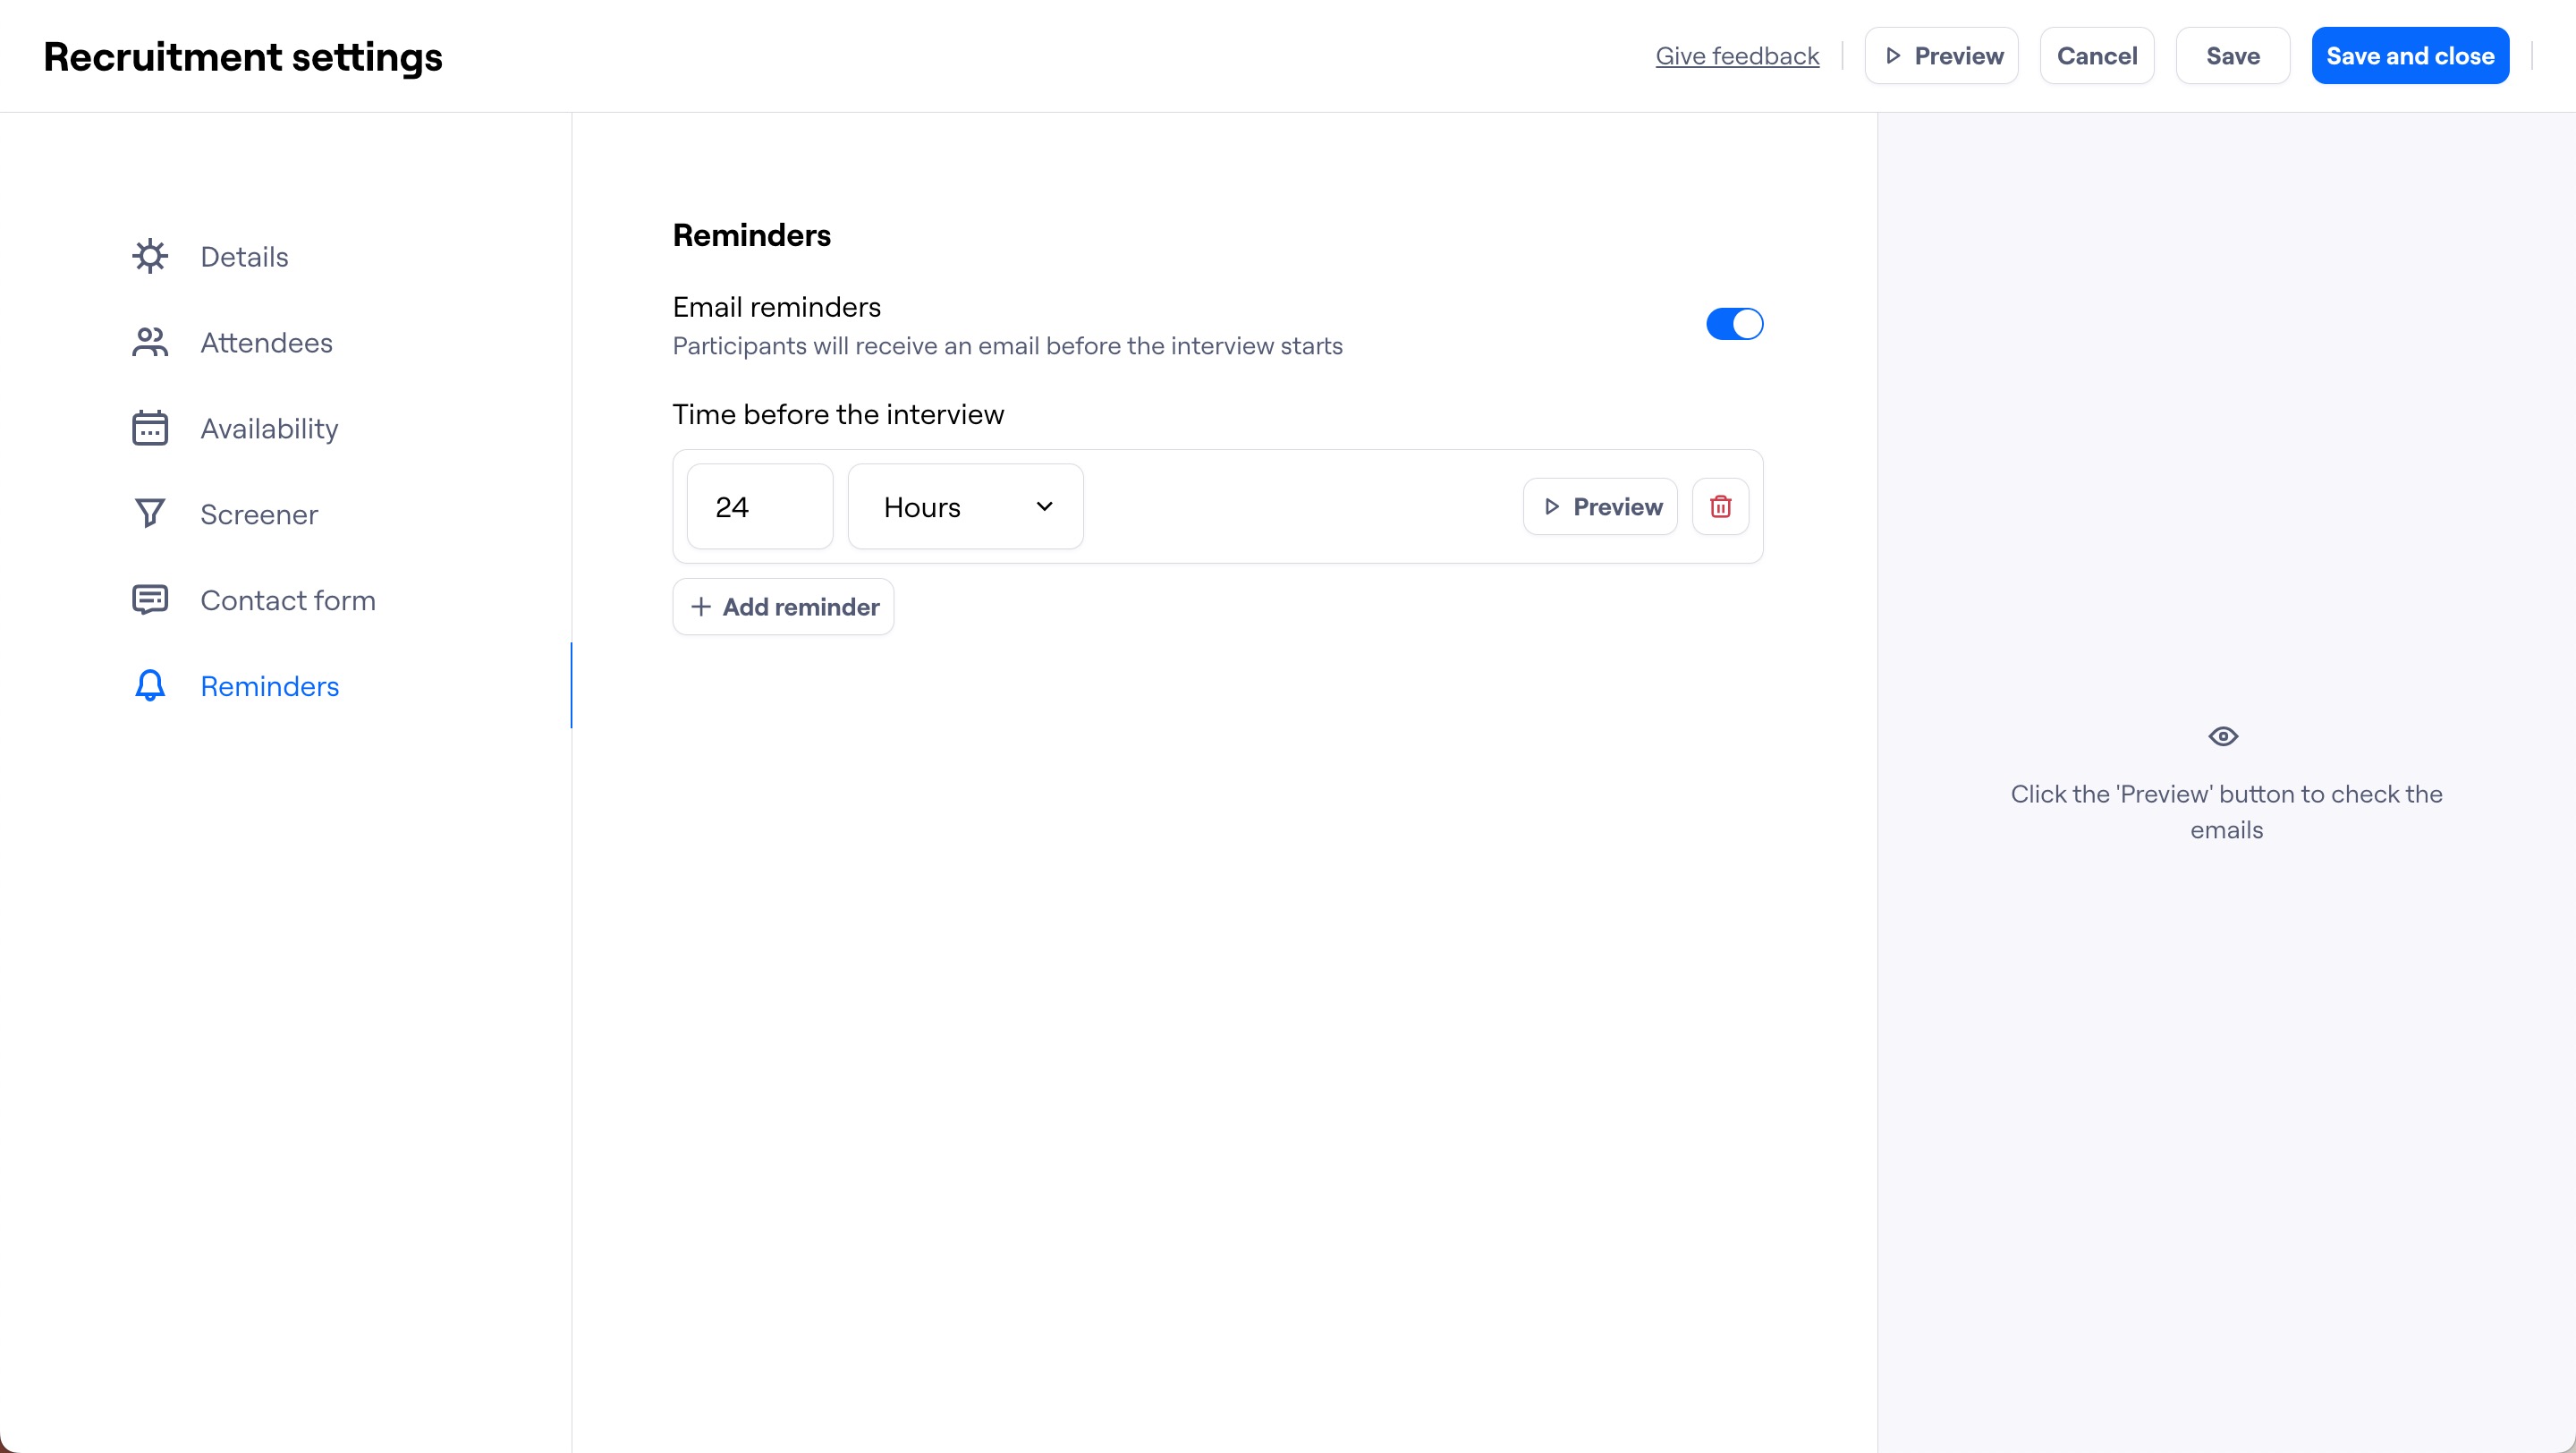
Reminders
Define whether you’d like participants to receive email reminders before the interview starts, and how long in advance. Up to two reminders can be sent. The email reminders only apply to manually recruited participants; not panel participants.
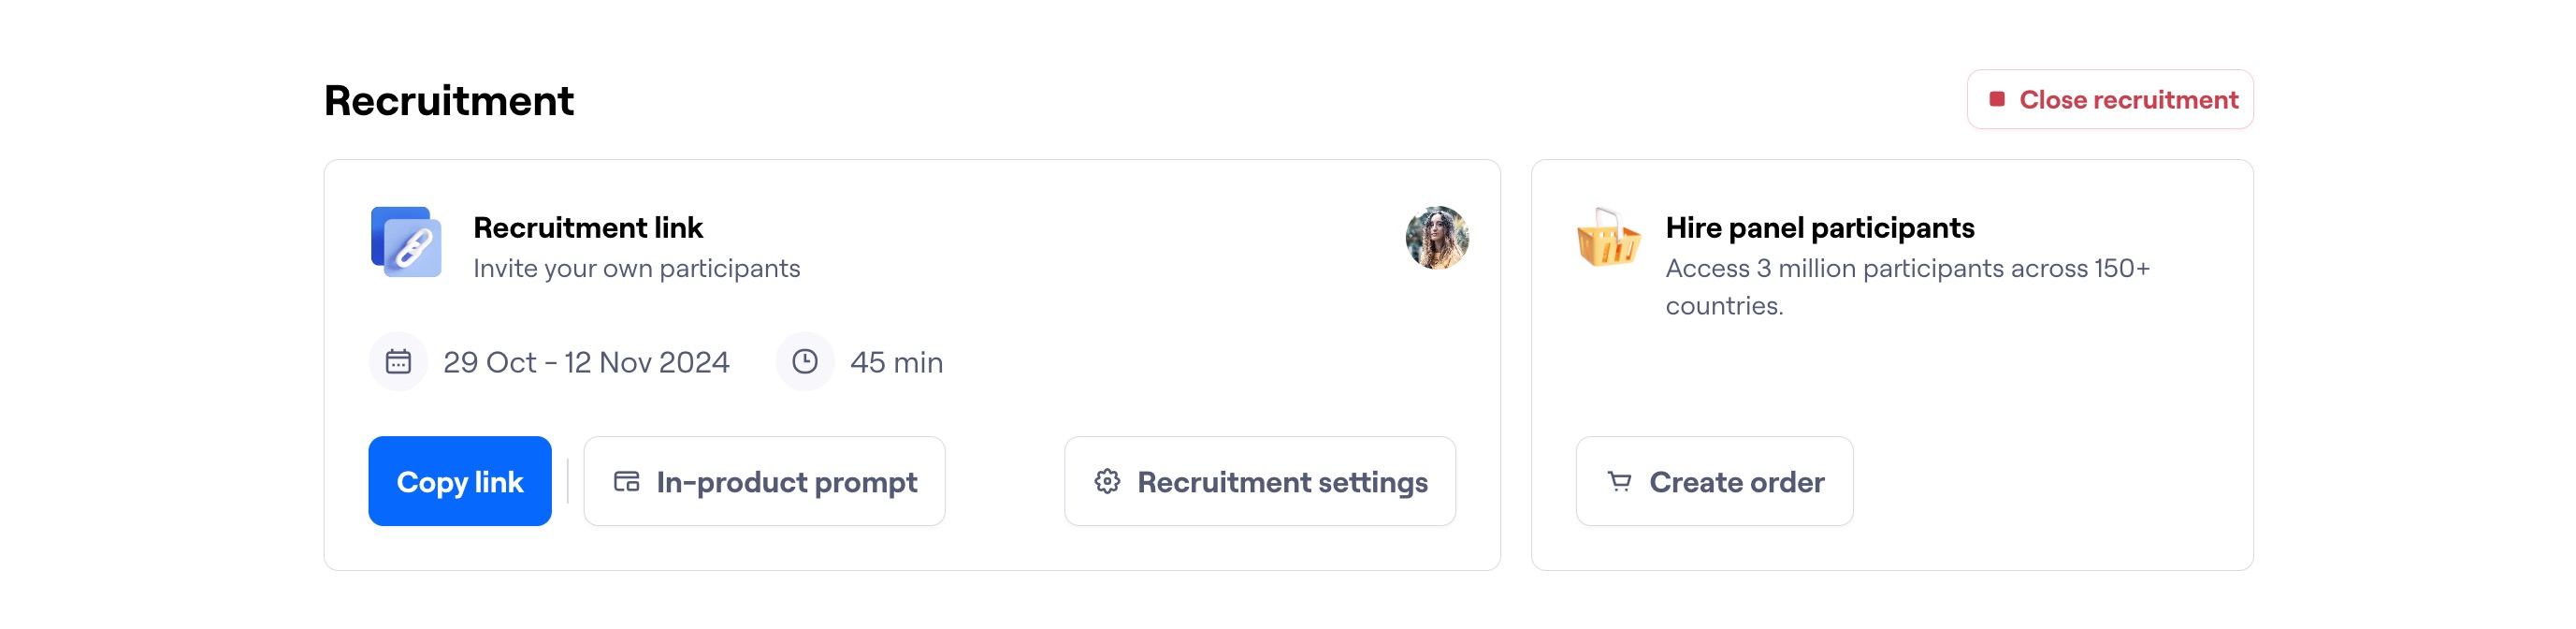
Sharing the recruitment link
Before sharing, it’s important to preview and test your links to rule out any content or performance errors, and make sure what’s being asked is clear. For best results, share the preview link with someone at your organization who isn’t directly related to the project.
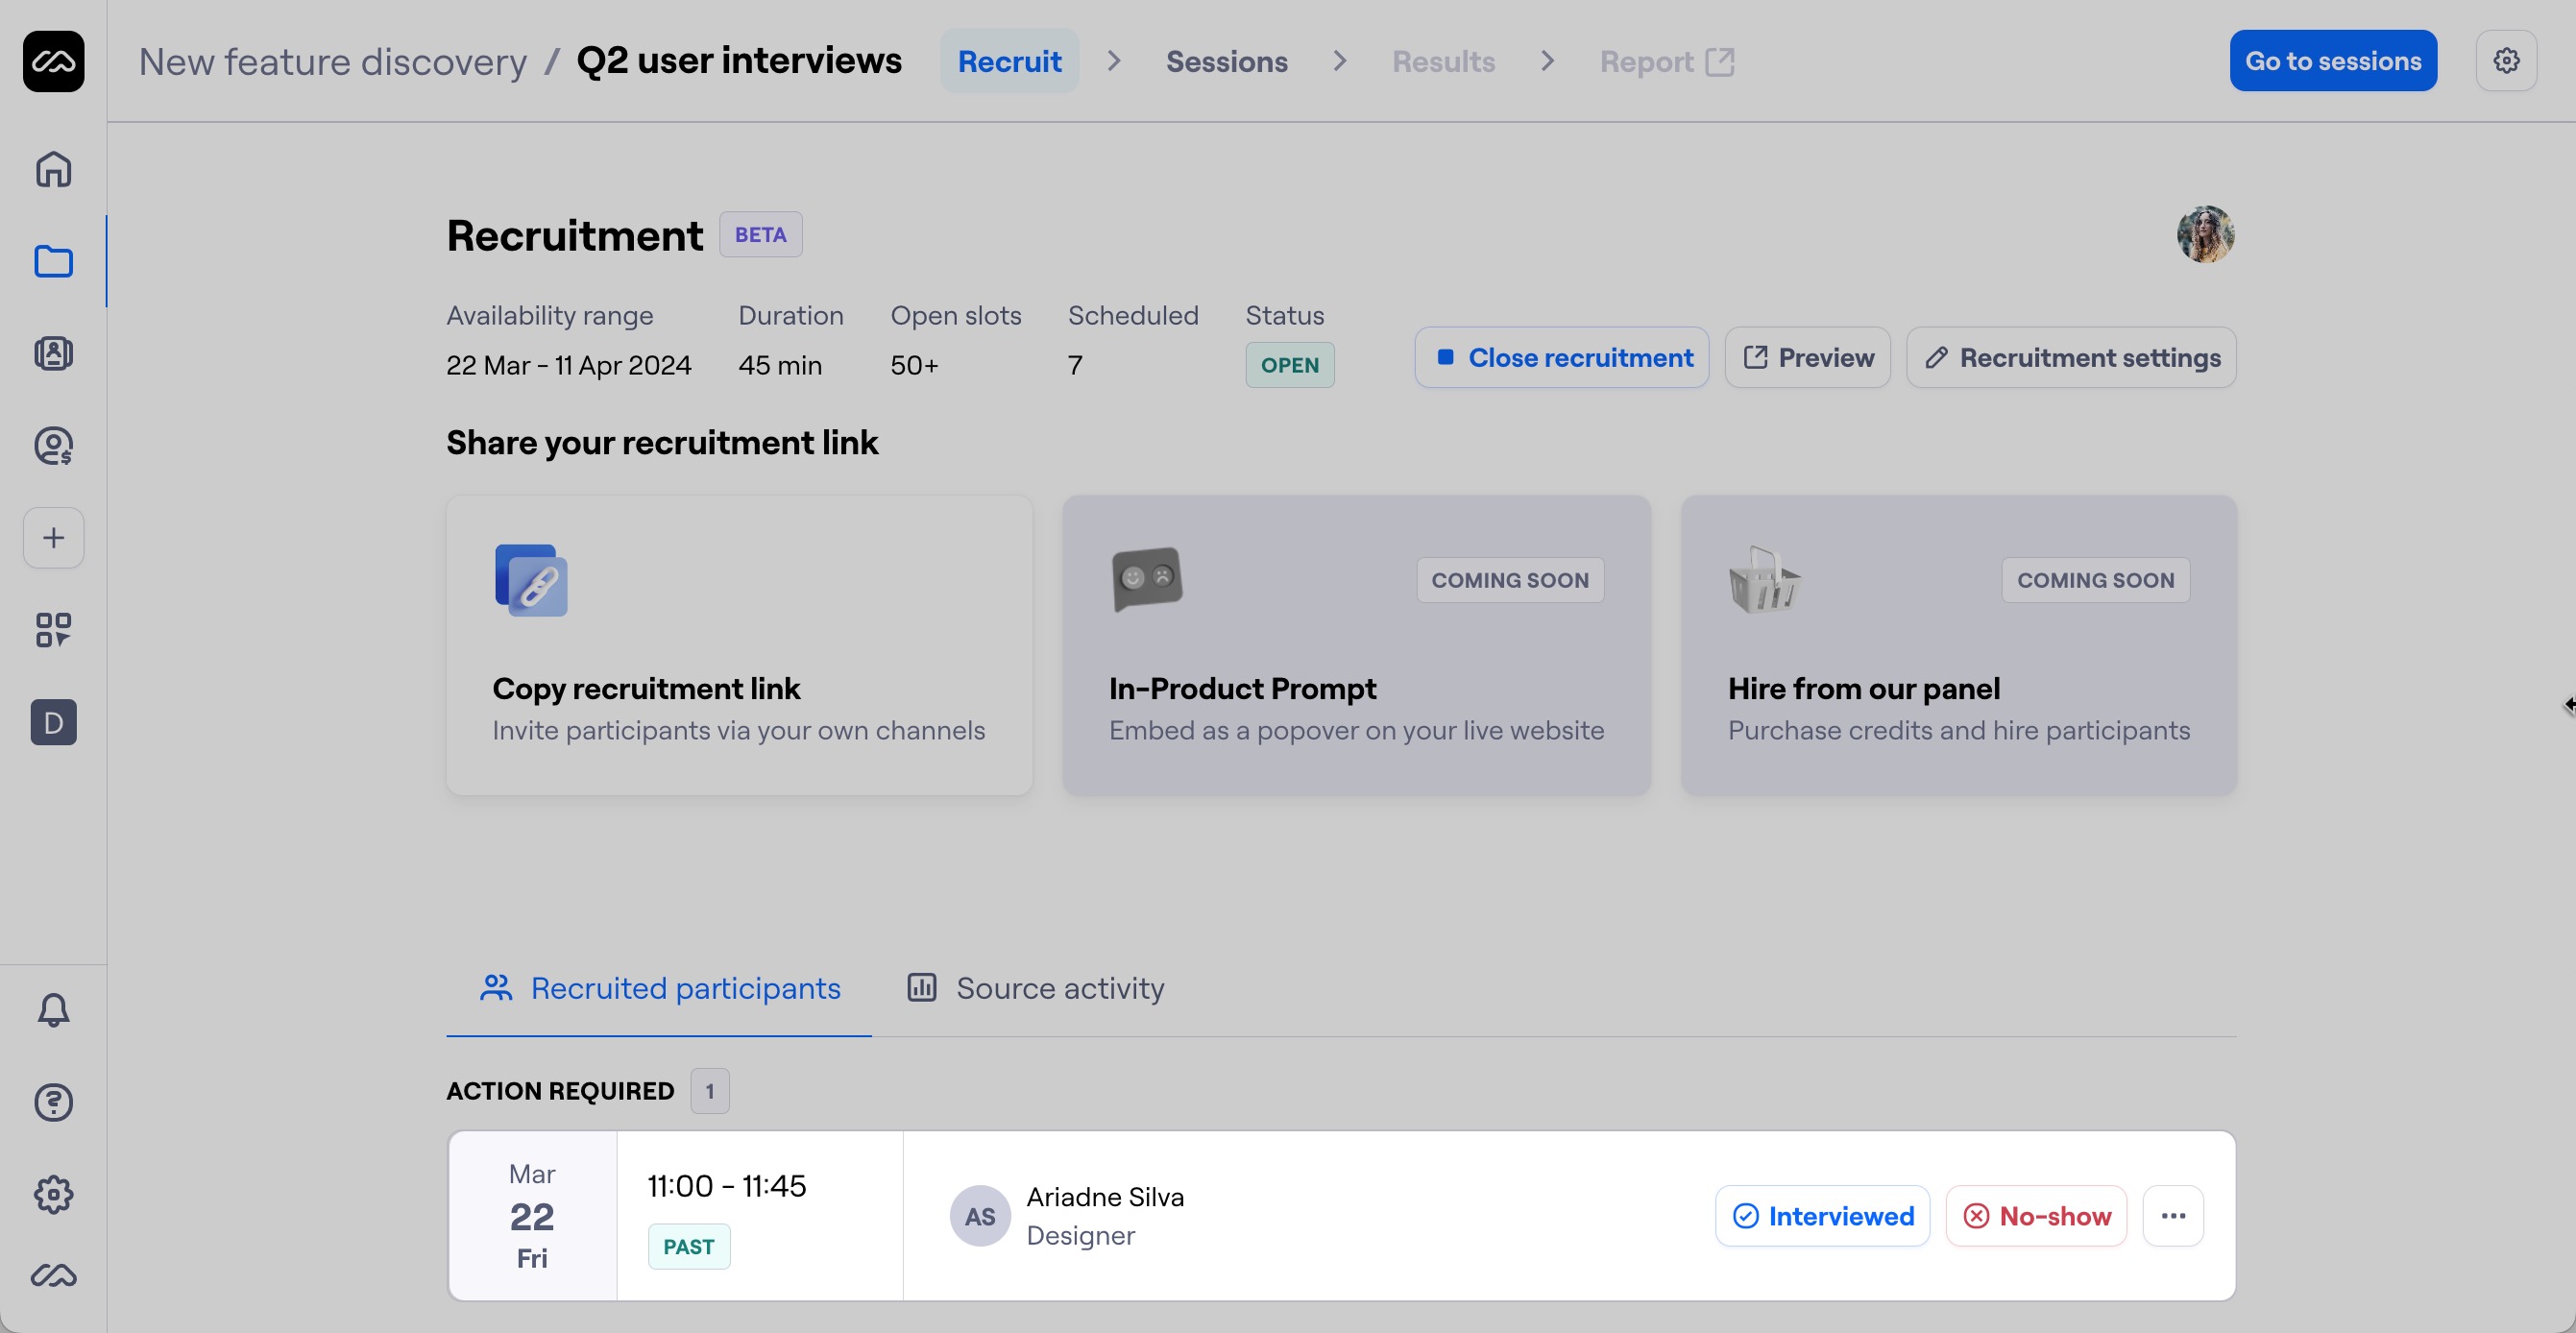
There are three ways to share your recruitment link with potential participants:
Copy link: Distribute the recruitment link through your own channels
In-product prompt: Allows you to embed the recruitment link as a popover on your website. Learn more about setting up prompts on your website
In interview study prompts, participants will always be directed to a new tab. It’s not possible to book an interview directly via the prompt.
Hire panel participants: Allows you to recruit panel participants for moderated interview studies. Learn more about the moderated panel
Conferencing link settings
Conferencing links are persistent links that participants can join at any time. You can share these links with third-party recruiters or panel providers to source participants on your behalf.
On conferencing links, the Last name and Email address fields are optional by default. The fields are still visible to participants, but they are not required to fill them in. This means a participant can join a session by providing only their first name.
What happens after the interview?
After the scheduled session, go back to the Recruit page to mark the participant as Interviewed or No-show.
Interviewed participants will then appear on the Sessions page, where you can upload the interview recording for analysis.
Maze only automatically uploads session recordings if using Maze Conferencing. If using other conferencing tools, remember to enable recording at the beginning of each session. Learn more
Restricted Contact Visibility for Moderated Studies
For organizations in regulated industries — such as banking, finance, and insurance — Maze offers Restricted Contact Visibility. This is an organization-level setting that can be enabled by your account manager.
When Restricted Contact Visibility is turned on, the following changes apply across your organization:
Email addresses are hidden from all Maze users. Maze still collects email addresses to send invitations, but they will no longer be visible anywhere in the Maze interface or included in CSV exports. This applies to both moderated and AI-moderated sessions.
Important: When this mode is enabled, participant email addresses are not visible anywhere in Maze. Make sure you have an alternative way to reach participants outside of Maze before enabling this setting if it is desired.
New contact form default to first name only. Whenever a new recruitment link is created, the contact form defaults the last name field to hidden. You can still change this in the contact form settings if needed.
Conferencing links only ask for a first name. Participants joining through a conferencing link will see only the first name field.
Still need help?
If you have any questions or concerns, please let our Support team know — we'll be happy to help!