Understanding your live website test results
Last updated: August 4, 2026
As participants complete your study, you'll start seeing insights in the Results dashboard.
The results for your live website testing blocks are displayed in three sections:
Usability metrics
Mission results
Responses
Before you start
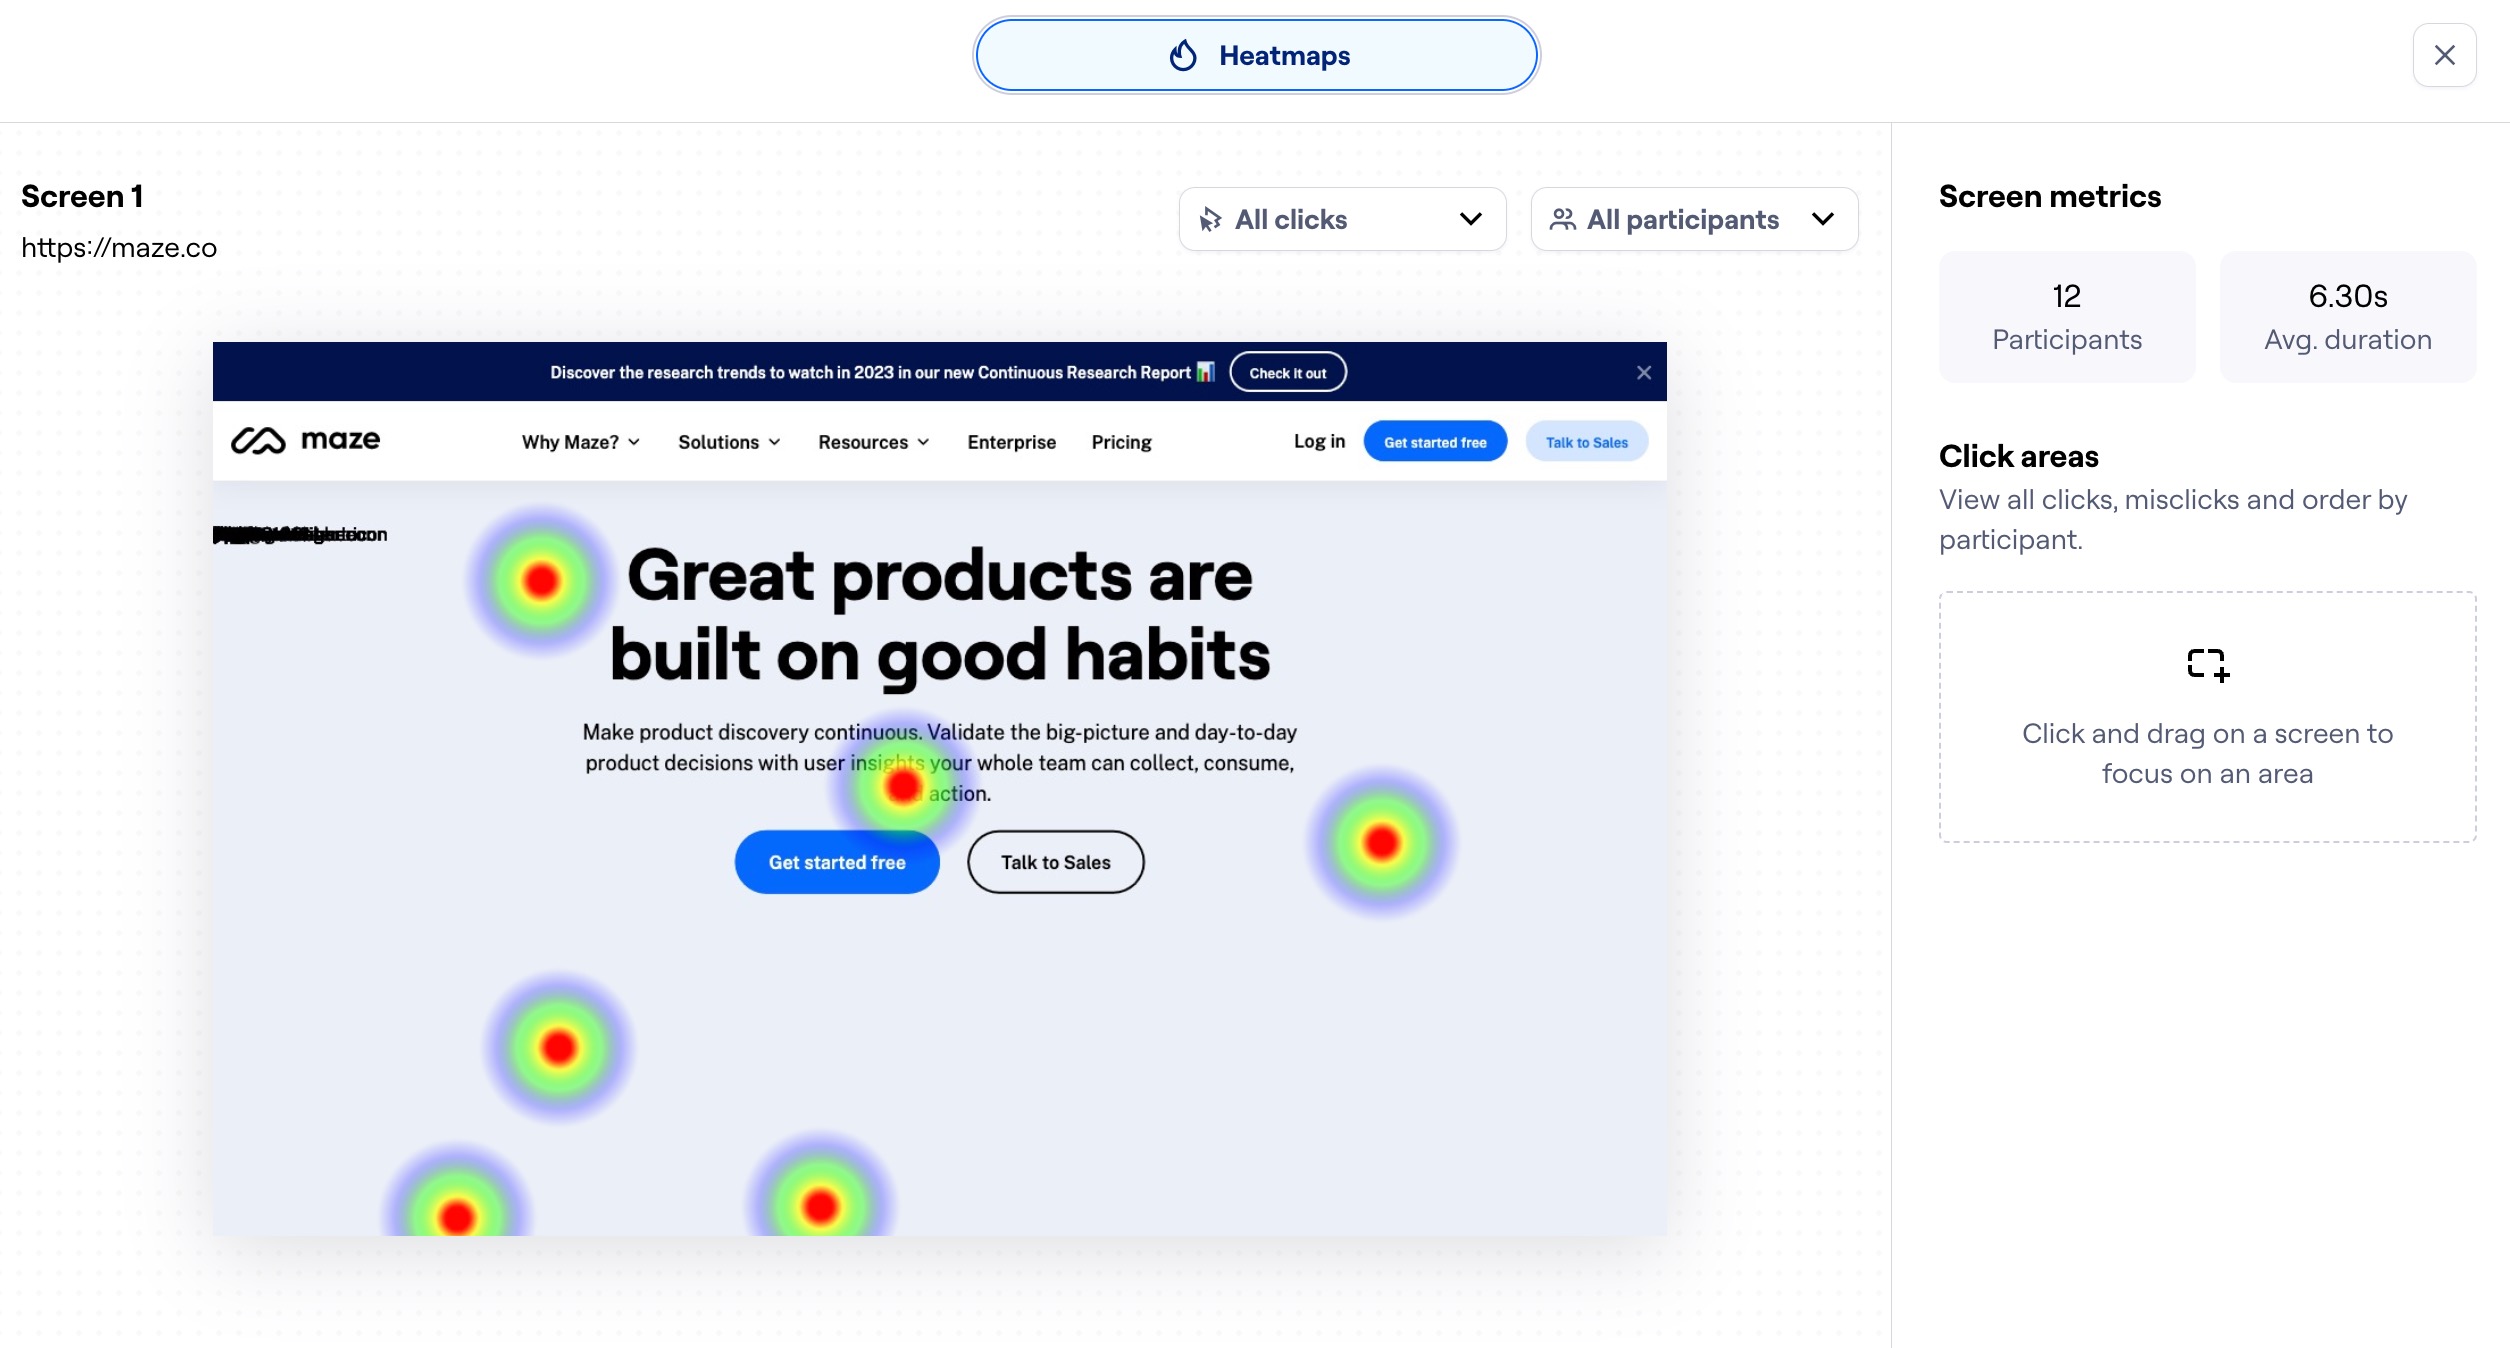
Clicks on a website test are captured as heatmaps. Non-click interactions (e.g. hover, drag) aren't shown on the heatmap.
We only take one snapshot as the user enters the page for the first time. For this reason, overlays and modals aren't captured in the heatmap.
For additional insight into your users' actions on the pages, you can enable Clips.
Usability metrics
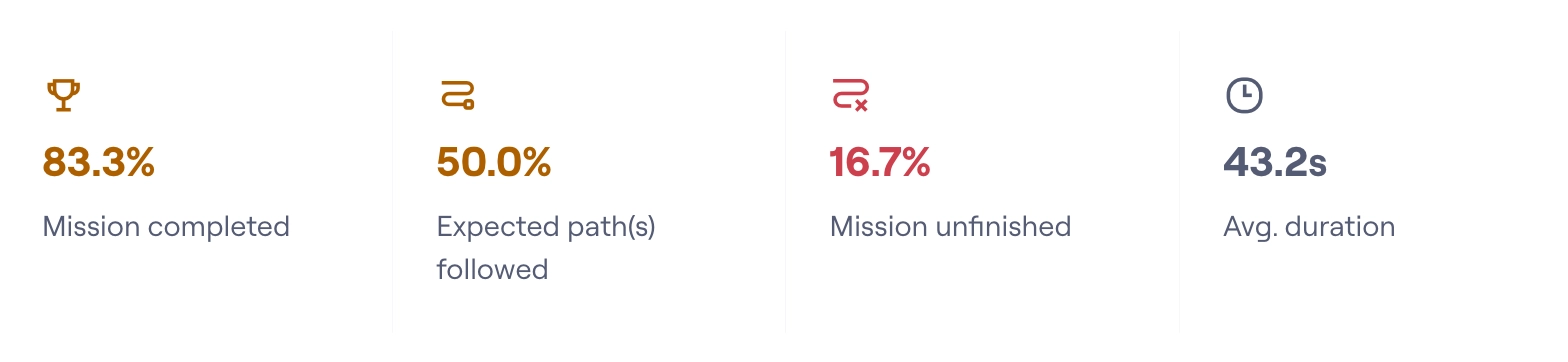
In this section, you'll see a summary containing the following metrics:
Mission completed: Percentage of participants who completed the mission
Expected paths followed: Percentage of participants who followed an expected path
Mission unfinished: Percentage of participants who have abandoned the mission
Average duration: Average time participants took to complete the mission
Mission paths
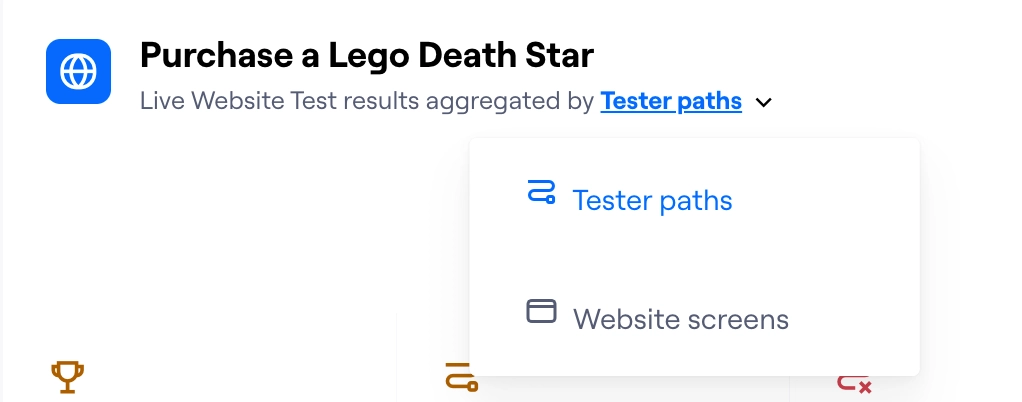
Results data is aggregated by path or by screen. To toggle between both, click the Live website test results aggregated by dropdown.
Mission path analysis
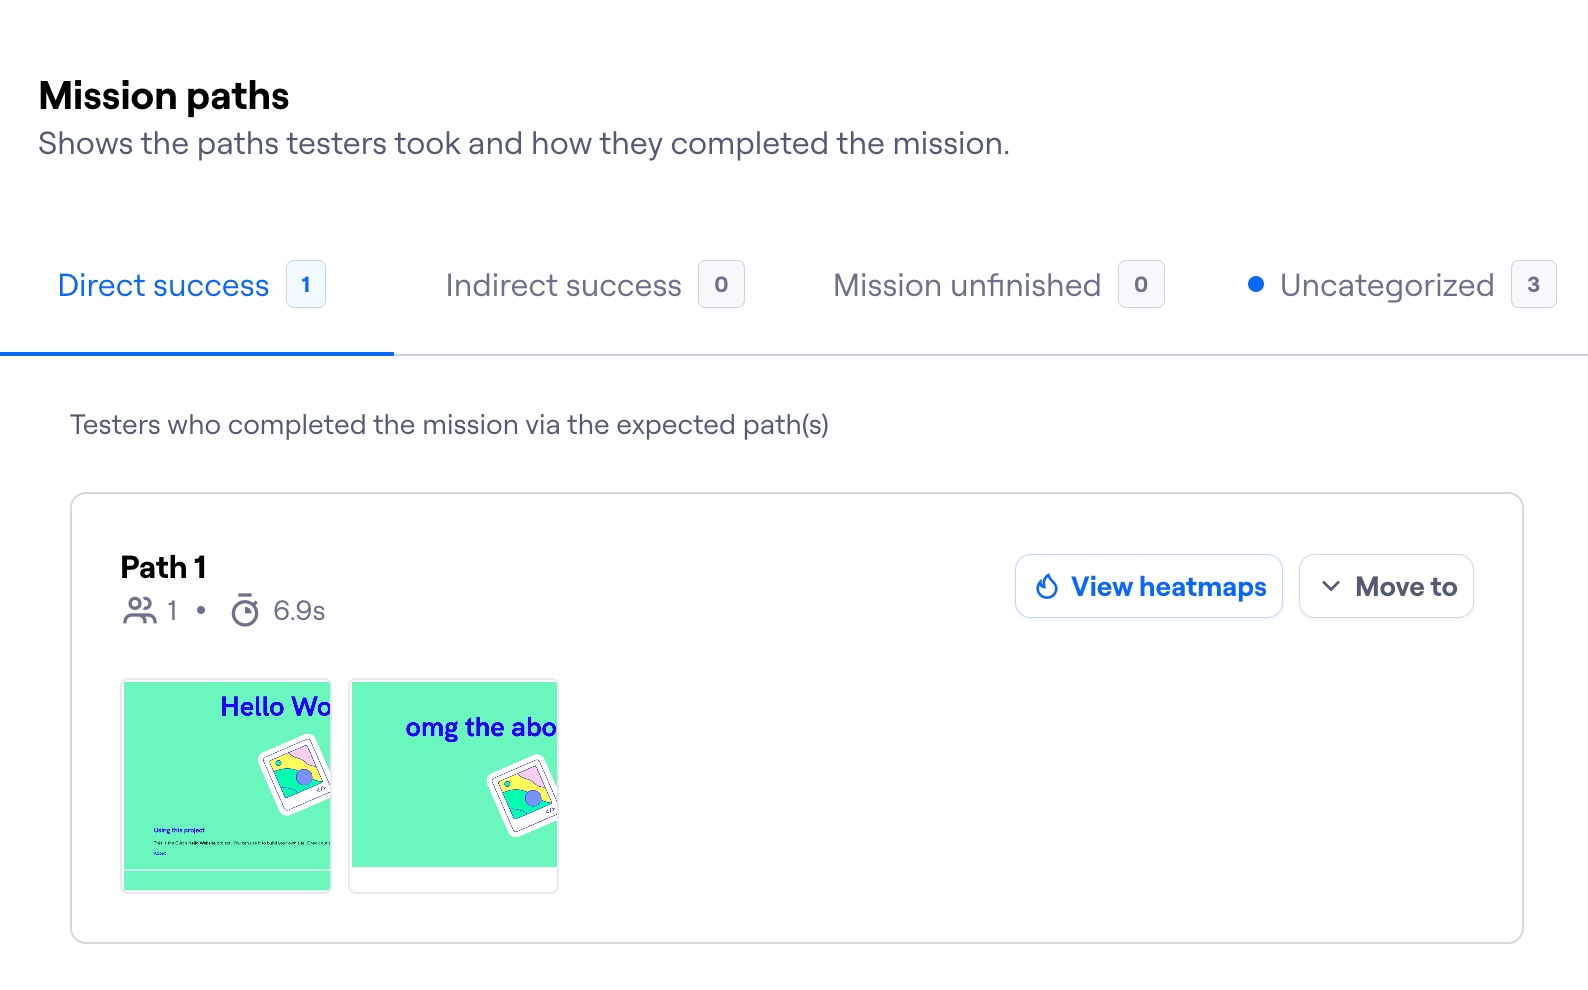
When you open your Results dashboard, you'll see the aggregated paths view by default. This view groups the paths taken by participants based on the mission outcome:
Direct success: Participants who completed the mission via the expected path(s).
Indirect success: Participants who completed the mission via unexpected path(s), but still reached the final page.
Mission unfinished: Participants who abandoned the mission, or finished it on the wrong screen.
Uncategorized: You may sometimes see an Uncategorized tab. It groups all participant paths that haven't been automatically assigned to a success category. Learn how to manually categorize paths
Under each tab, you'll see the paths corresponding to each outcome, including the number of participants who met that outcome.
Hover over each path and click View heatmaps to see the combined heatmaps from the participants who took that path. Learn more about heatmaps in Maze
If you've enabled Clips, you'll also be able to see the recordings here.
Screen analysis
Results data can also be grouped by the website screens your participants saw during the test.
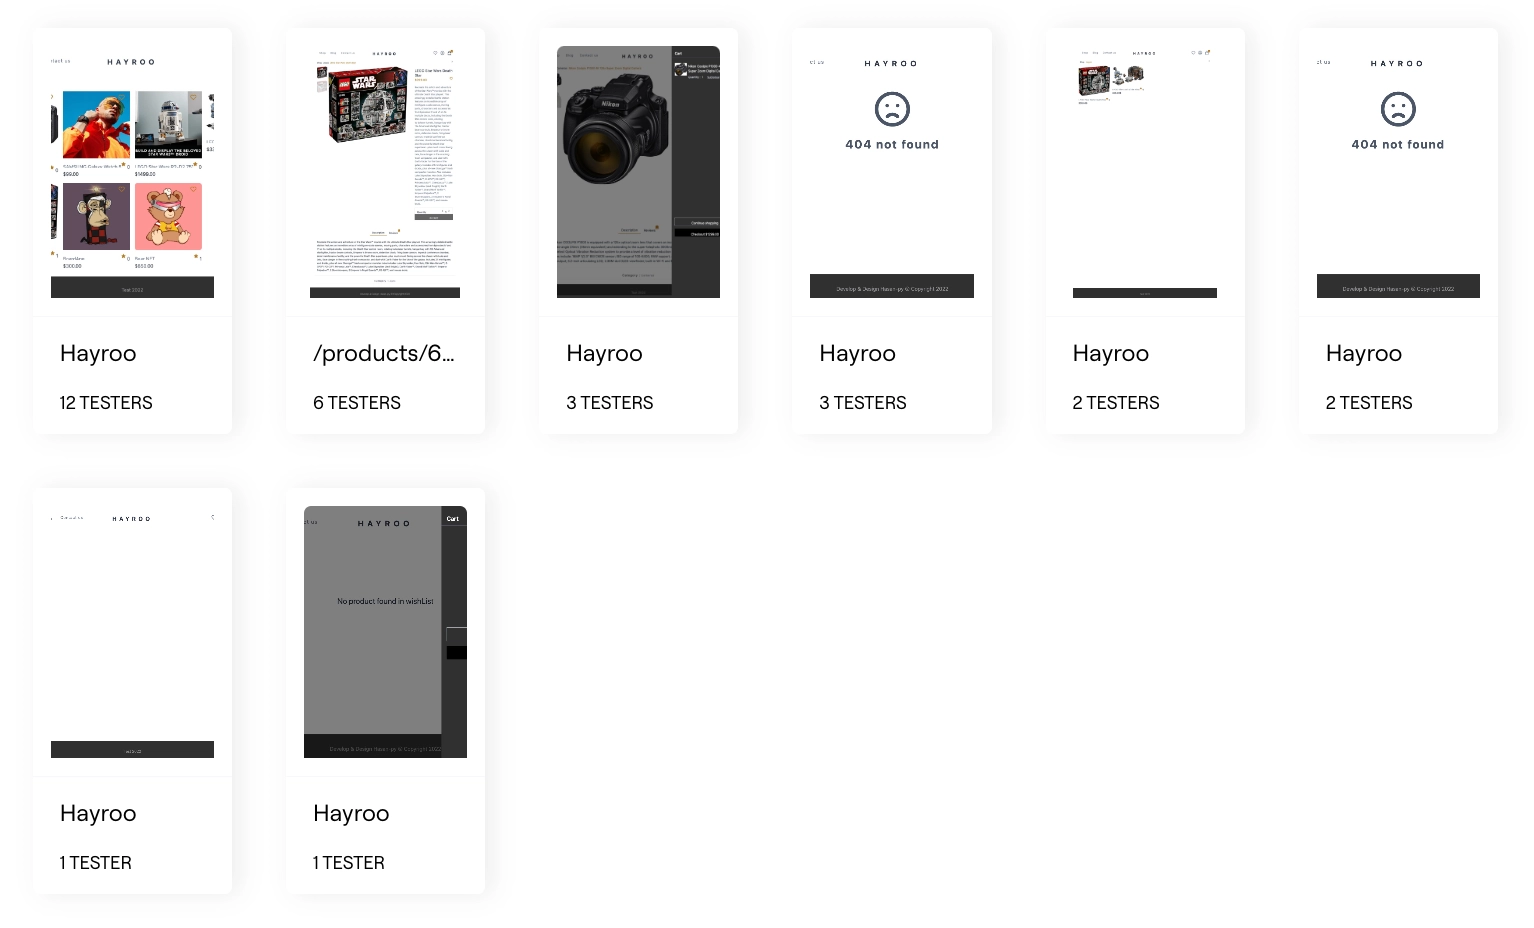
Click each screen to see the heatmap of your participant's interactions for that screen.
You can use the Clicks dropdown on the heatmap to display only your participant's first click on the screen. Learn more about click filtering
Responses
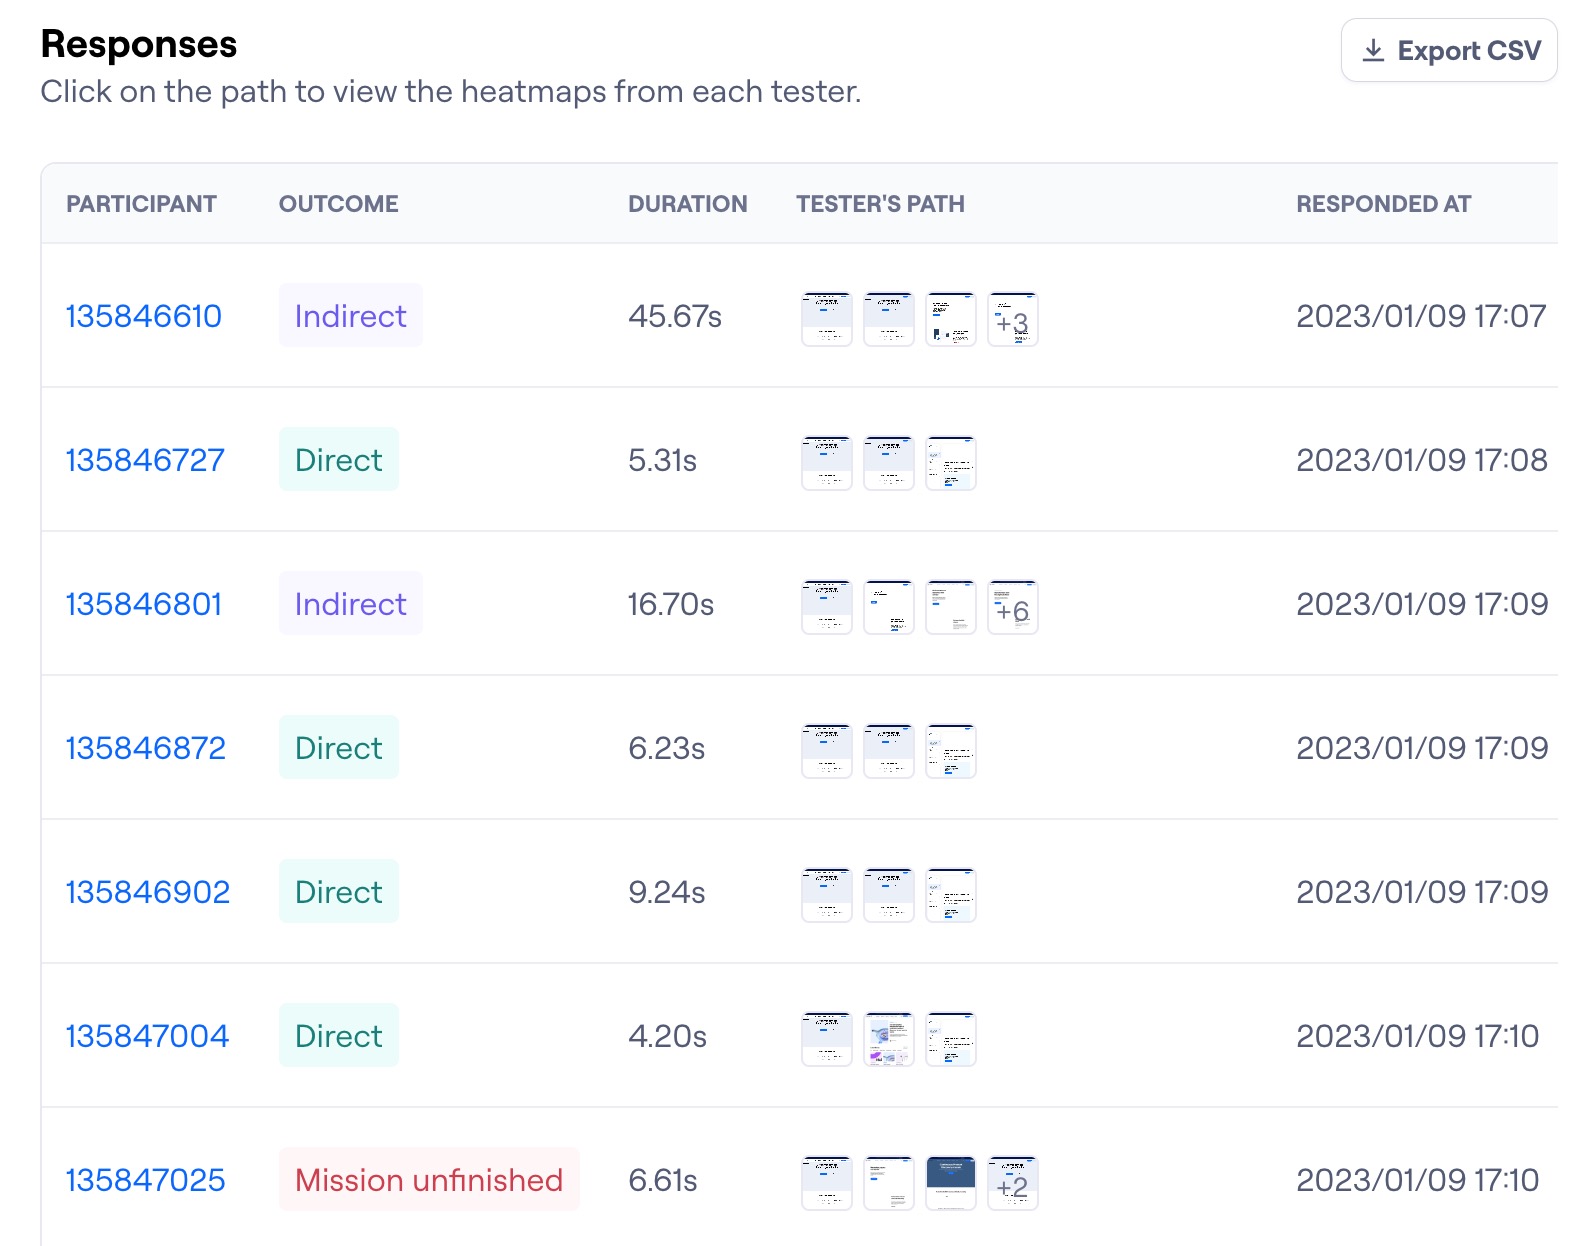
Under Responses, you can see information about each testing session:
Clips: Whether there are saved screen and/or audio and video recordings from the mission
Participant: The individual participant's ID
Outcome: Whether the mission resulted in a direct or indirect success, or the participant gave up
Duration: How long it took the participant to complete the mission
Participant path: A thumbnail preview of the first four screens of the path the participant took
Responded at: The date and time of the test
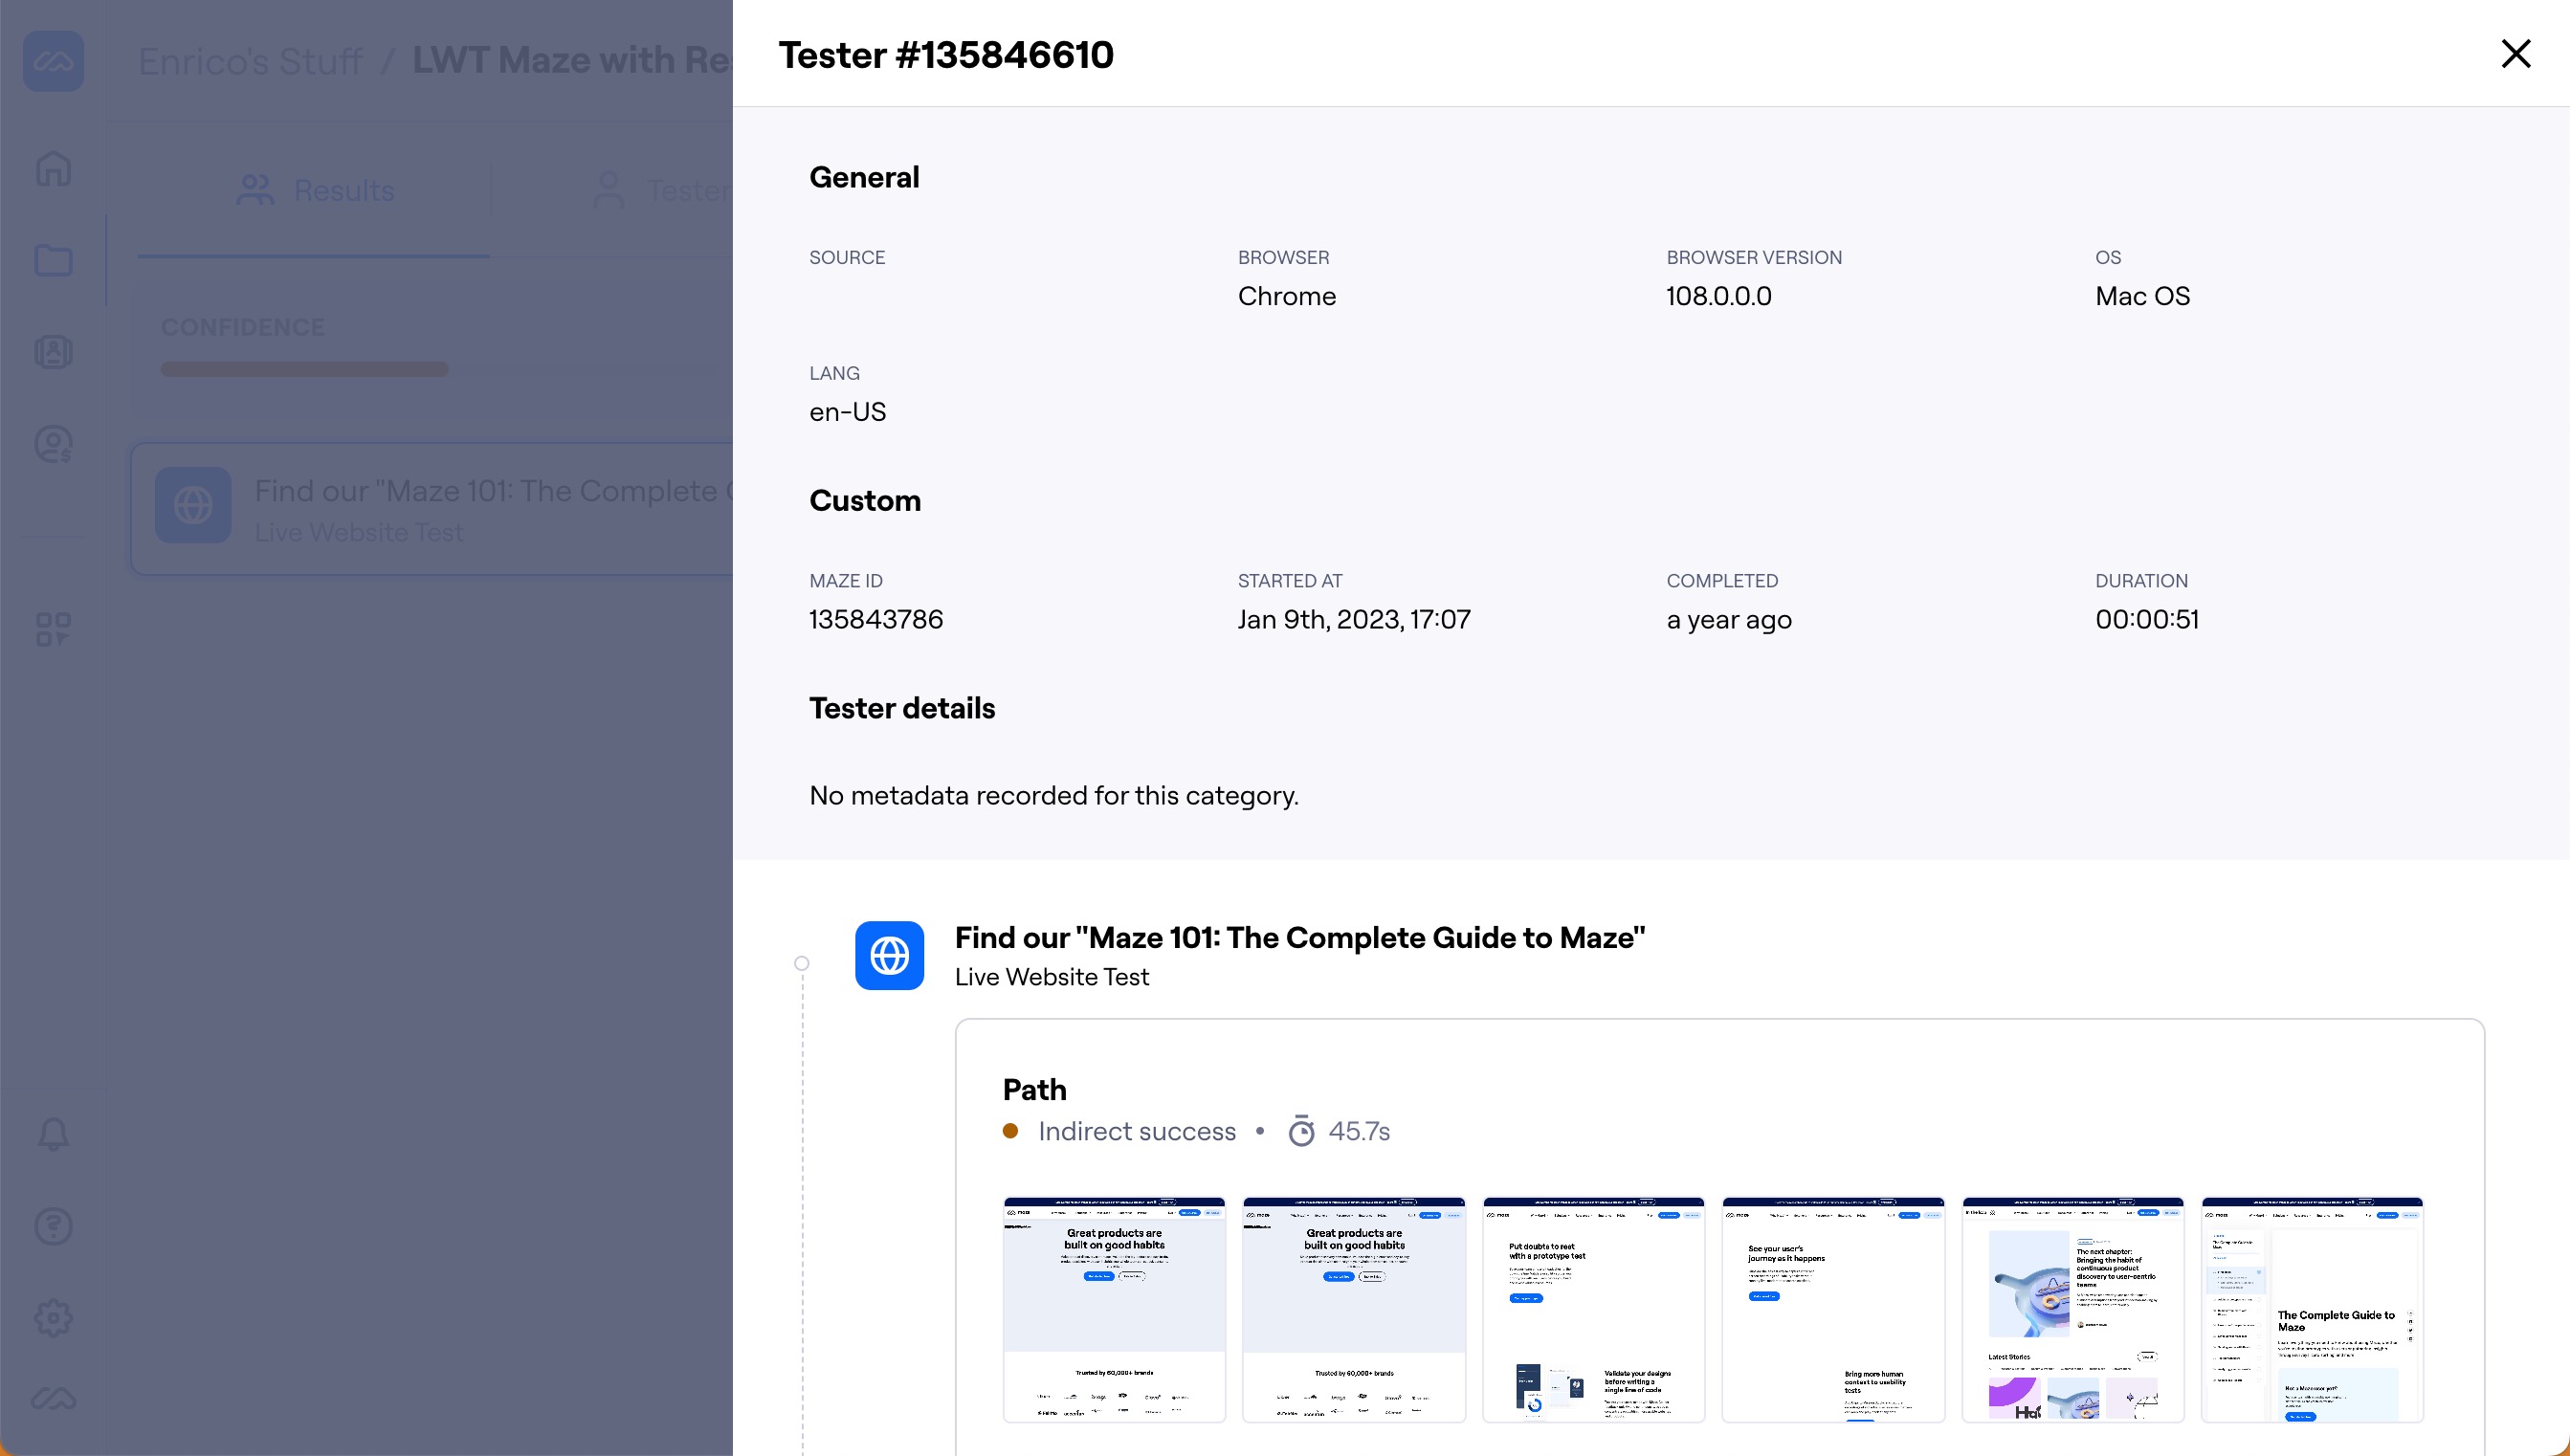
Click each row to see the individual participant's responses to the study, as well as the specific path they've taken on the mission.
How many participants do I need?
The number of participants you need depends on the type of research you're running. We recommend testing with at least 20 participants for unmoderated studies and 5–10 for moderated studies.
Learn more about the ideal number of participants
Filter your results
When reviewing your results, it can be helpful to refine the data to help you answer specific questions.
Filters allow you to narrow down results data based on participant metadata or by block answer/outcome.
Learn more about results filtering
Reports
Maze reports make it easy to analyze, share, and present your results data. Reports are automatically generated for every published study tested with at least one participant.
Export your results
To export your results data, open the More menu (•••) and click Export as CSV file or Export as image.
Still need help?
If you have any questions or concerns, please let our Support team know — we'll be happy to help!