Give instructions with a Context Screen
Last updated: June 25, 2026
A Context Screen allows you to add an extra screen to your maze. It’s a simple way to communicate with your testers during their session. This can help you engage your testers and give instructions at the beginning, during, or at the end of your maze.
When to use a Context Screen
A Context Screen can be especially helpful in unmoderated (unfacilitated) remote user tests, where no one is present during the testing sessions. They can help you communicate with people while they test your maze.
Here are a few ideas for when you could use a Context Screen:
At the start of your maze: If you want to introduce your company or the test by writing a longer description, you can add a Context Screen before moving on to the missions and questions.
Introduce a part of your maze: If your maze is composed of several parts (e.g. mission + questions or parts of different interfaces) you can add a Context Screen before each part begins to explain what’s about to happen.
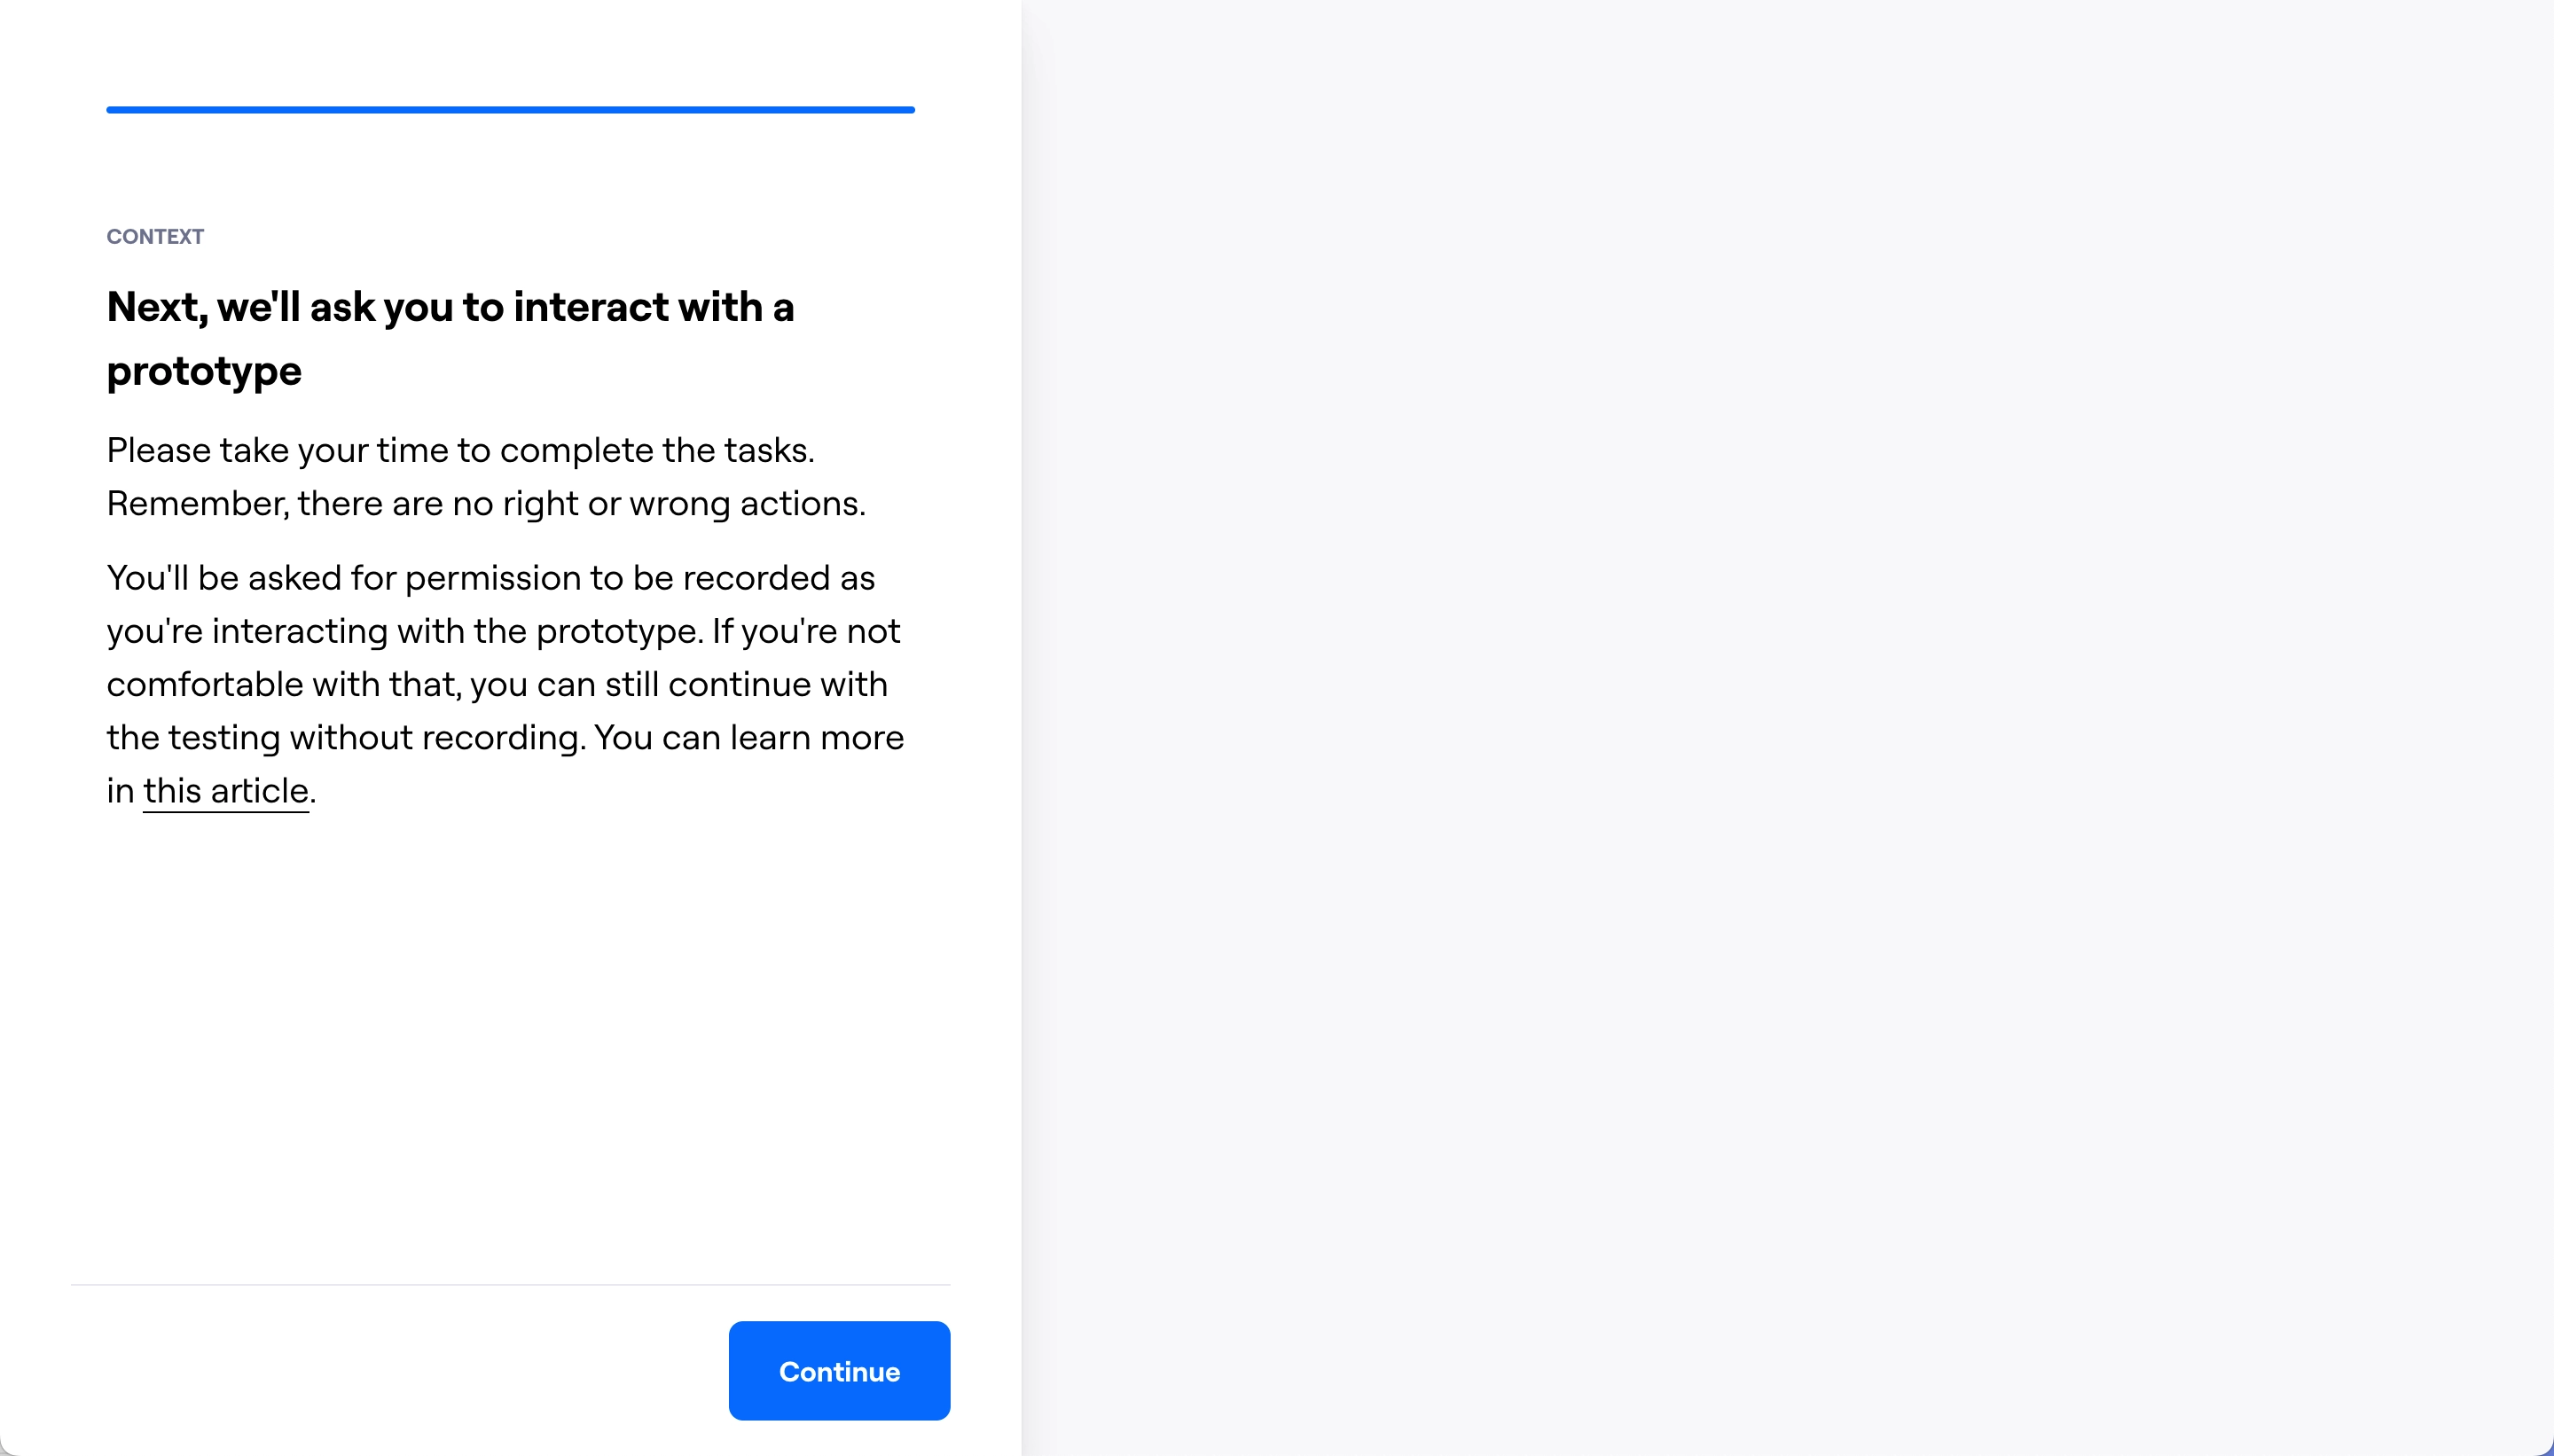
Before missions: You can also use a Context Screen to introduce prototype or website testing and what you expect participants to do. This could be helpful for novice testers.
At the end of the maze: If you want to share important information with participants before the Thank You Screen, you can add a Context Screen at the end.
Adding a Context Screen
Open your draft maze, or create a new one.
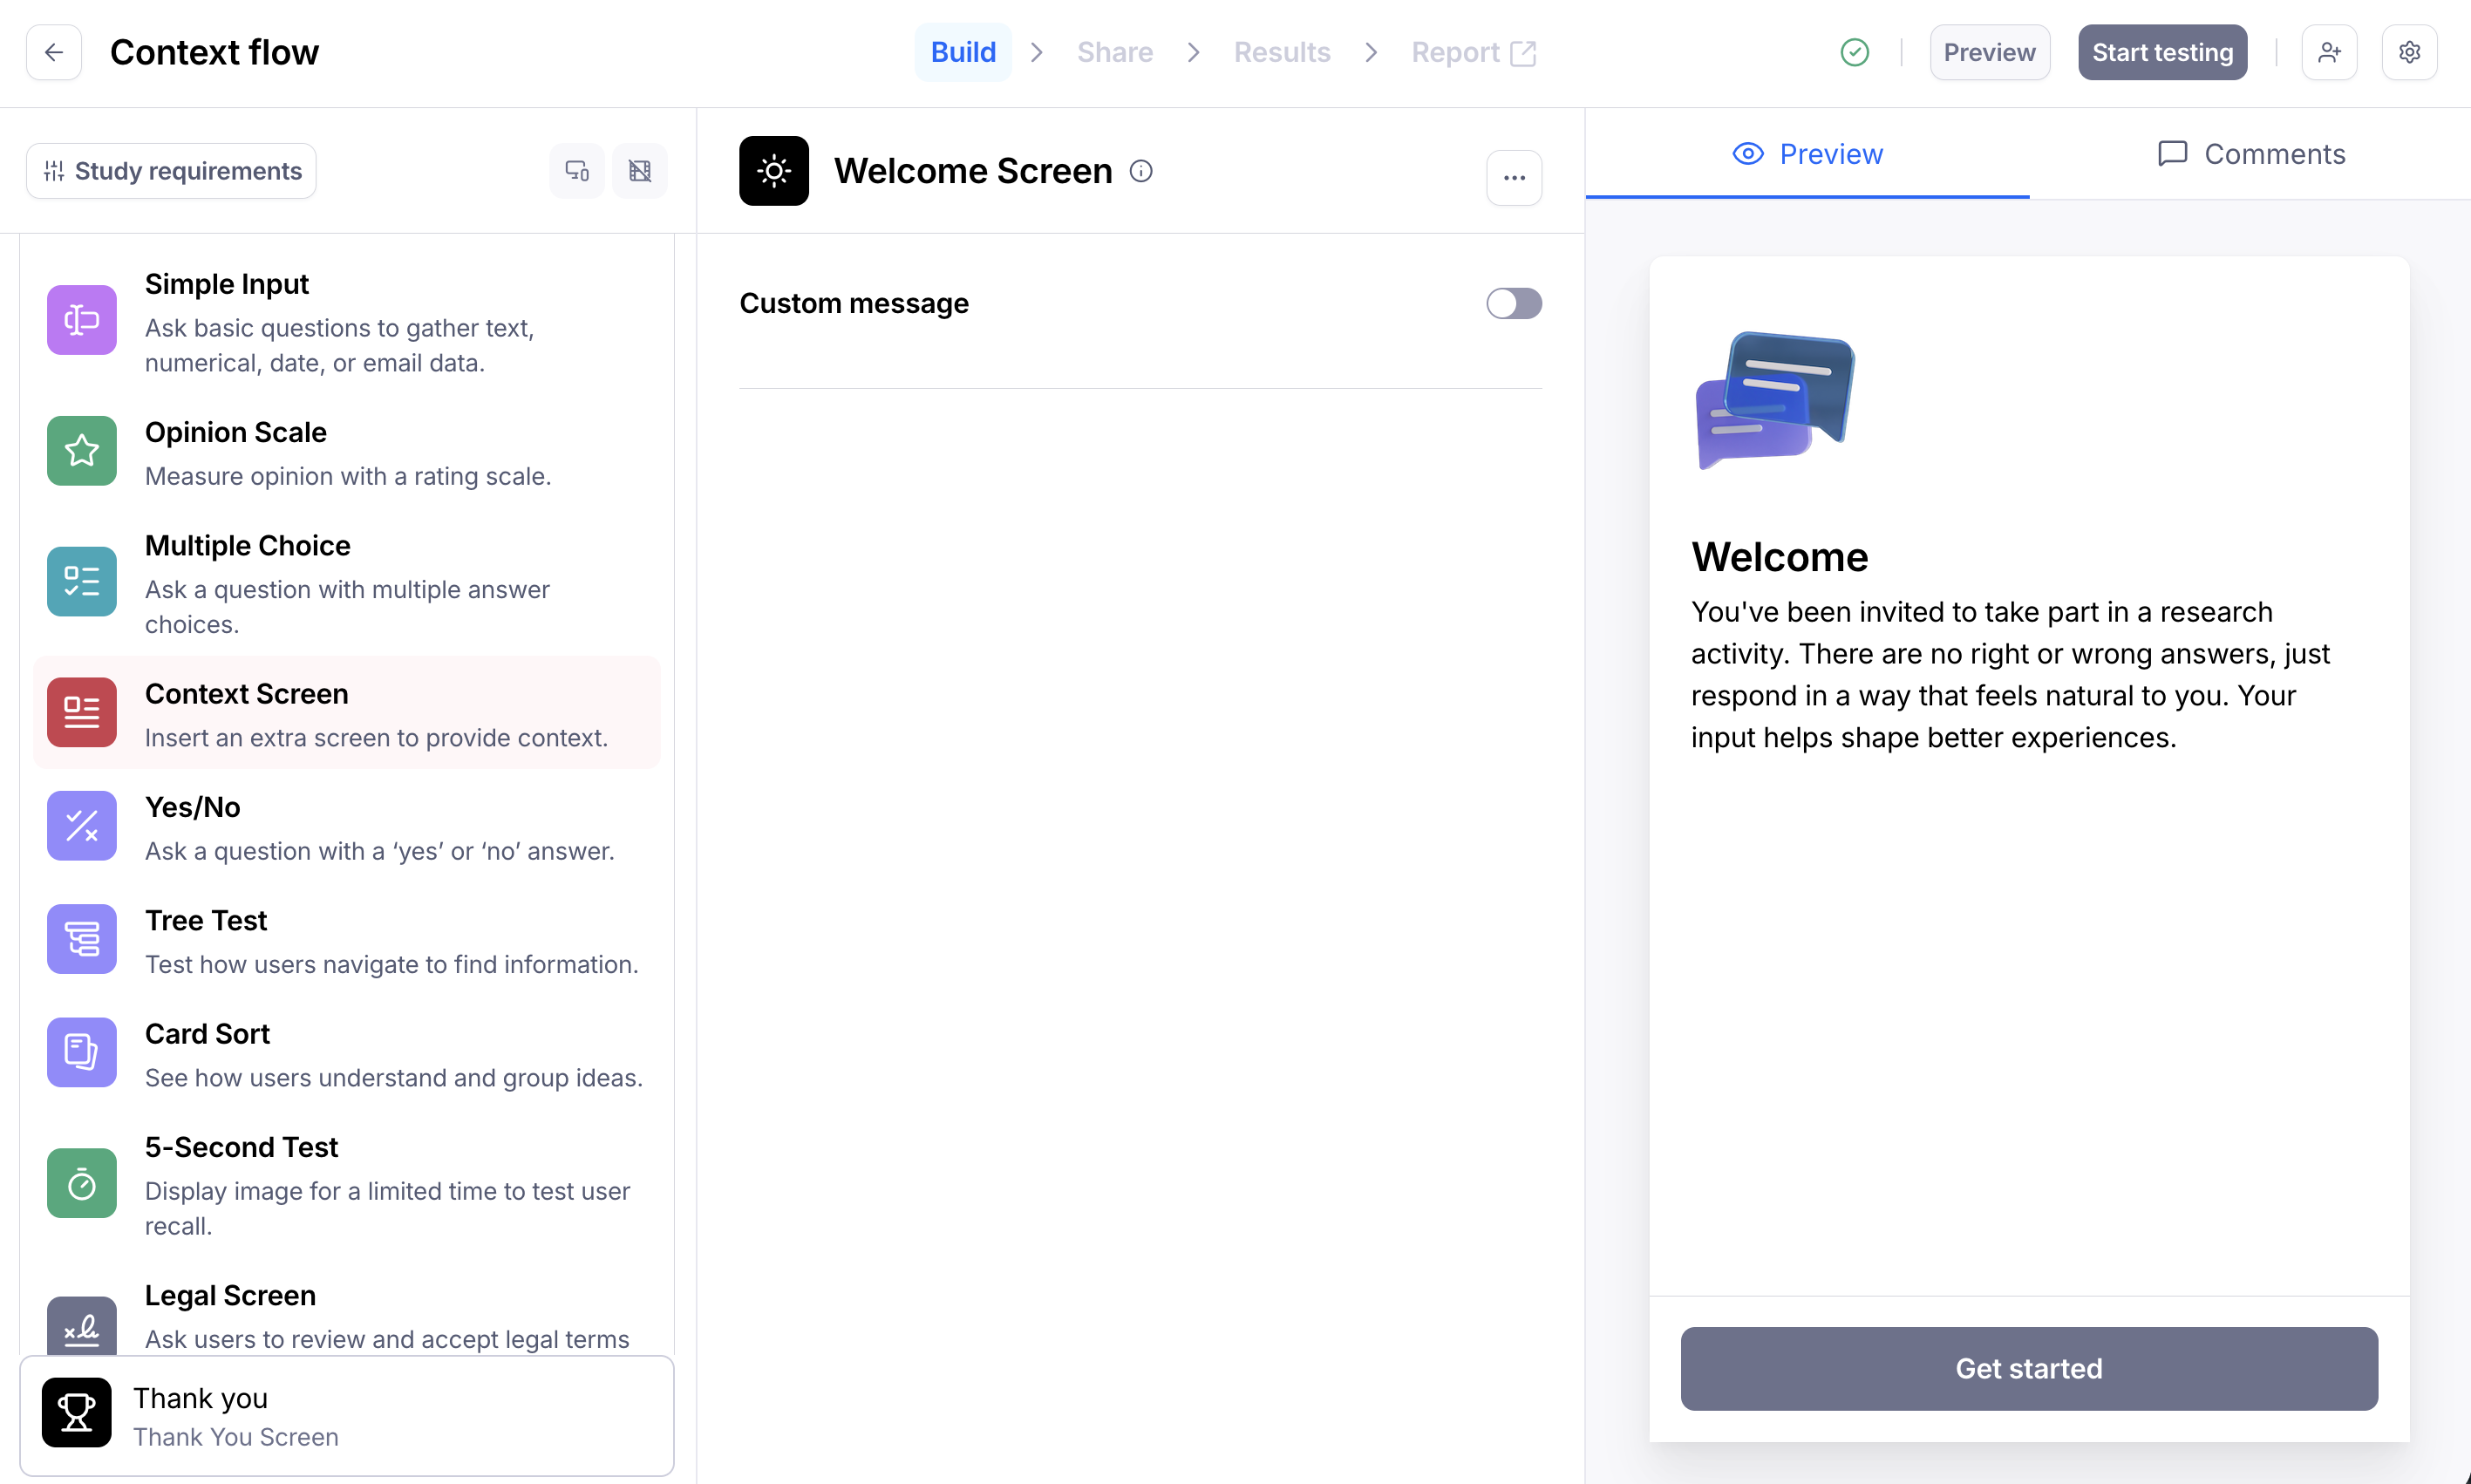
In the blocks list, click Add block, then select the Context Screen block from the drop-down.
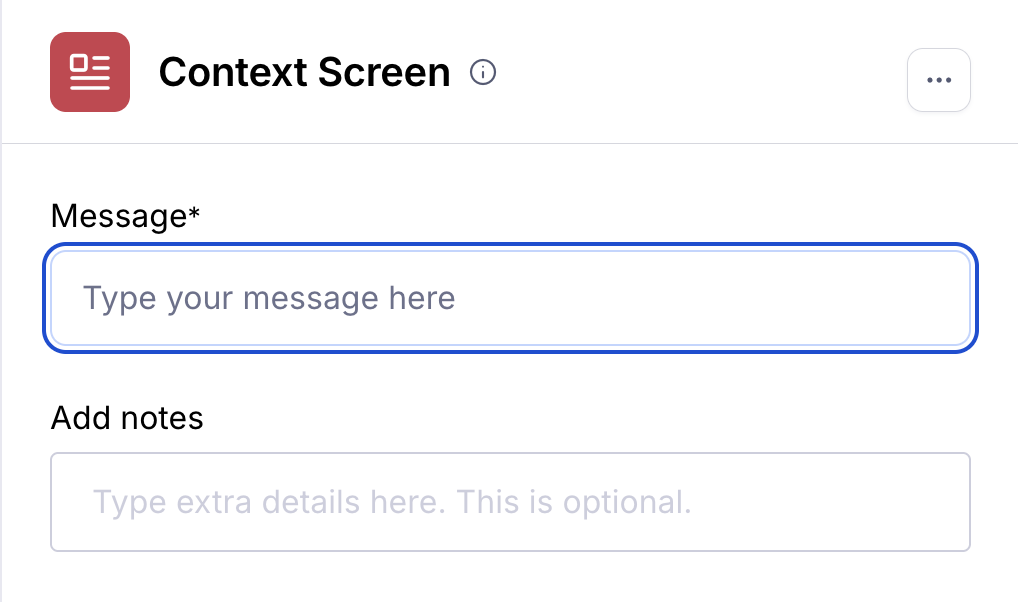
Type your Message. Optionally, add extra details in the Notes.
If needed, include an image in the context screen. Maze supports GIF, PNG, and JPG files. The maximum image size is 5mb. Learn more about using images alongside your questions

You can see how this block will appear to participants on the right-side Preview panel.