Creating and setting up your first study
Last updated: July 16, 2026
A study is a succession of unmoderated tasks and/or questions for testers to complete. It's a basic unit for testing in Maze. Each study has its own results and reporting, and test results are collected on a per-study basis.
Step 1: Create a study
From your Home screen, click New study and choose which study type you'd like to create. You can also select a new study to create from within a project.
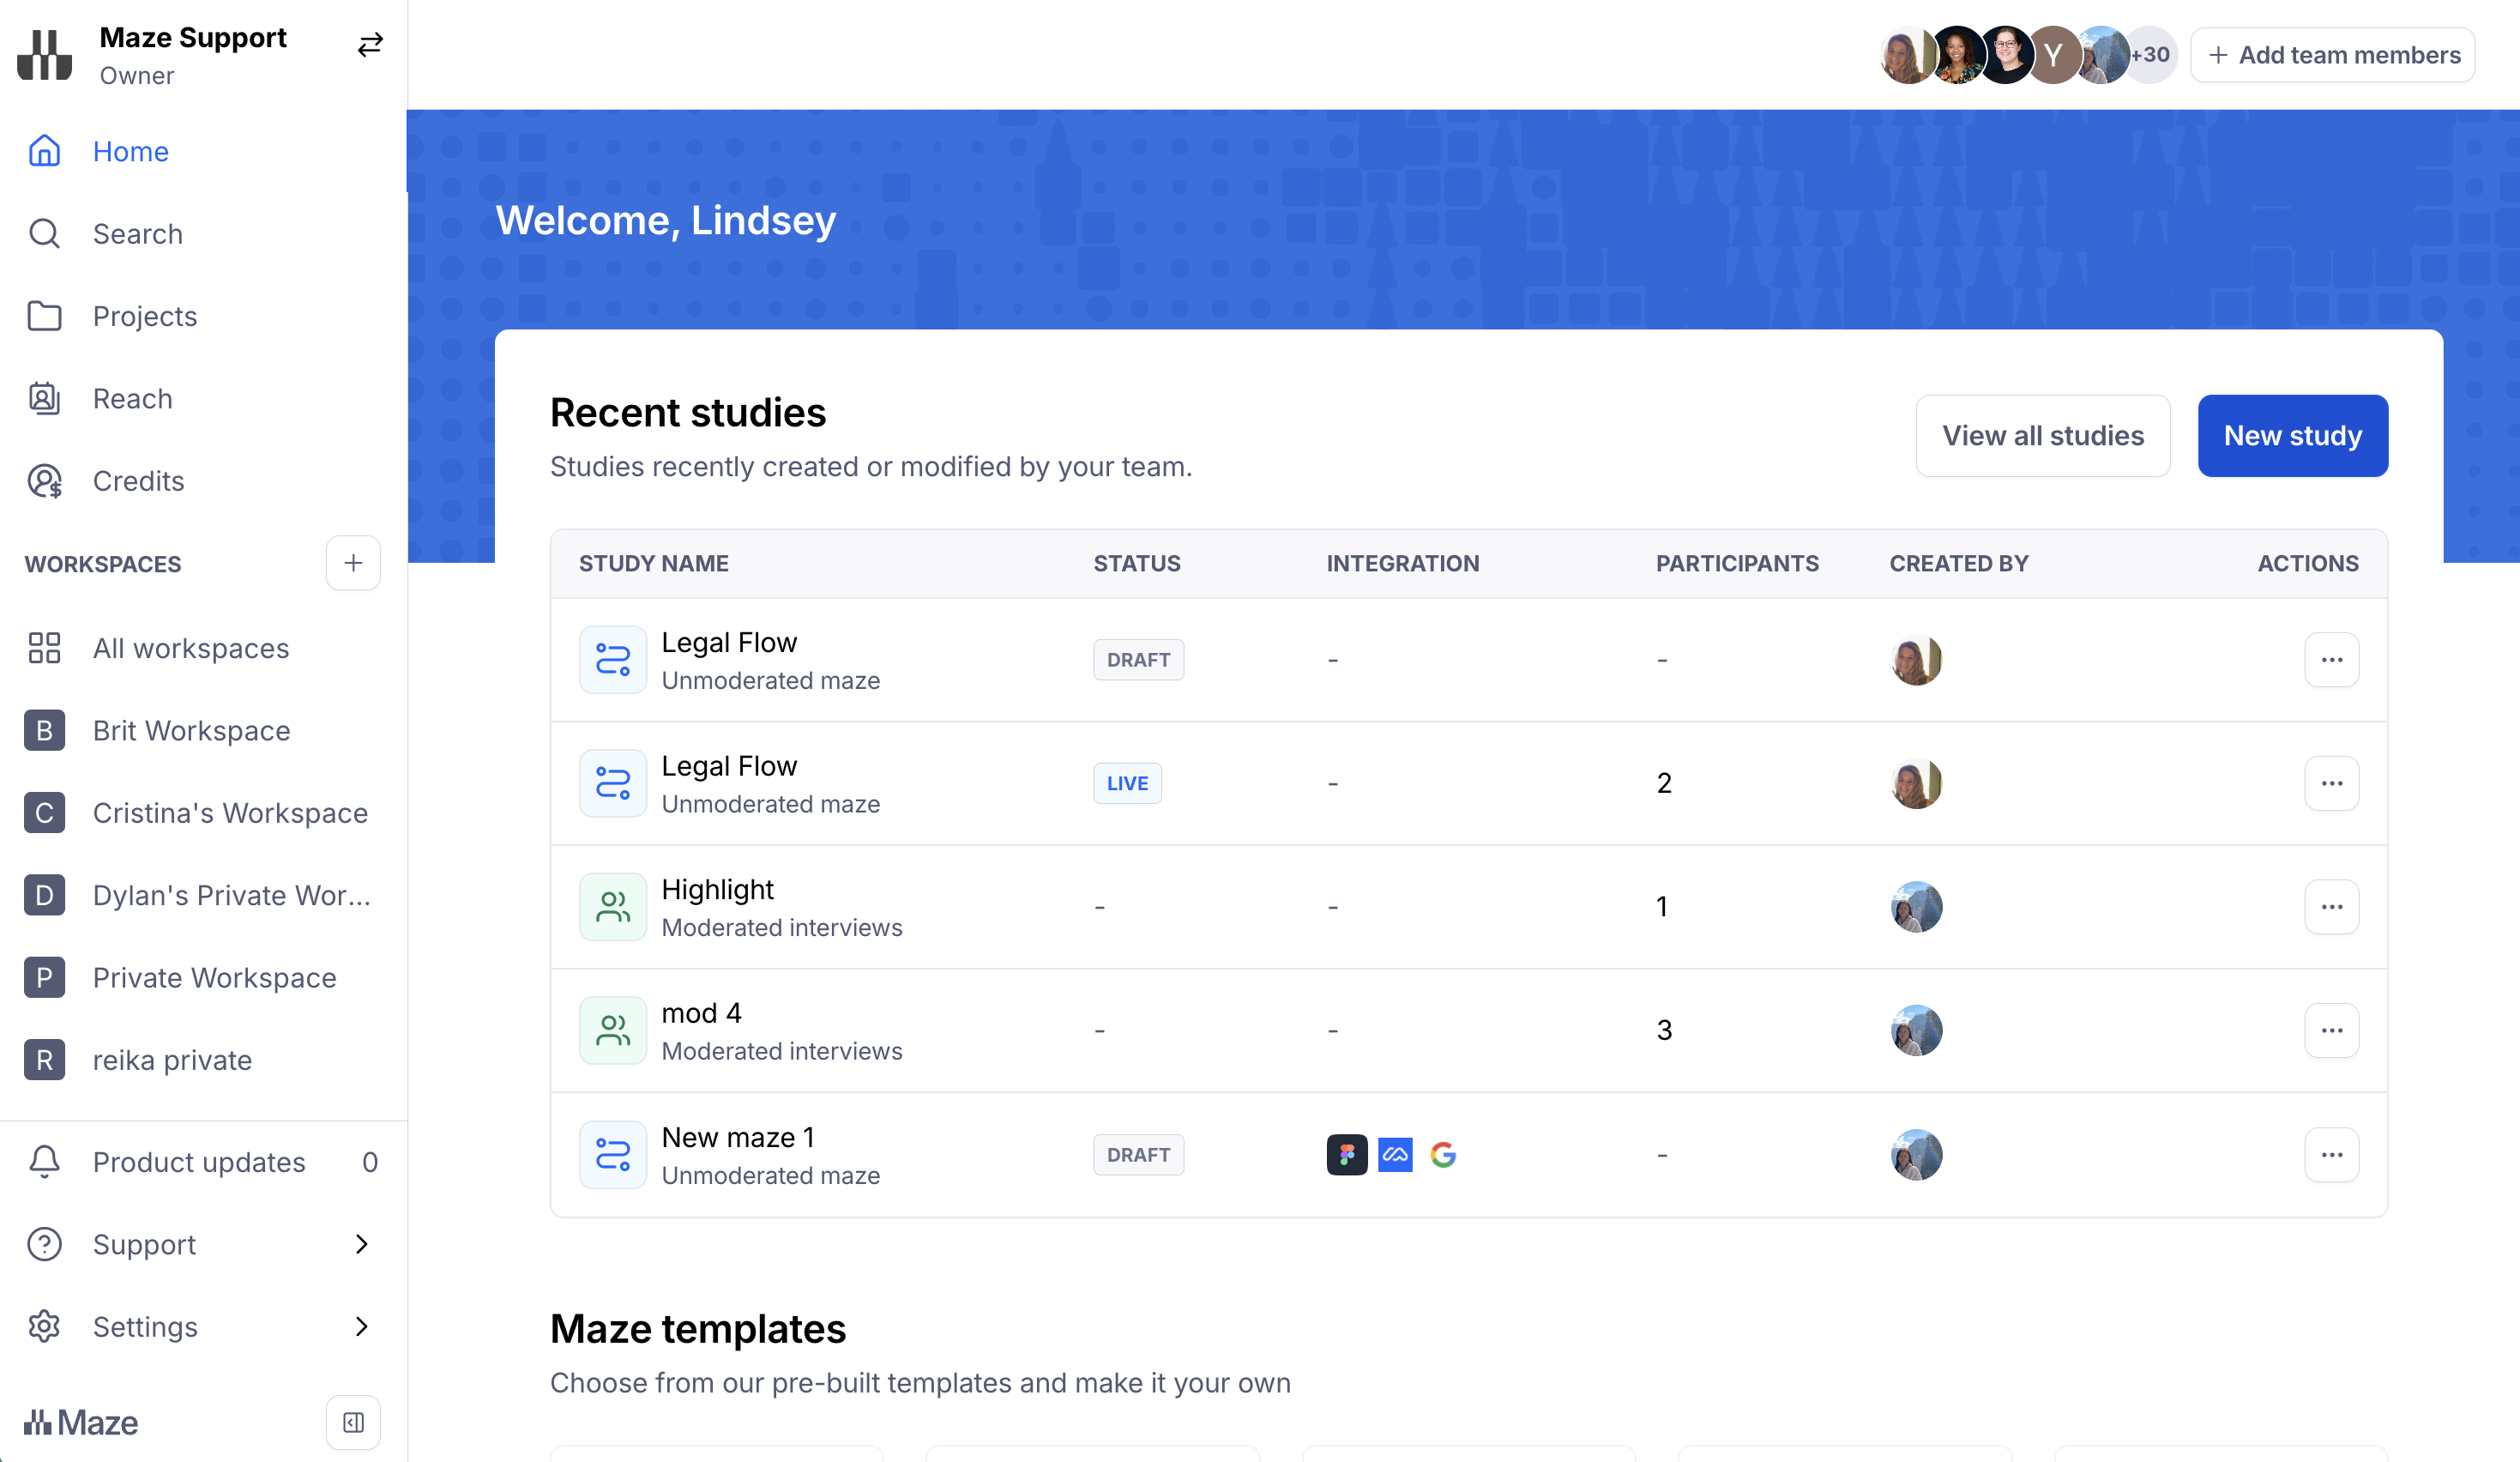
Start building your study by adding your first block. You need at least one block in your study.
Setting up an unmoderated study with AI
When creating an Unmoderated study, you can use AI-assisted setup to help you structure your study before you start building. This is useful when you have a clear research goal but want a head start on how to shape your study — rather than starting from scratch or adapting a template.
How to access it
AI-assisted setup is an Enterprise plan feature.
From either your Home screen or from within a specific project, select Unmoderated as your study type, then choose Guided setup to generate a study plan, tasks and questions with AI.
How the flow works
Describe your research goal — Tell the AI what you're trying to learn. The more context you provide, the more tailored your draft study structure will be.
Review the draft structure — The AI generates a suggested outline based on your goal, including recommended blocks and a logical flow.

Refine via chat — If the draft isn't quite right, iterate in the chat: ask the AI to adjust, add, or remove sections until the structure reflects what you need.
Continue to the builder — Once you're satisfied with the draft, proceed to the study builder where the structure is applied and you can begin configuring each block.
In the builder
When you enter the builder with an AI-generated draft, blocks that still require your input will appear in an error state. You'll be automatically dropped into the first block that needs attention so you can work through the configuration in order.

Note: AI-assisted setup is a one-way flow. Once you move to the builder, you can't return to the AI setup experience — take the time to refine the structure in the chat before continuing.
Step 2: Add blocks
To add tasks, questions, and any other additional screens to your studies, you'll use blocks. For instance, you'll add a block to test a prototype or a website, or to run a card sorting exercise.
Learn more about all the block types you can use
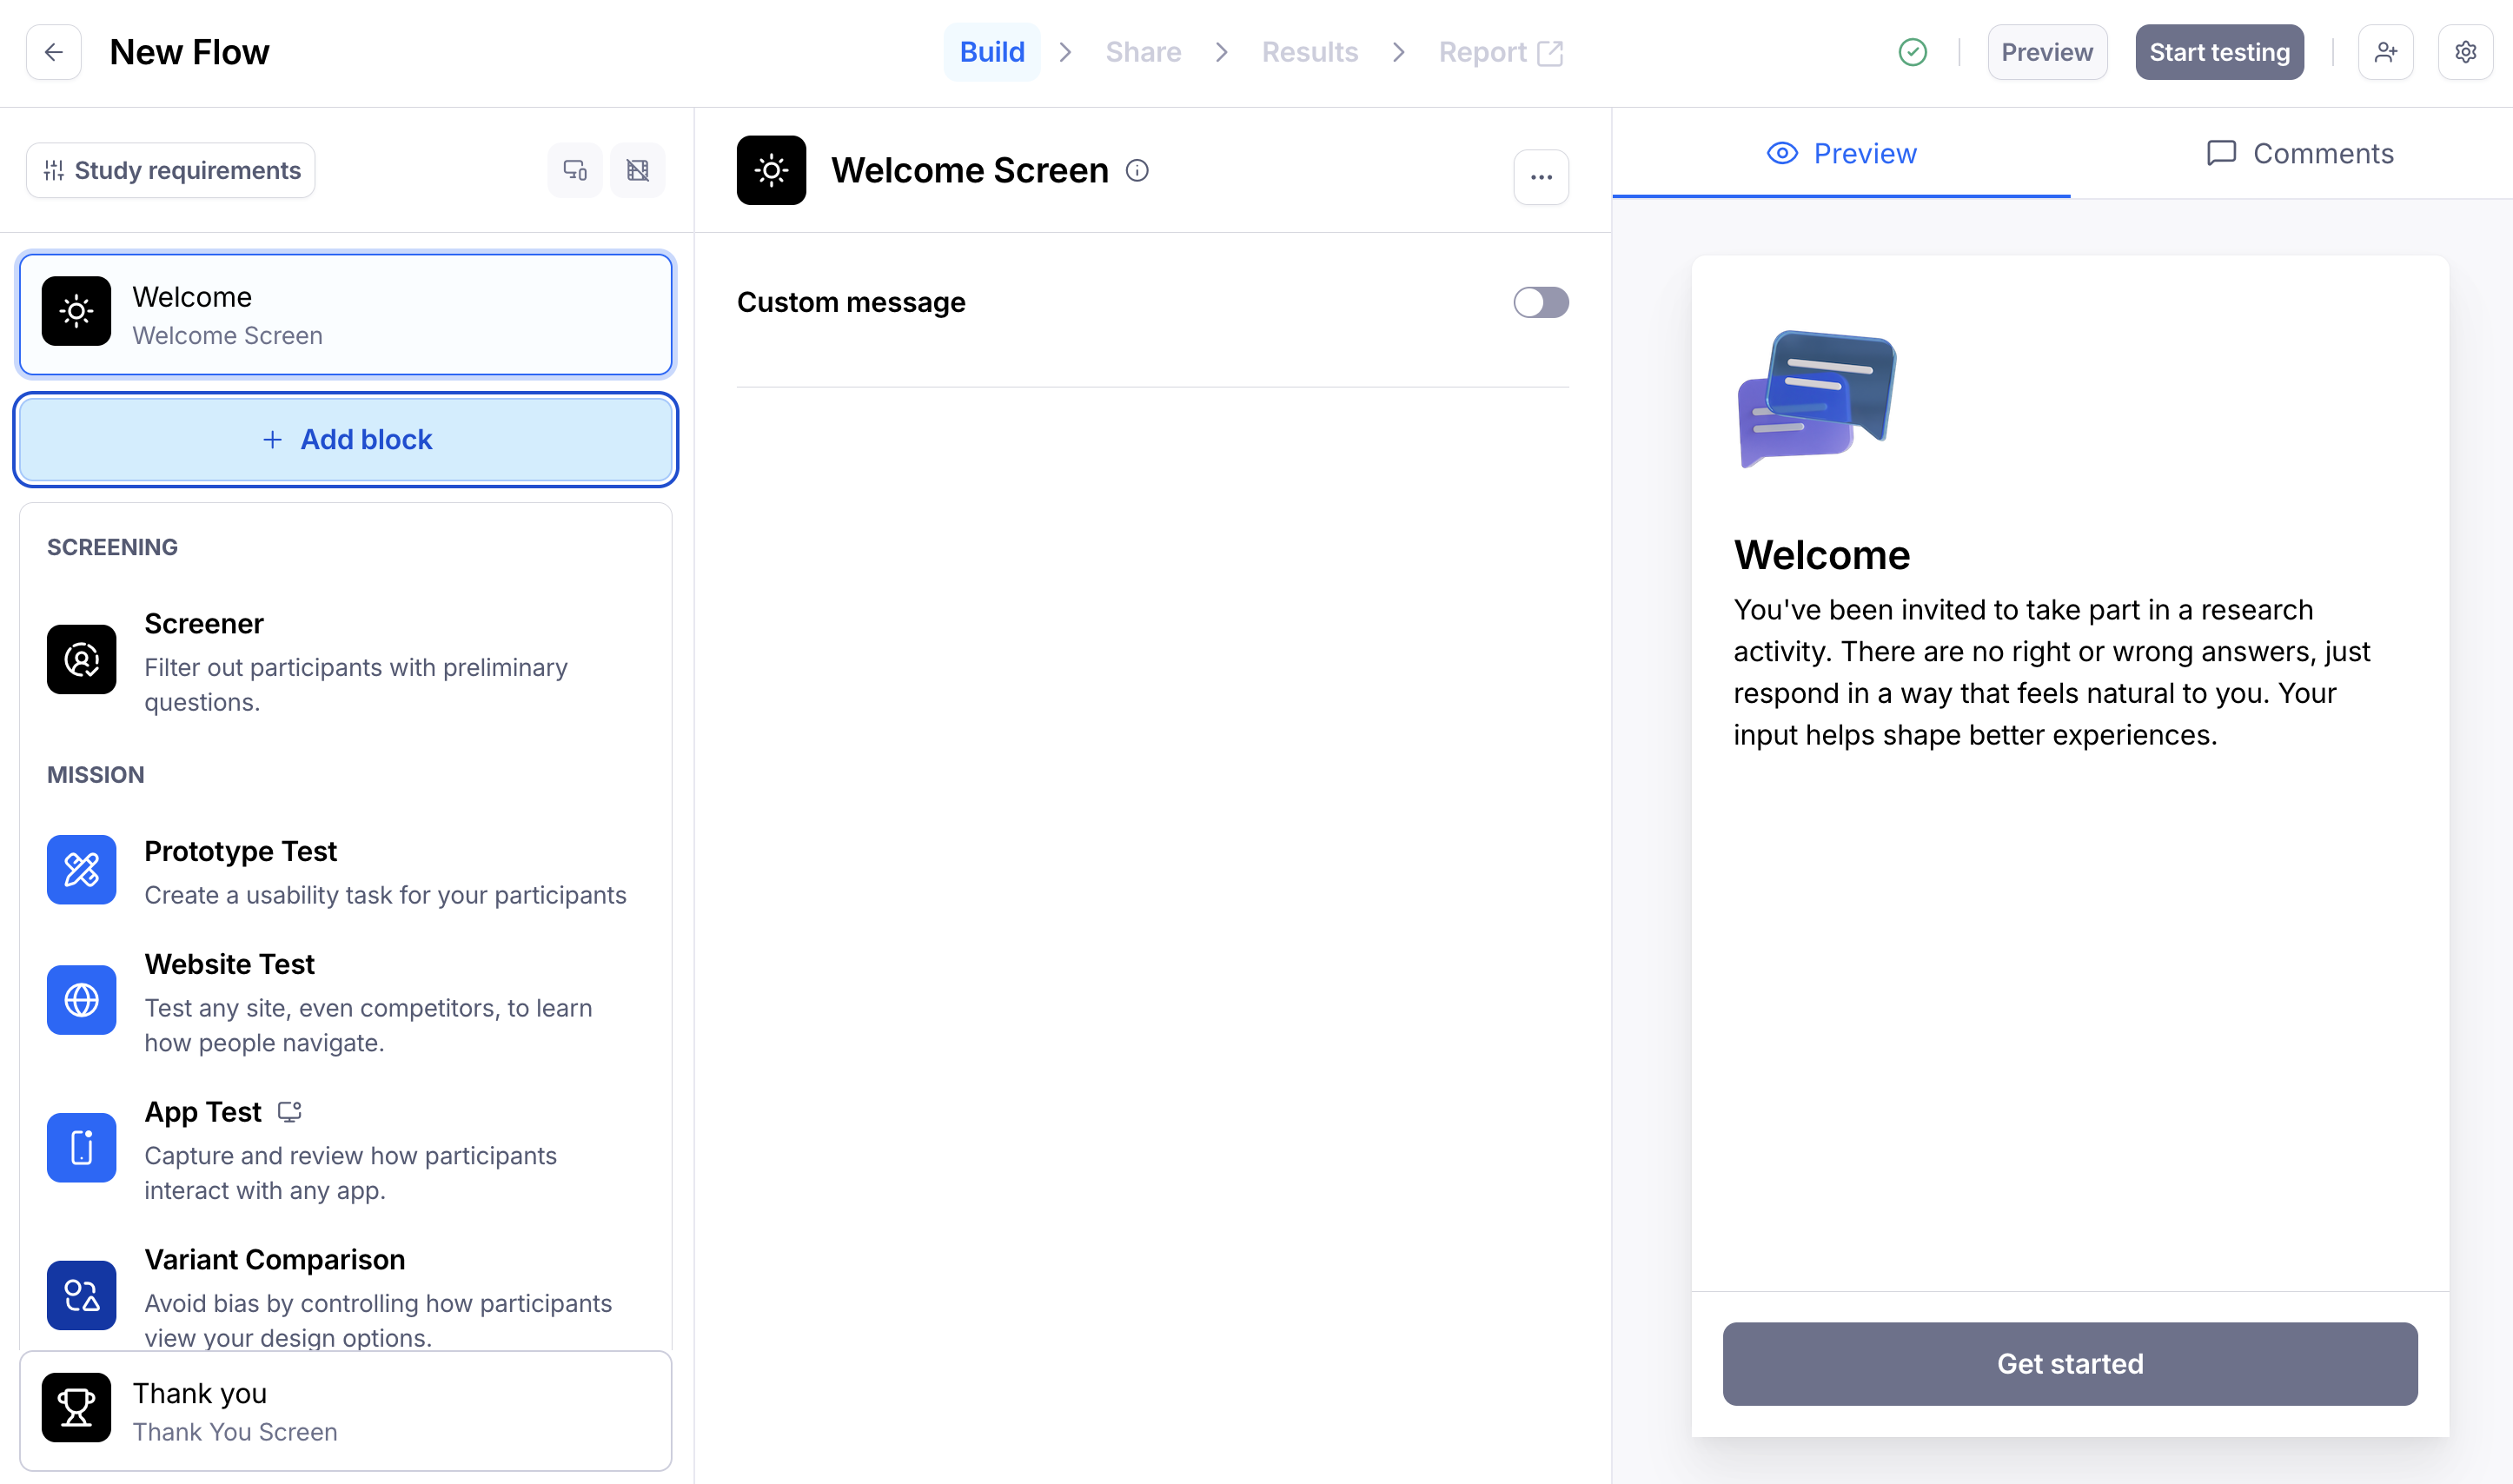
You don't have to start from zero when adding blocks. Pick a template to start from a pre-built study, or go through our repository with ready-made questions.
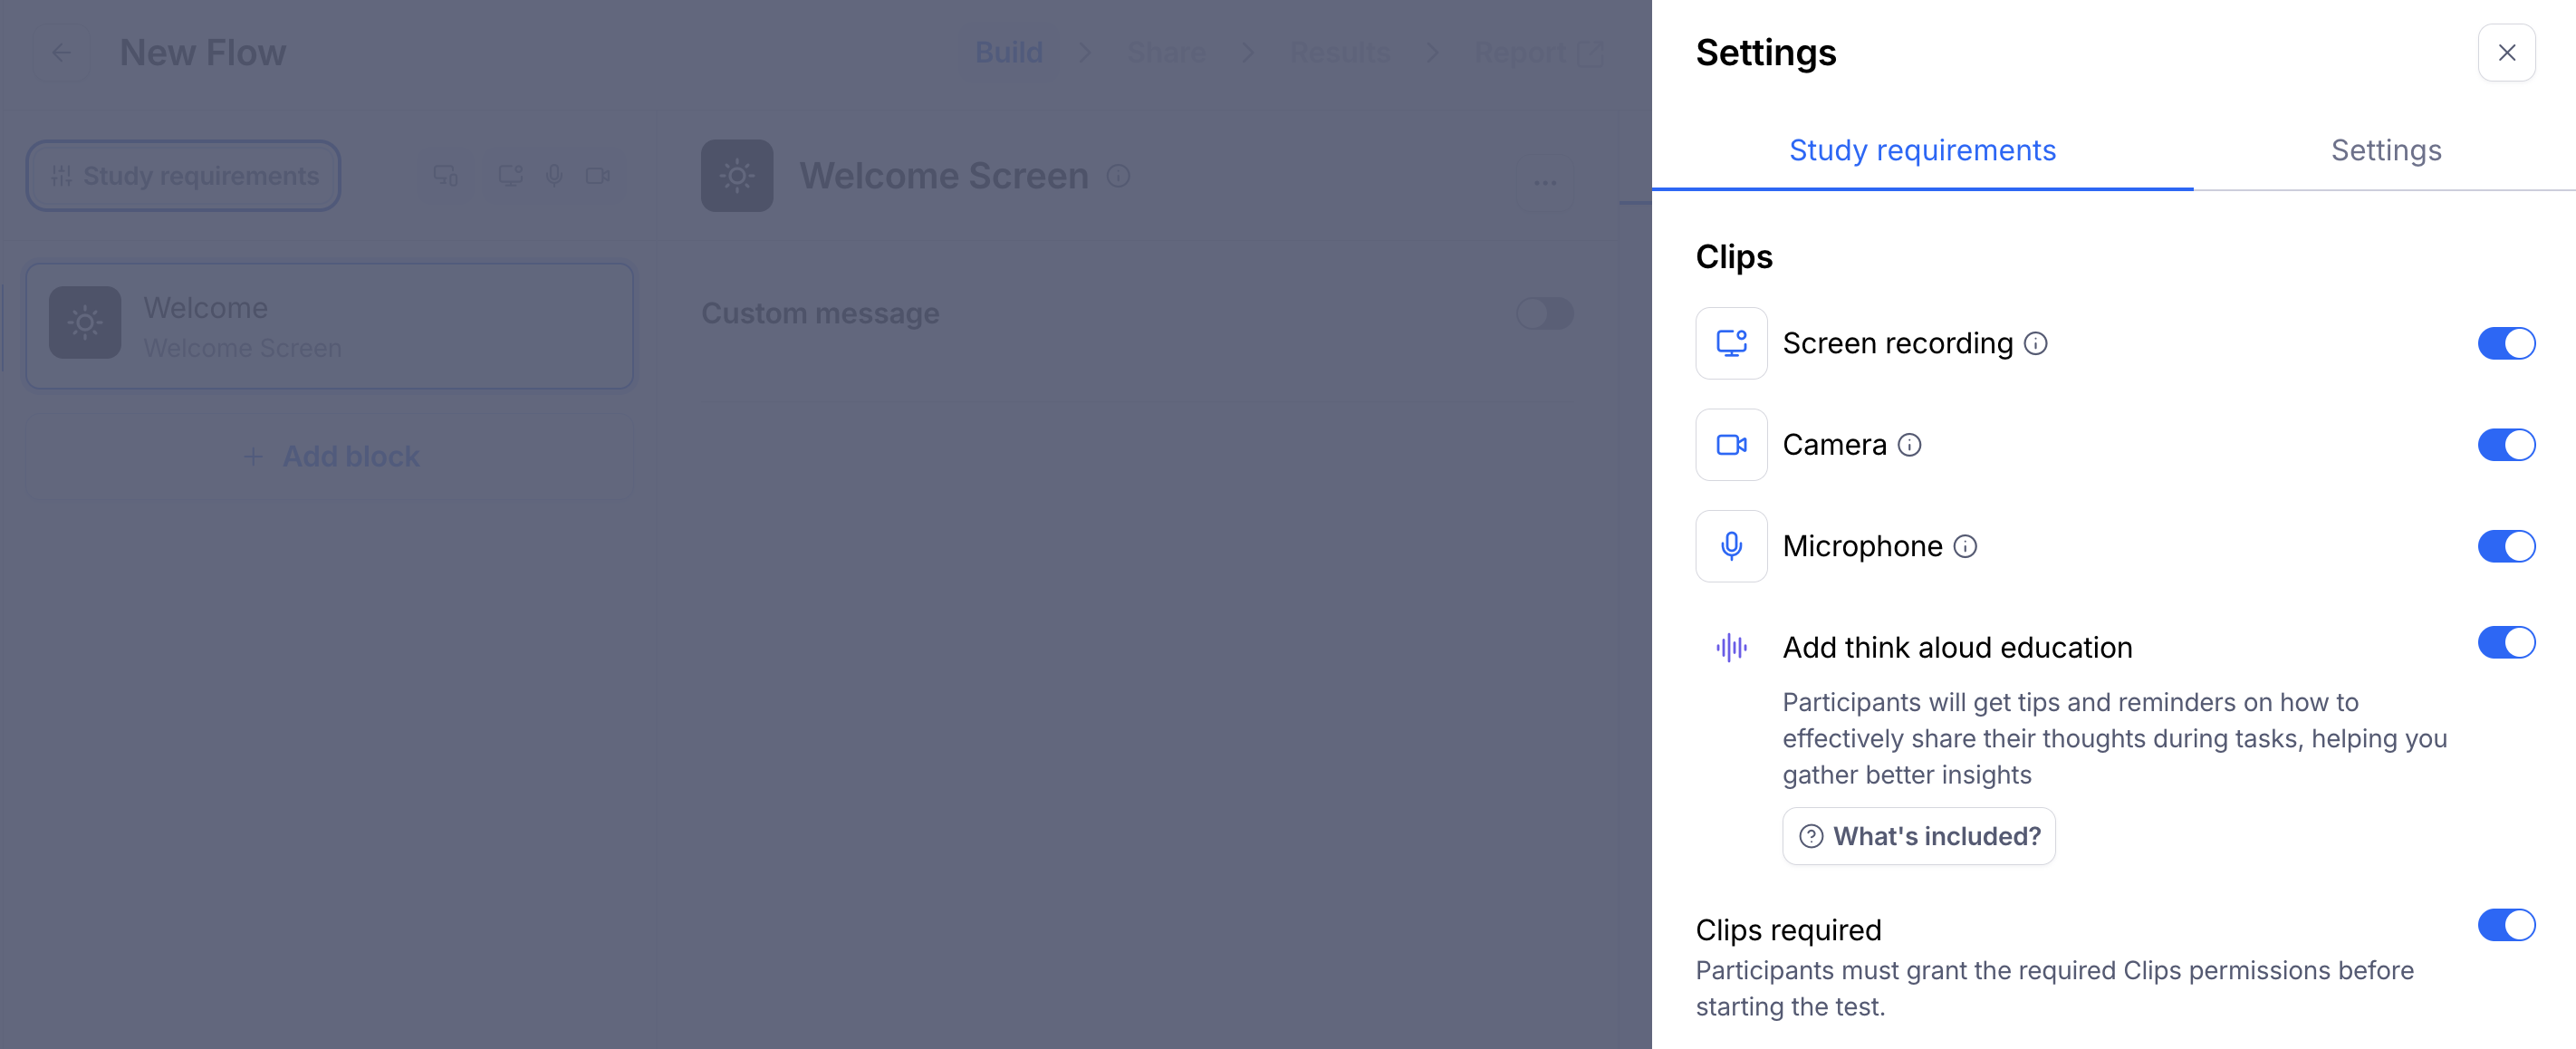
Step 3: Enable user recordings (Optional)
If you're on a paid plan, you can capture audio, video, and screen recordings of asynchronous prototype and website tests, without having to schedule and run live moderated research sessions. To enable Clips, click Study requirements above your Welcome Screen or click the cogwheel icon (top right of your screen).
Step 4: Additional Study settings
You have a few additional settings available for your study, including scaling your prototypes, setting up Slack notifications, custom branding and more.
Learn more about the available study settings
Step 5: Preview your study
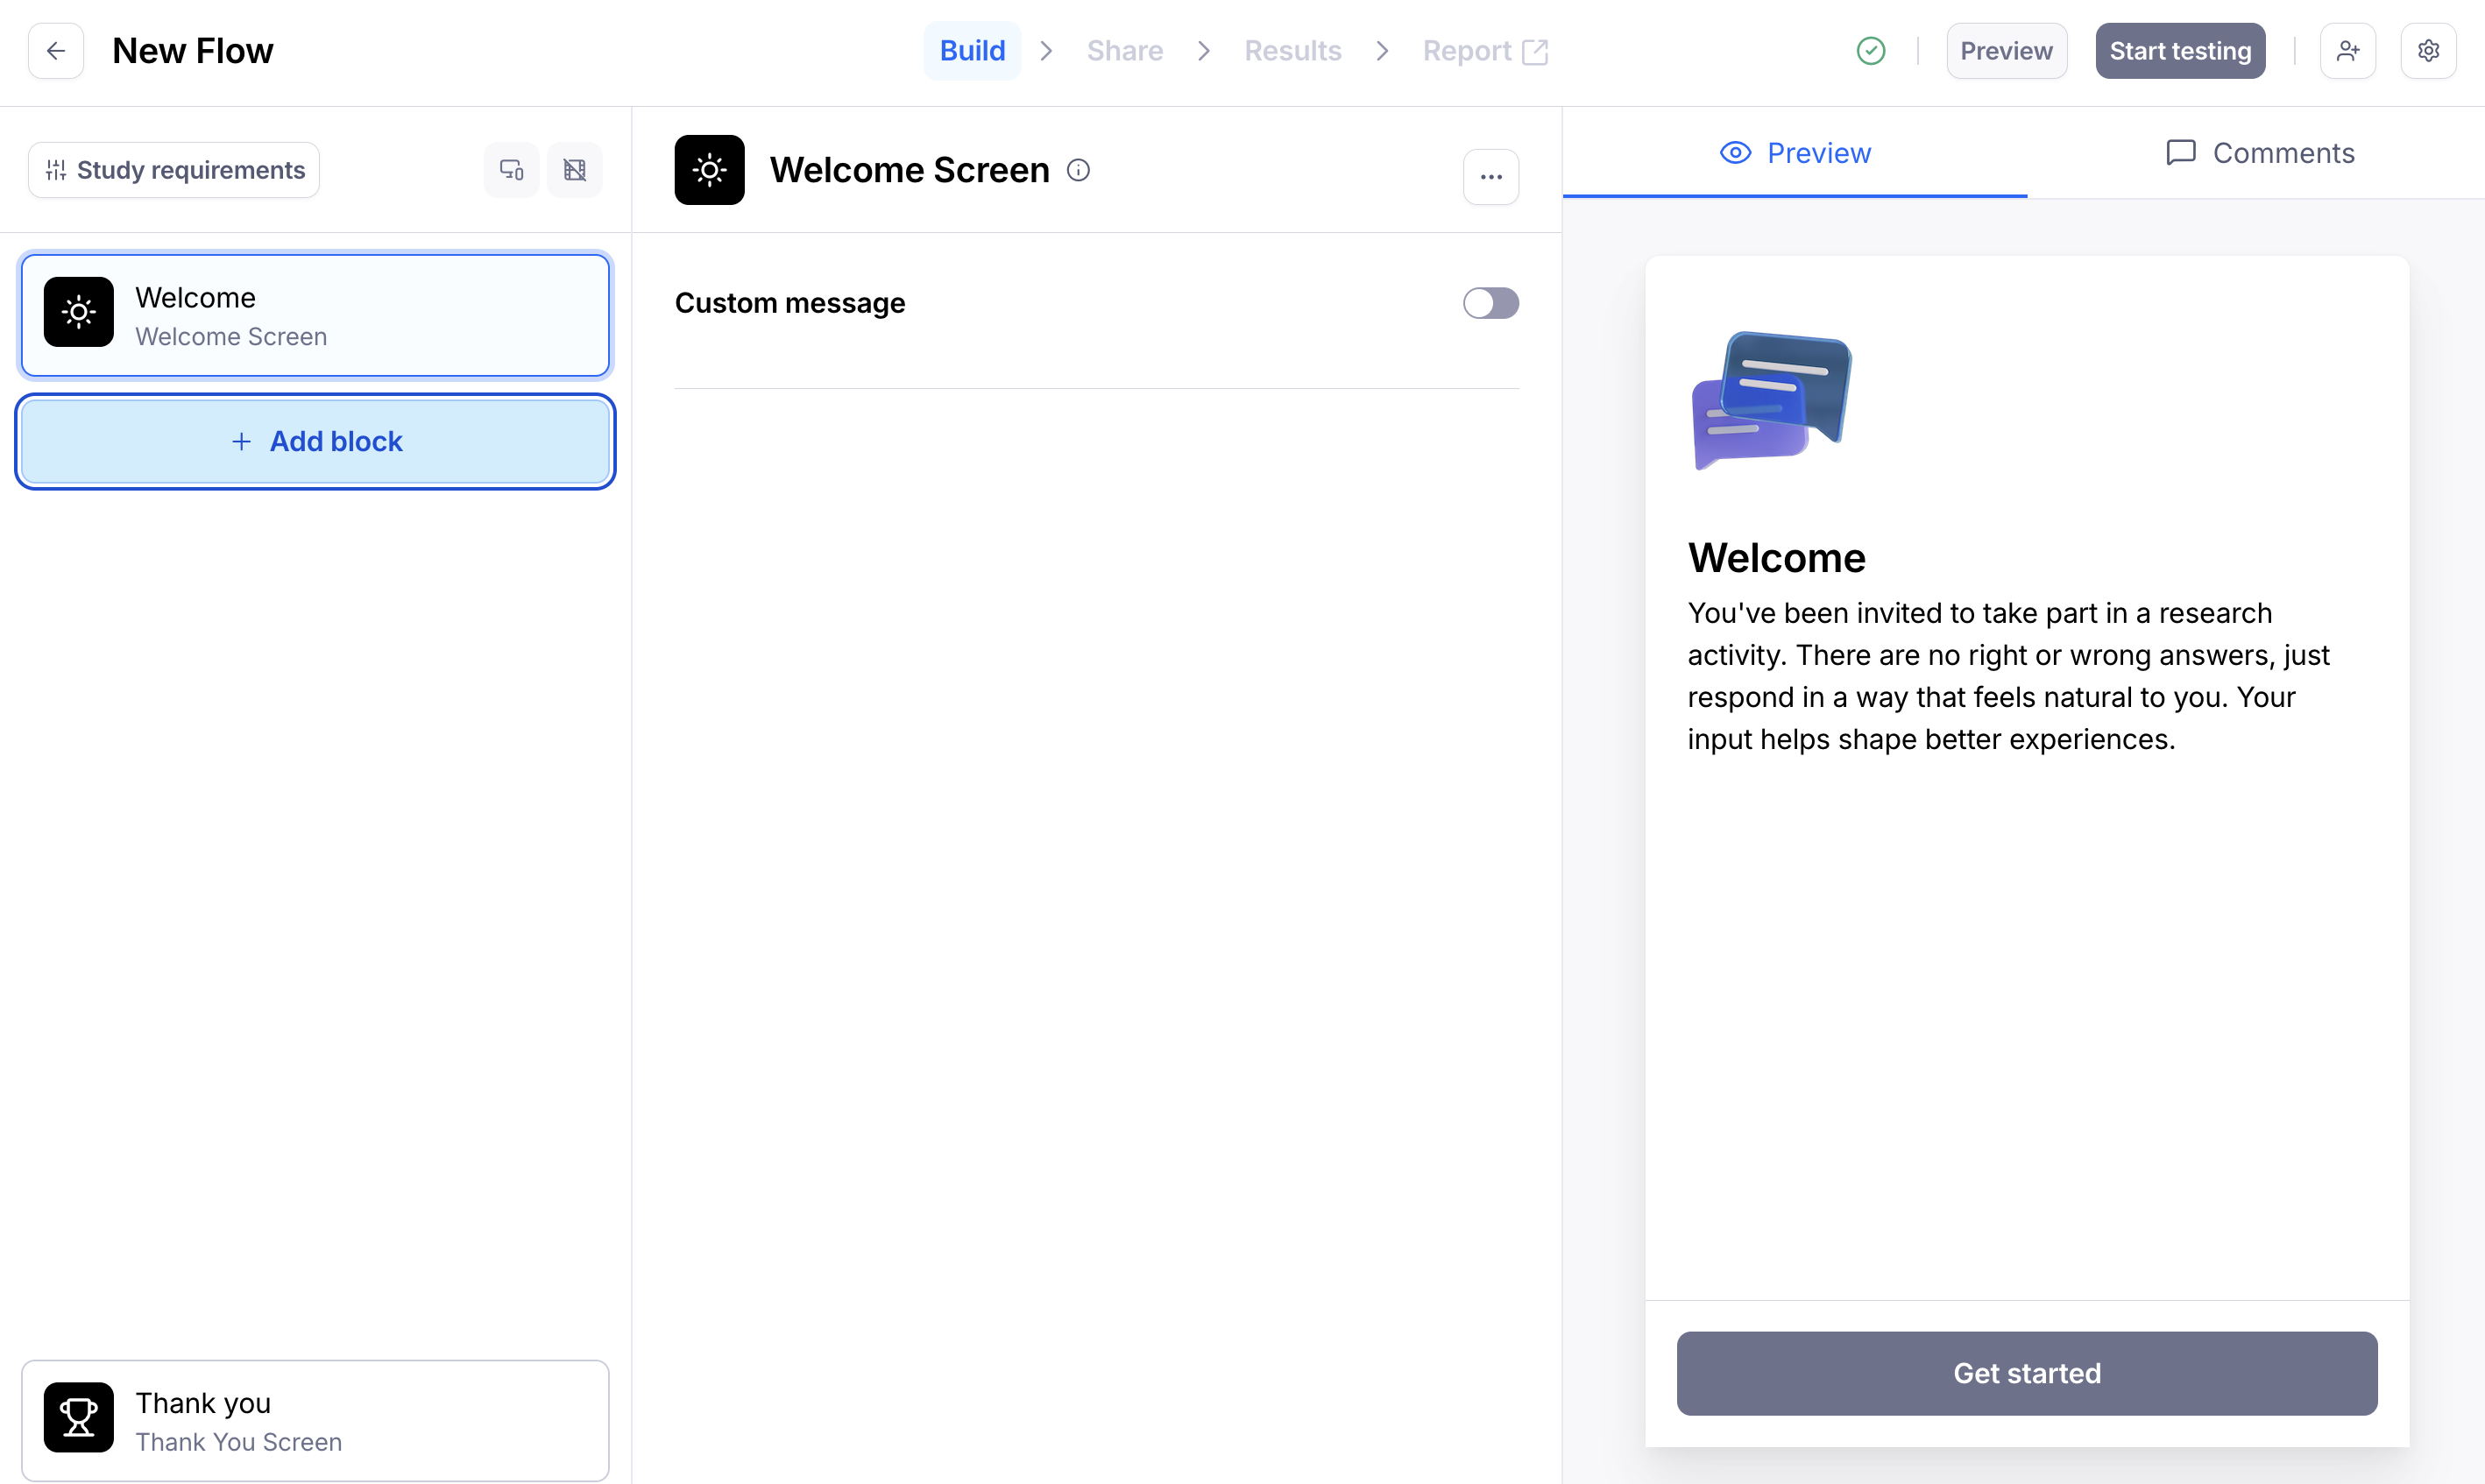
When you're done creating your study, you can preview how it looks by clicking on the Preview button in the top right corner. This will allow you to see how your testers will experience your study without recording any data.
Previewing is a great way to ensure your study flows nicely, and that your users see what you want them to see.
Testing your study beforehand will help ensure you and your team are completely happy with the content and performance. Please note that certain changes aren’t allowed after sending a study live.
To preview a draft study:
Open the study builder.
Click on the Preview button in the top right corner.
To preview a live study, you can also disable tester tracking in the study link options:
This will allow you to see how your participants will experience your study without recording any data.
Learn more about previewing your studies before publishing

Step 6: Publish your study and start testing
When you’re ready to publish your study, click the Start testing button located in the top right corner of the screen. Then, click Go live to confirm.
Before publishing your study, make sure to test it thoroughly until you are completely satisfied with the content and performance. While you’ll be able to edit the study to some extent, many changes will be limited to avoid misleading results due to the modified variables.

Once your unmoderated study is live, you can start testing it with people. There are different approaches to distributing your study to participants:
Study link: Share a study link directly through your own channels
Recruit panel participants: Recruit participants from our panel. Learn more
In-product prompt: Embed a popover on your website linking to your study. Learn more
Email campaign: Contact participants from your own database. Learn more

Step 7: Analyze results & share the report with your stakeholders
When testers begin testing your study, you will start seeing the results in your dashboard in real time. You can access your results on the live study page.
Learn more about the Results dashboard
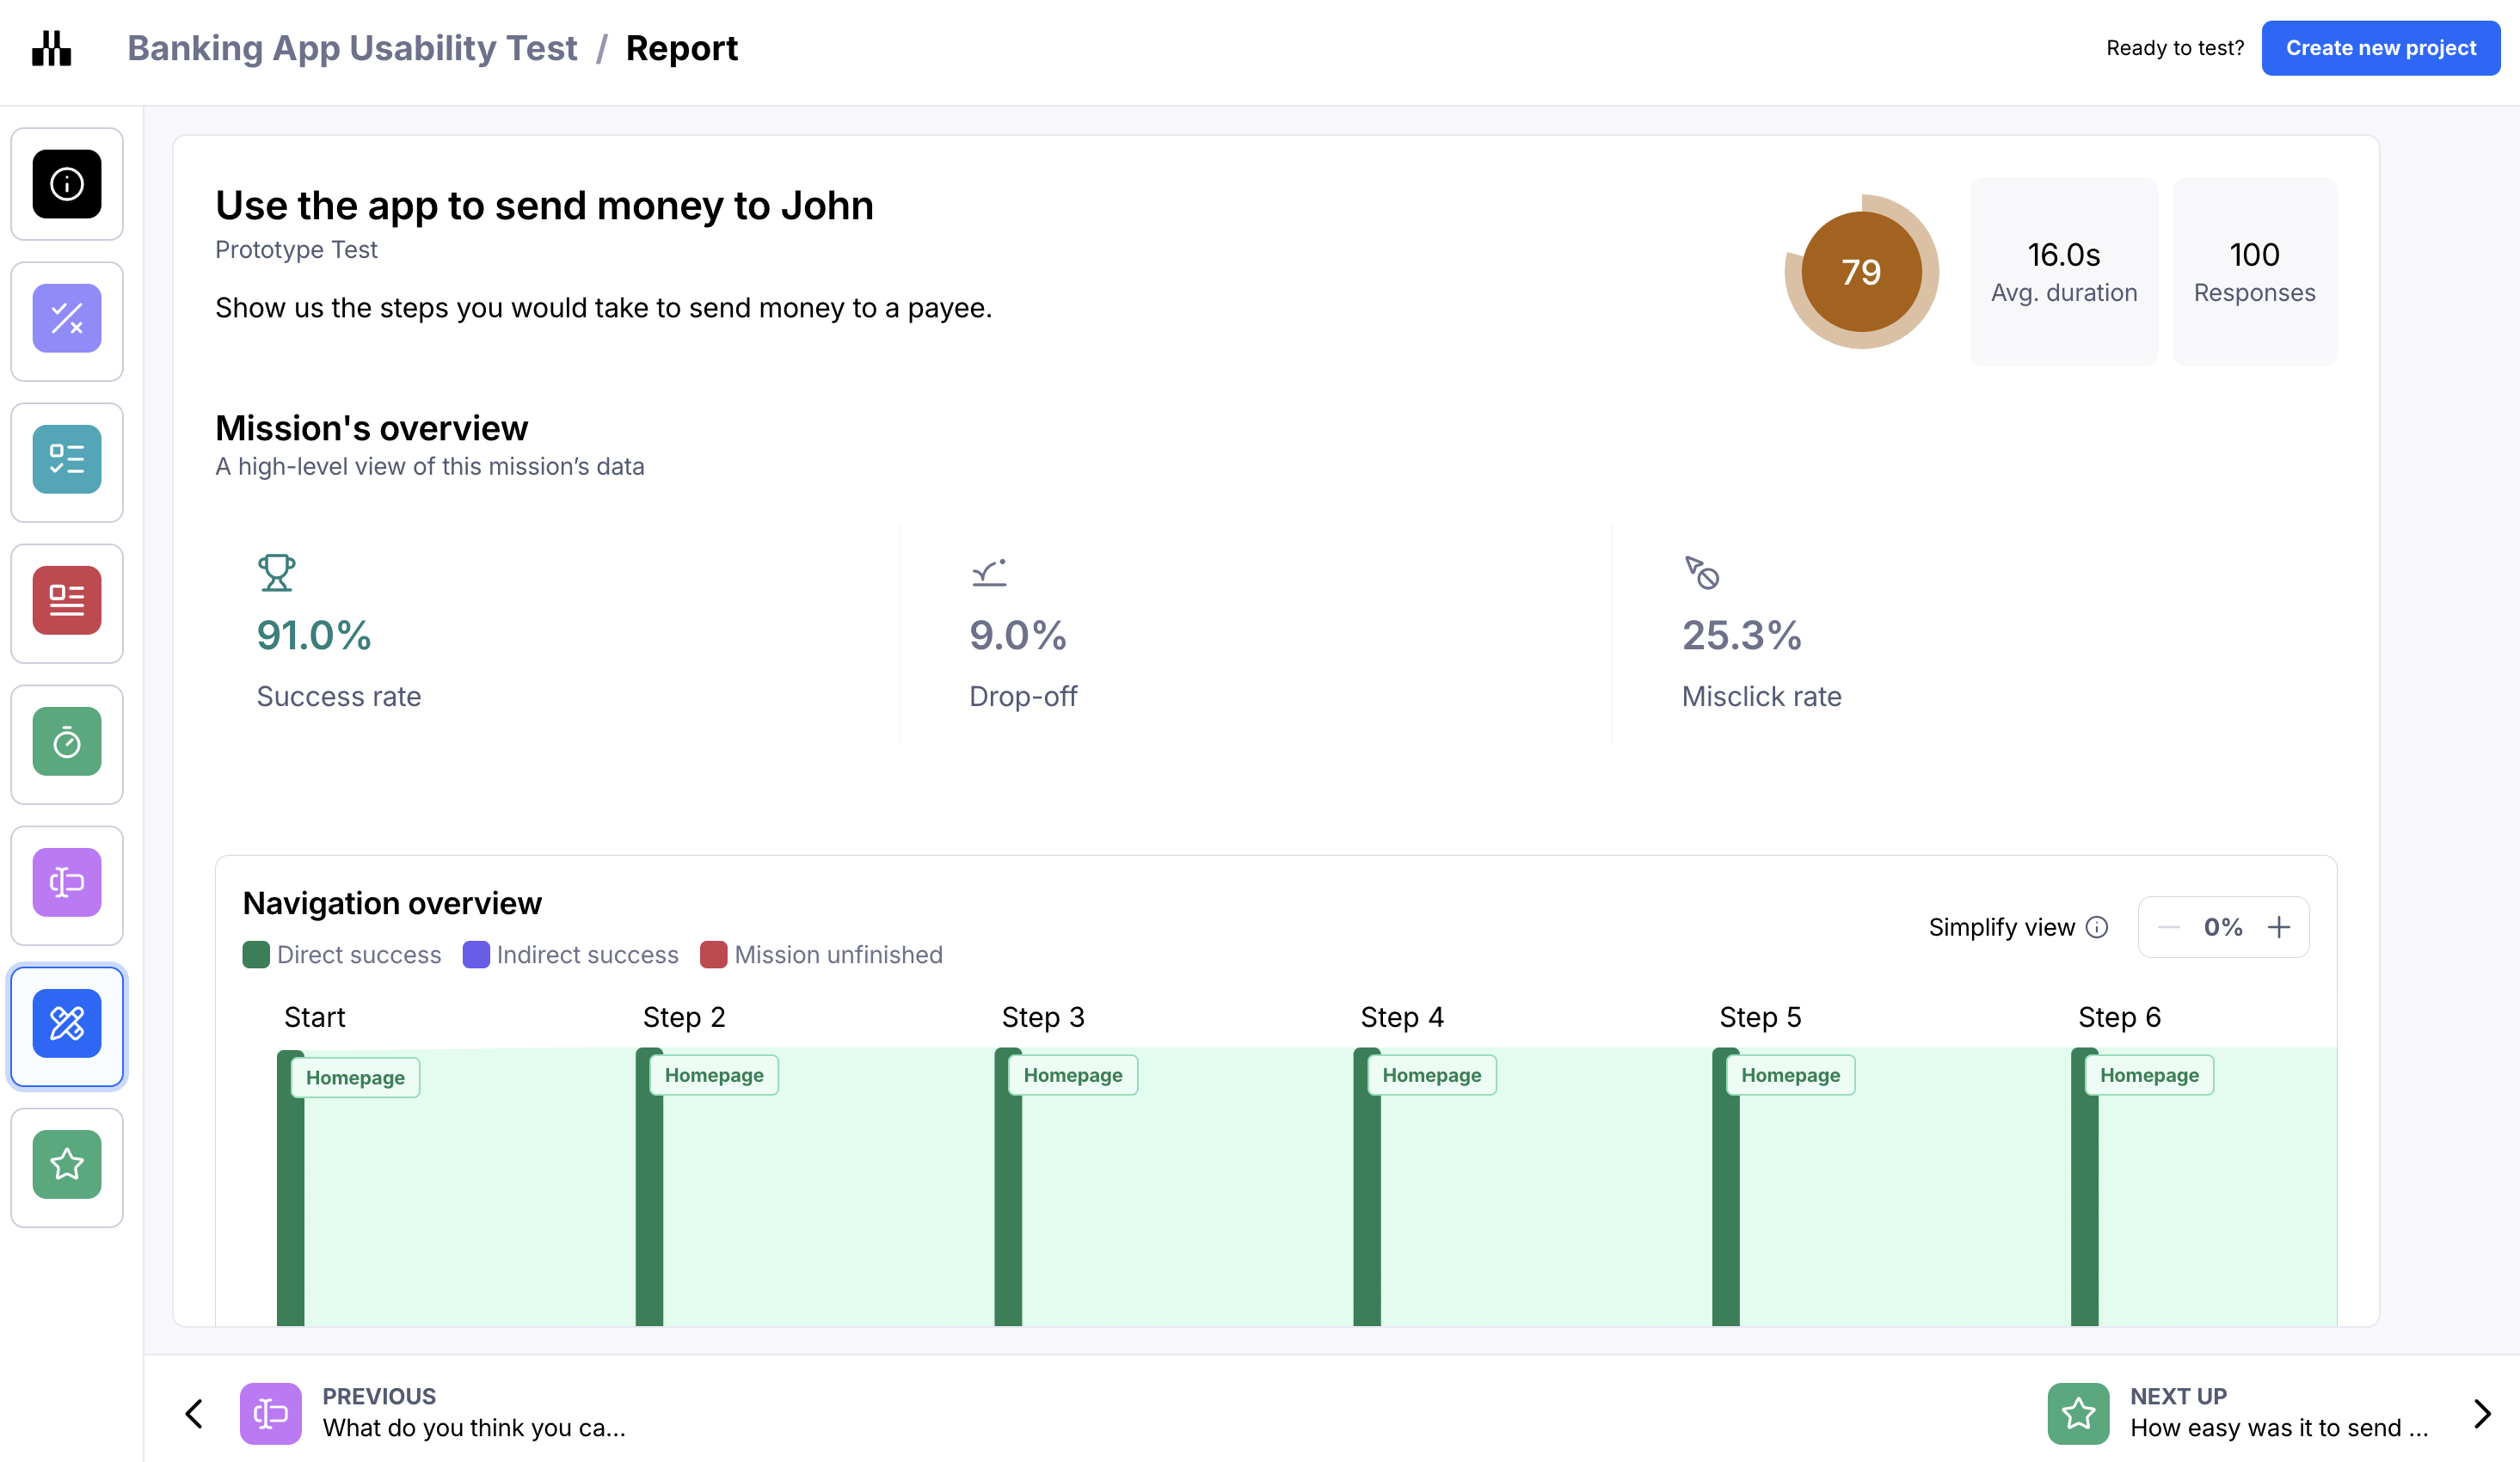
In addition to your results, Maze automatically creates a report for you to review and share with your colleagues, executives, and stakeholders. A report is created for every study tested with at least one participant.
Learn more about study reports
See this example report for a sample of what you can learn from your studies.
Still need help?
If you have any questions or concerns, please let our Support team know — we'll be happy to help!